We made a woodblock print Japanese lantern
November 7 in Case Studies, Ideas, Projects
As part of their digitalization project the US Library of Congress have recently released 2500 high res Japanese block prints from the 17th and 20th centuries. It’s a pretty stunning collection of images that you can download and use copyright free at super high resolutions.
Our first thought was to print and frame some of these awesome images, but to be honest wall real-estate is now somewhat at a premium at Diginate HQ. So we got creative and made a lantern!
We decided to make our lampshade an icosahedron. Not just because it’s one of the sickest polyhedrons out there, but also because it has loads of identical faces on which to print vintage images. 23, to be precise.
First we made a template for our lantern, selected some of our favourite woodblock images and laid them out using Adobe Illustrator:

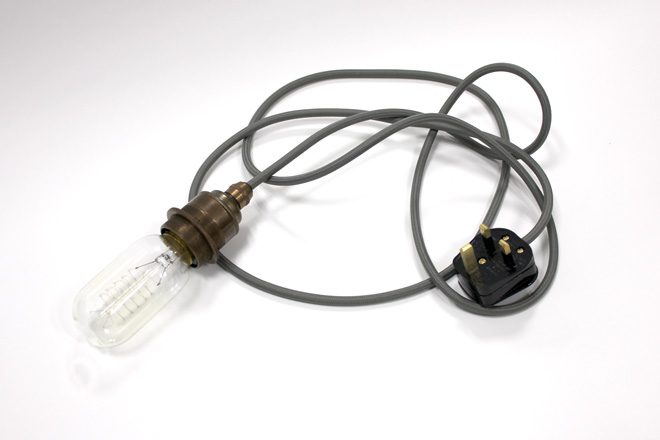
We also sourced a vintage filament lightbulb and fabric flex cable to provide illumination.
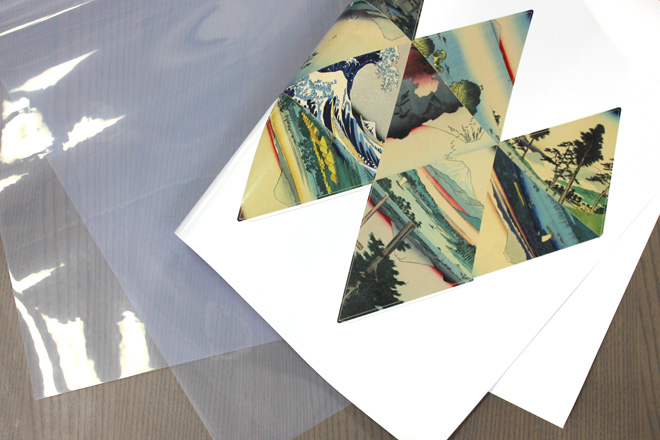
We printed our template as a clear vinyl sticker, without any white underprint so the light would diffuse nicely through the images. The next job was to mount the sticker to a sheet of clear acetate to give the lantern some rigidity and allow us to score and fold it.
First of all the acetate sheet is secured onto a flat surface like a table. Or a fridge door. We used a table.
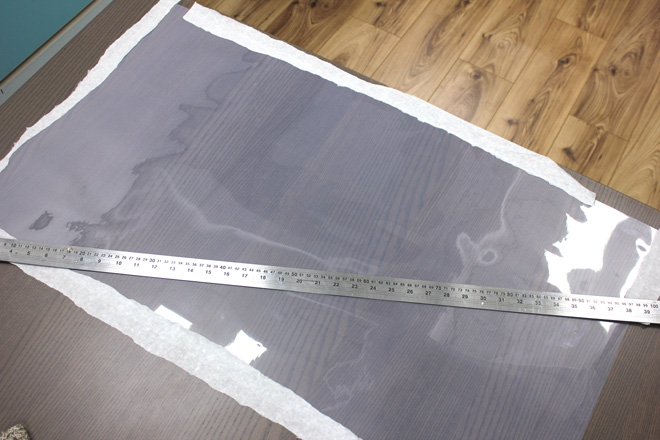
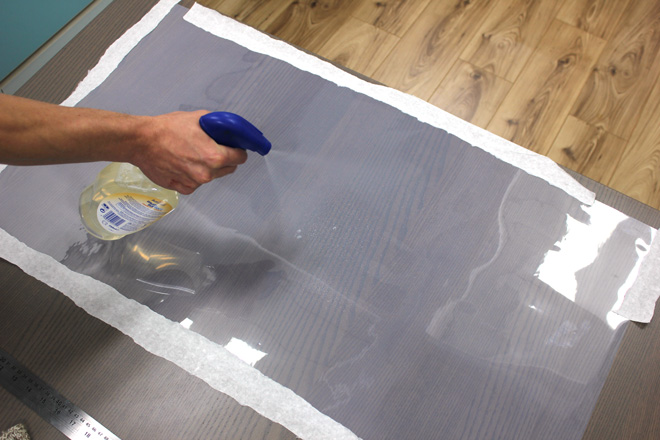
For an easier and stress-free application we sprayed some water on the acetate. This will make it easier to remove air bubbles during the application of the sticker. If something goes wrong, having a wet base will make it easier to peel the sticker again and redo the application. The water will eventually dry off so don’t be shy.
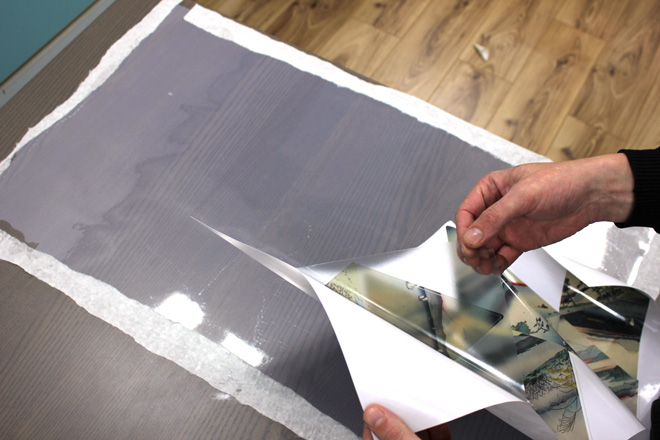
Next we peeled the sticker completely from the backing paper, being careful not to touch inner parts on the adhesive side. Otherwise your fingerprint will be there forever, and you’ll be framed for many crimes you didn’t commit.
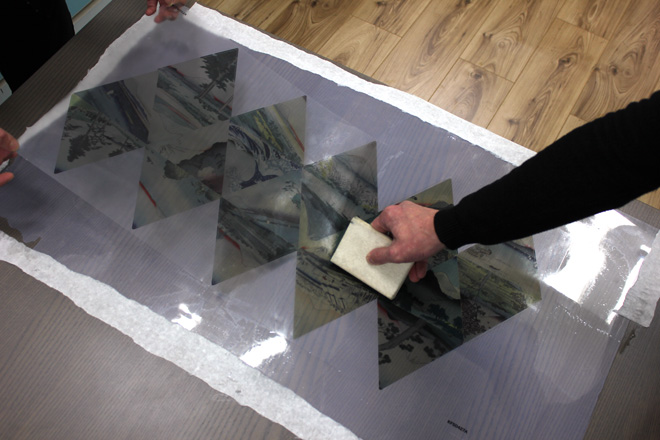
Then we carefully squeegeed the sticker onto the acetate, squeezing out the water between the plastic and the adhesive. Two sets of hands are better than one; time to phone a friend.
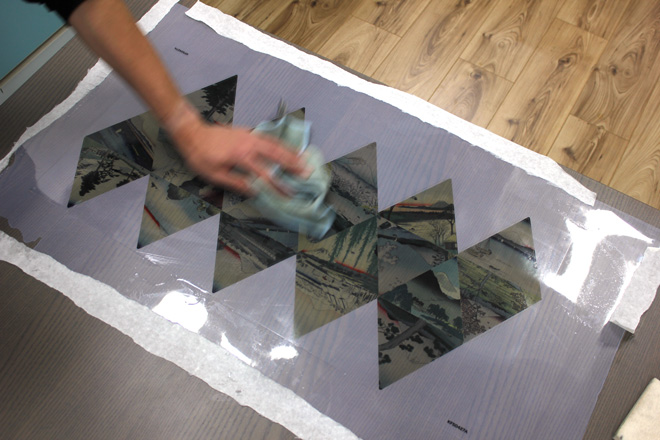
Lastly, we dried all the excess water off and left overnight for the adhesive to cure.
Returning to the project well rested, we grabbed a knife (by the handle, not the blade) to cut and score the lantern.
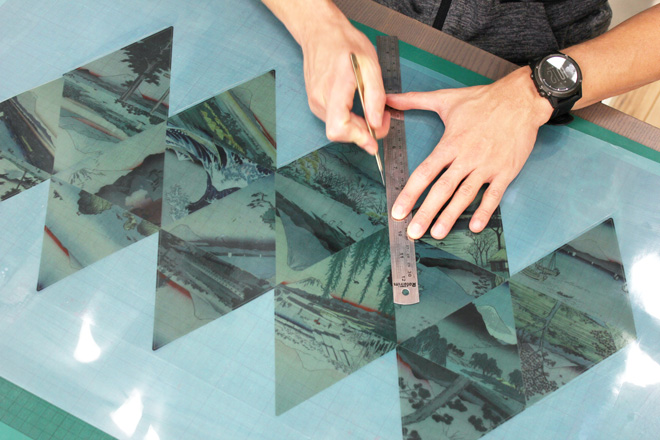
Once the cutting and scoring was complete we folded the tabs…
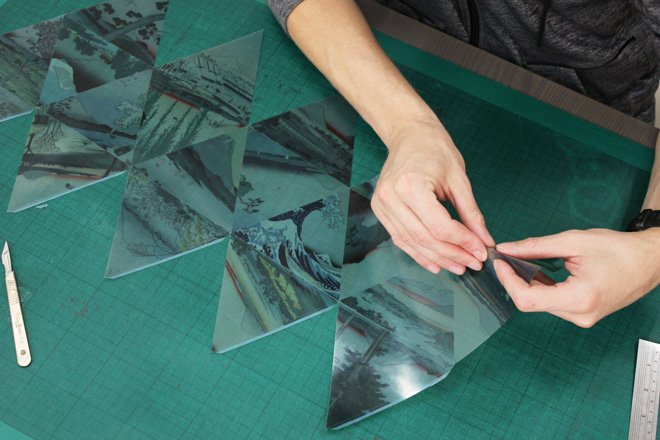
And applied some double sided tape to close the lantern, leaving only one side open to slide the light in.
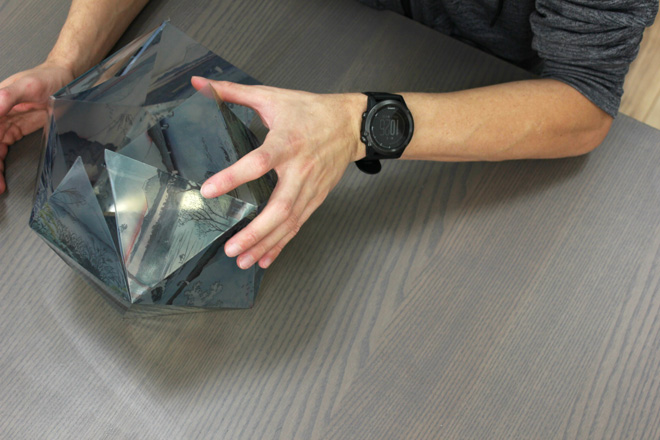
Once the bulb has been inserted the final flap can be fixed!
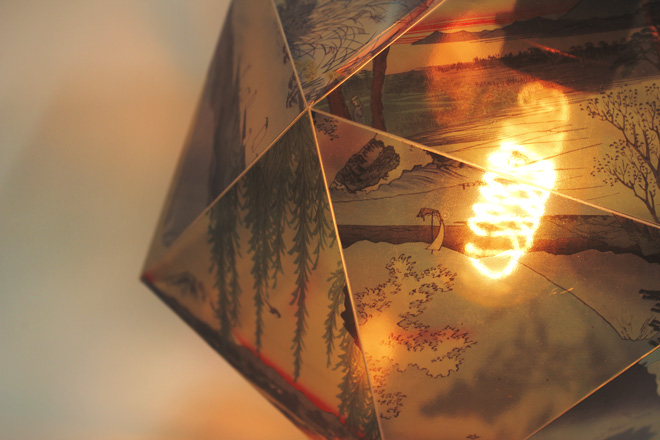
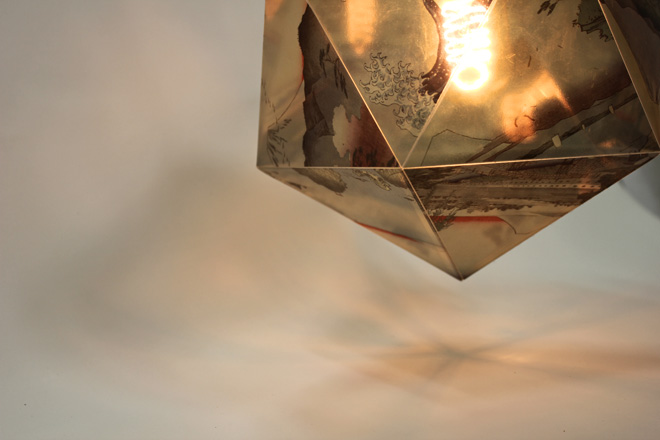
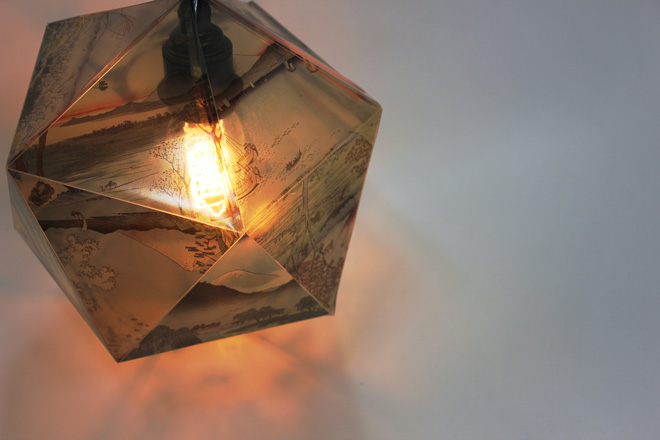
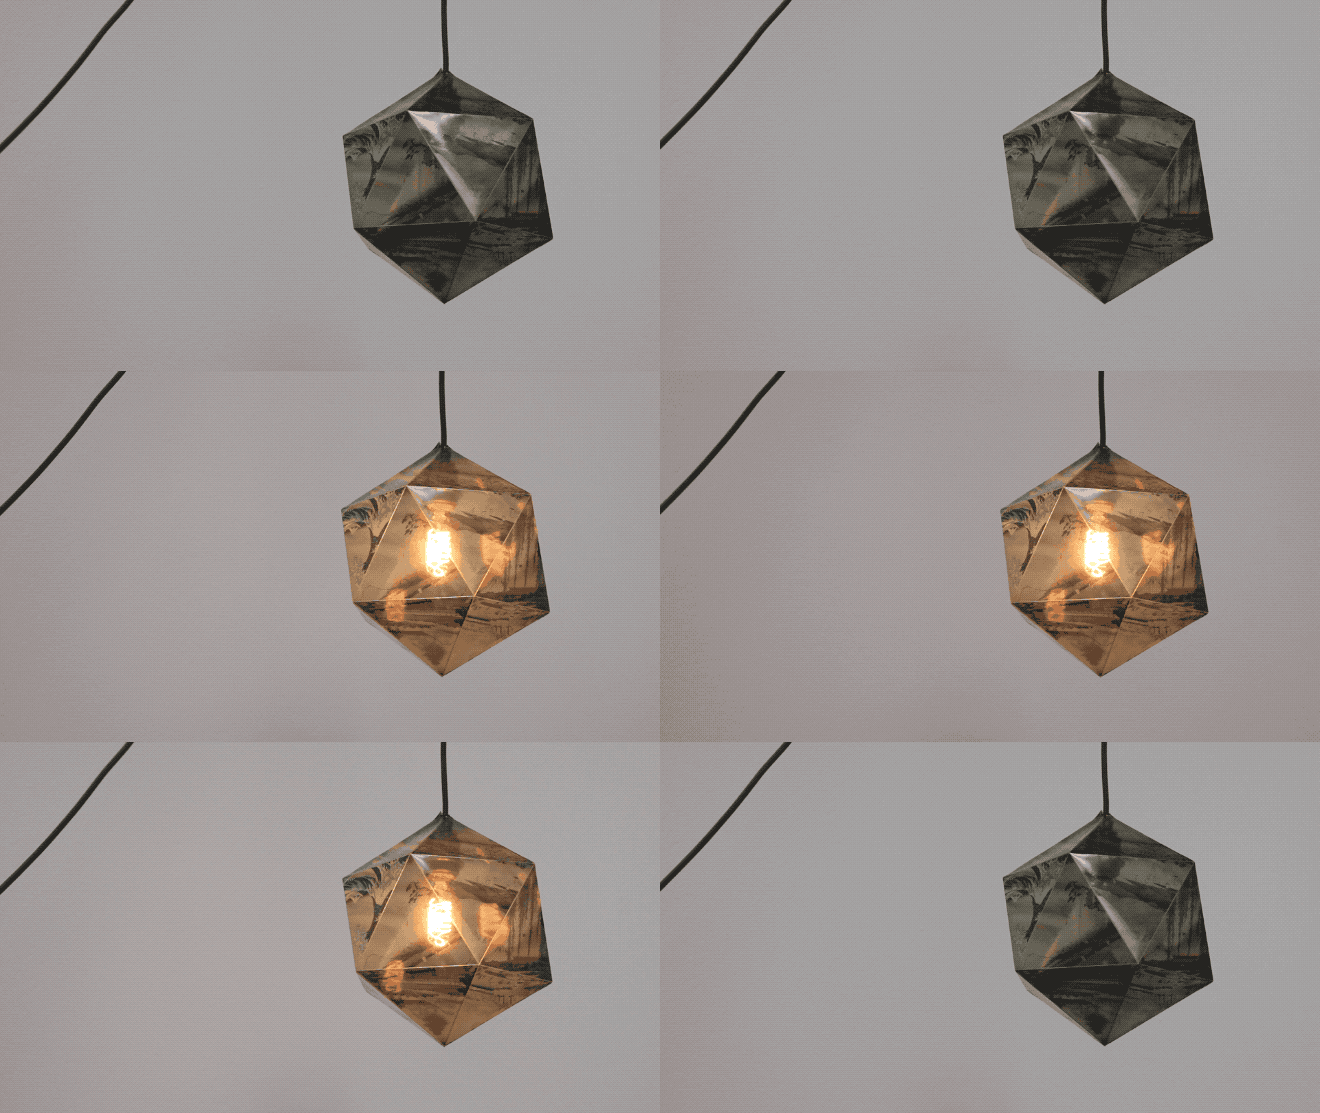
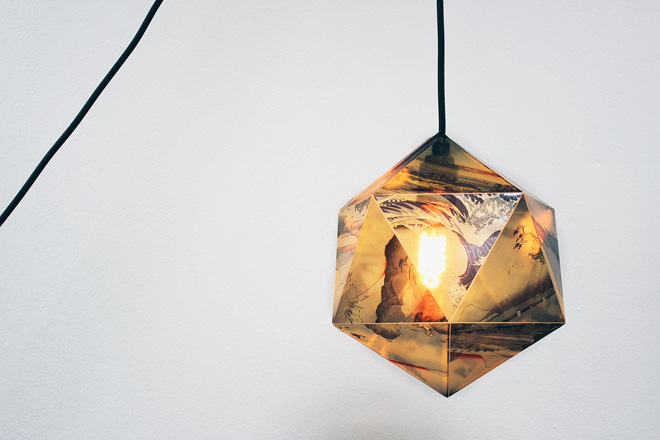
And here’s the final product…
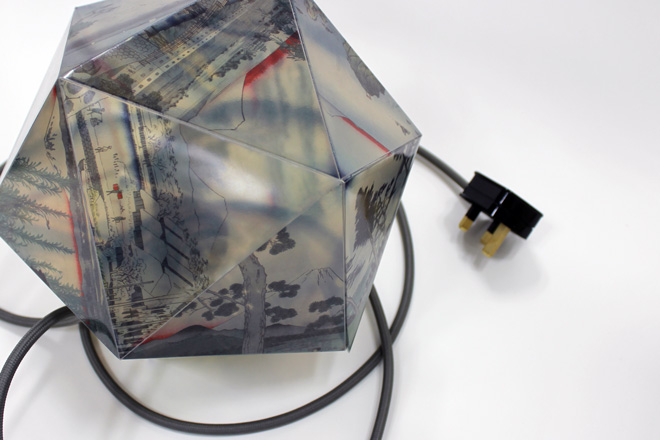
The warm light of the filament bulb gives the lamp a nice, faded vintage feel, and casts interesting shadows onto nearby surfaces. Success!
