How to design a die cut sticker in Illustrator – the Ultimate Guide
November 3 in Design
Die cut stickers look awesome, but creating a print ready file with the cut shape exactly as you want it can be daunting.
To help in your journey to die cut sticker perfection we’ve put together this guide to creating a perfect sticker design every time.
We’re going to be using Adobe Illustrator to create our die cut sticker design.
Let’s get started!
Creating a die cut sticker design from a vector logo
If the gods of graphic design have been benevolent you will be equipped with a vector logo. If this is the case, make a small offering to them and proceed to step one.
Step One: Decide how big you want your sticker to be.
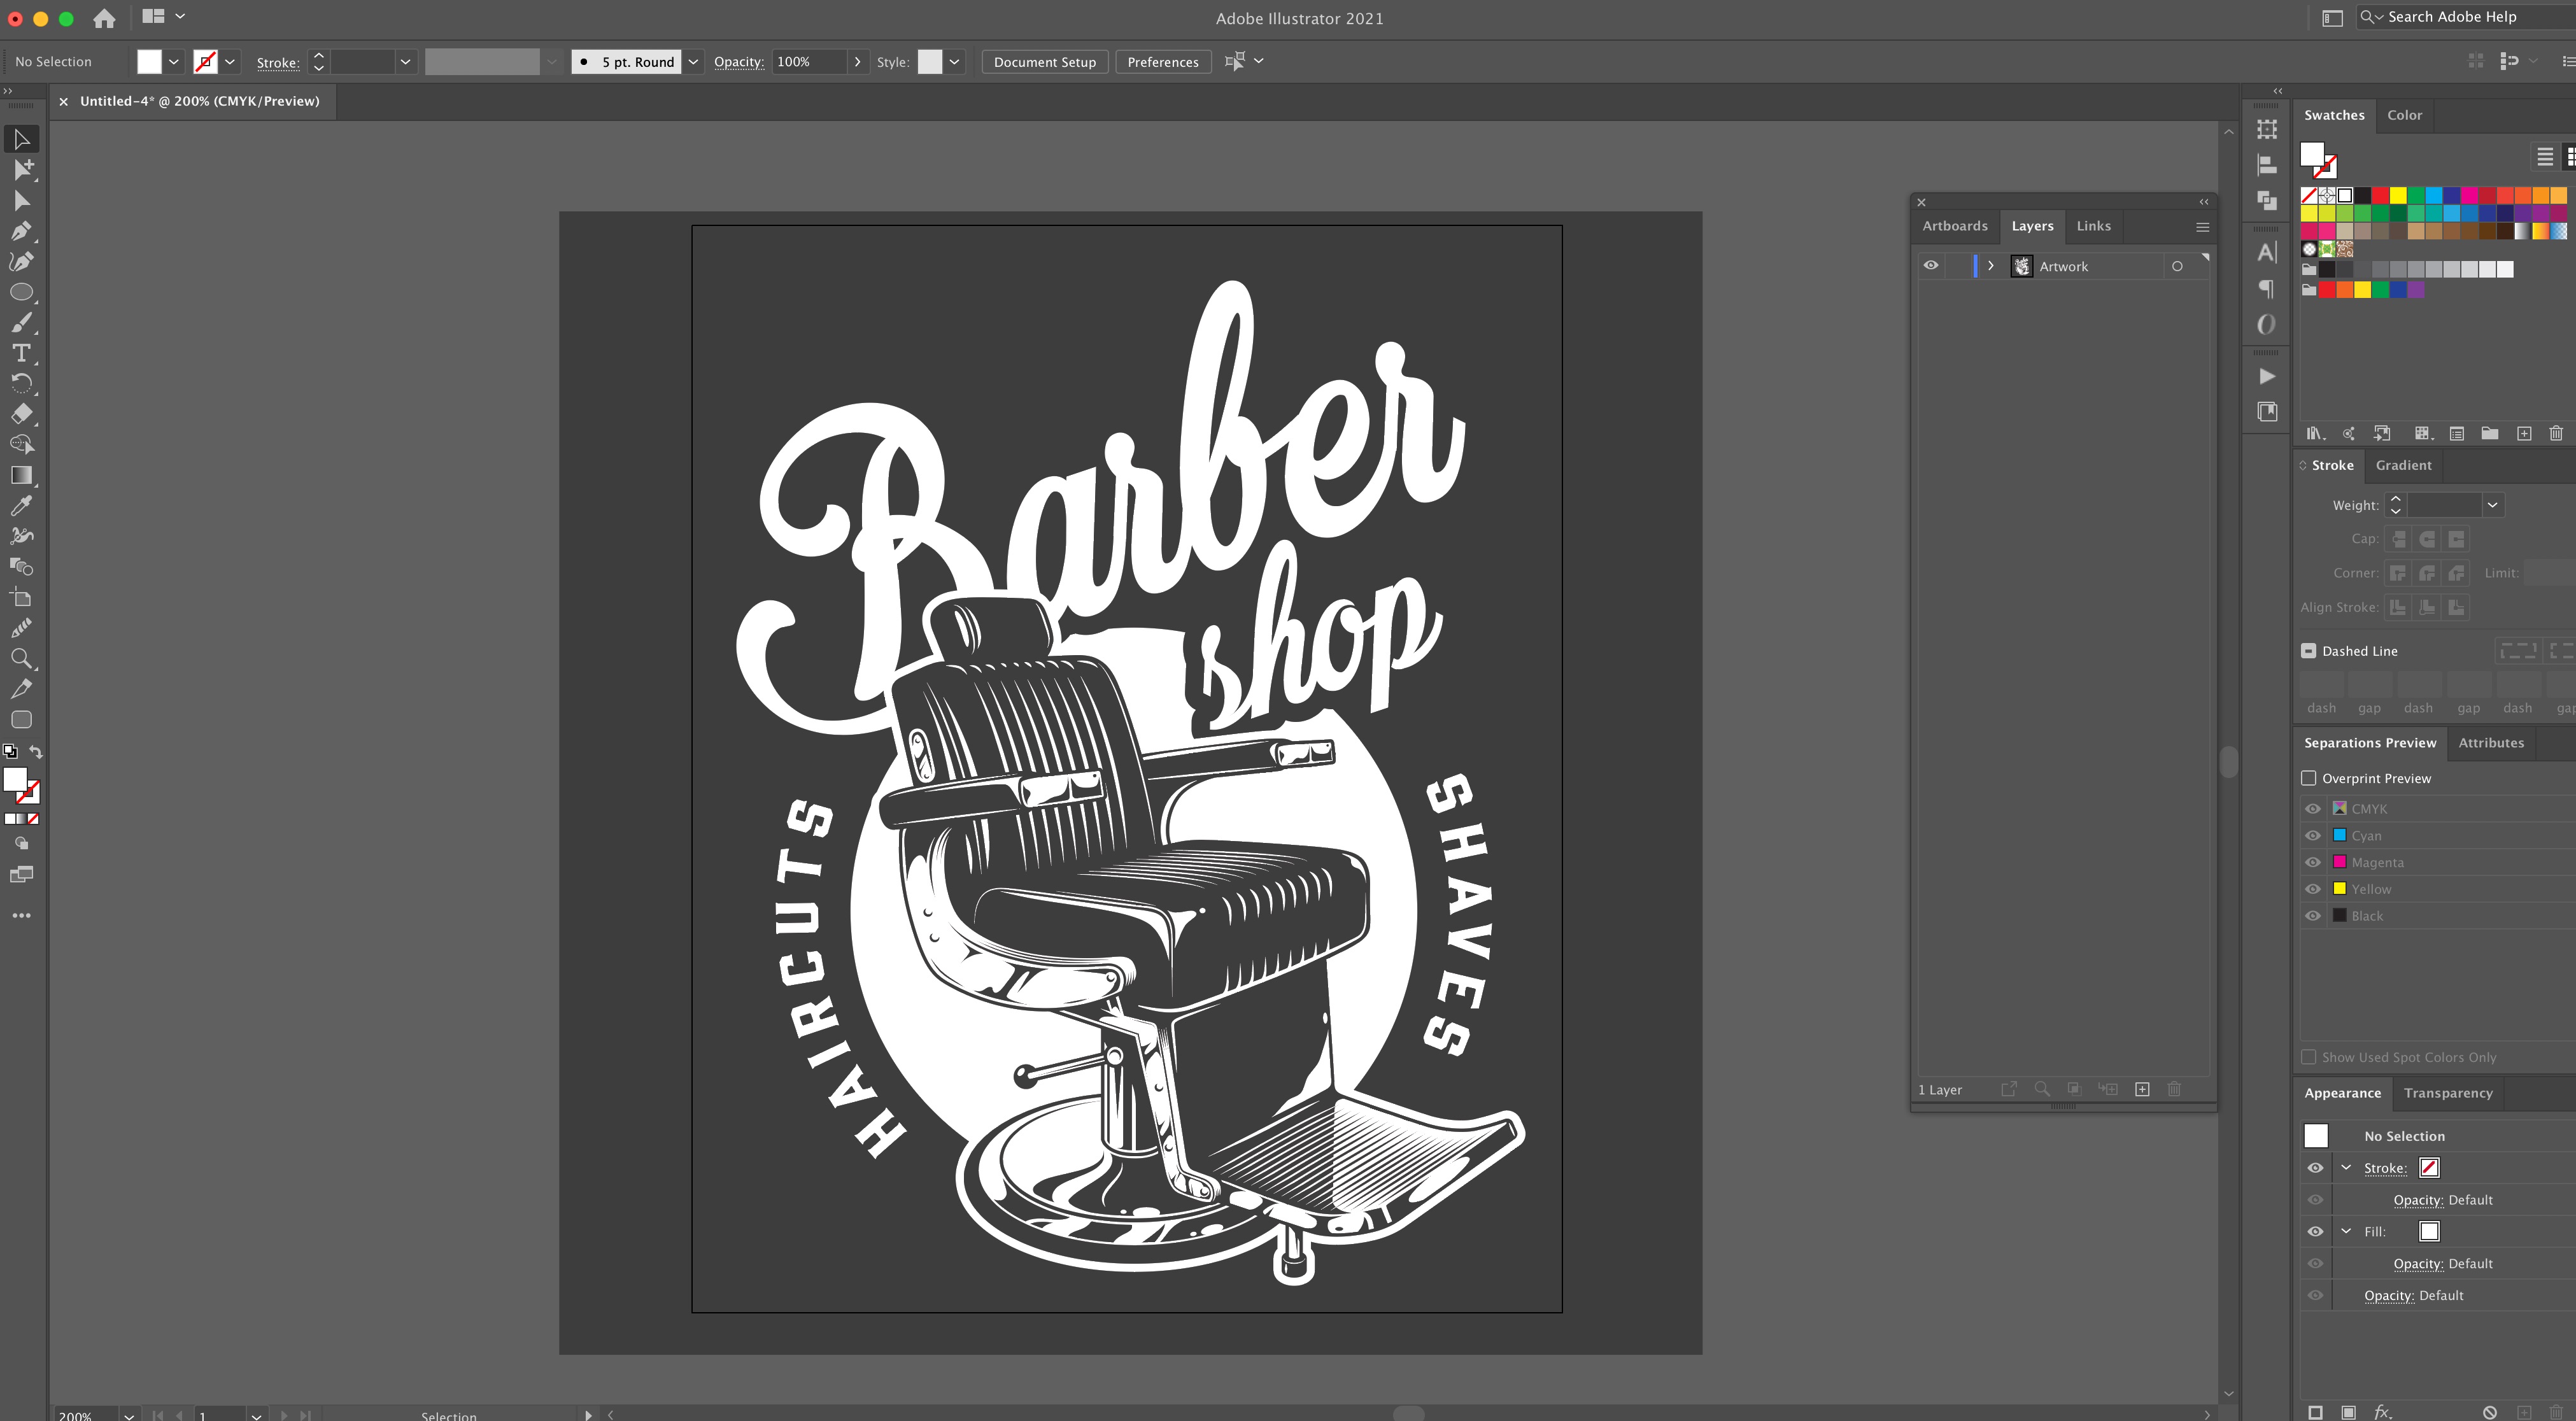
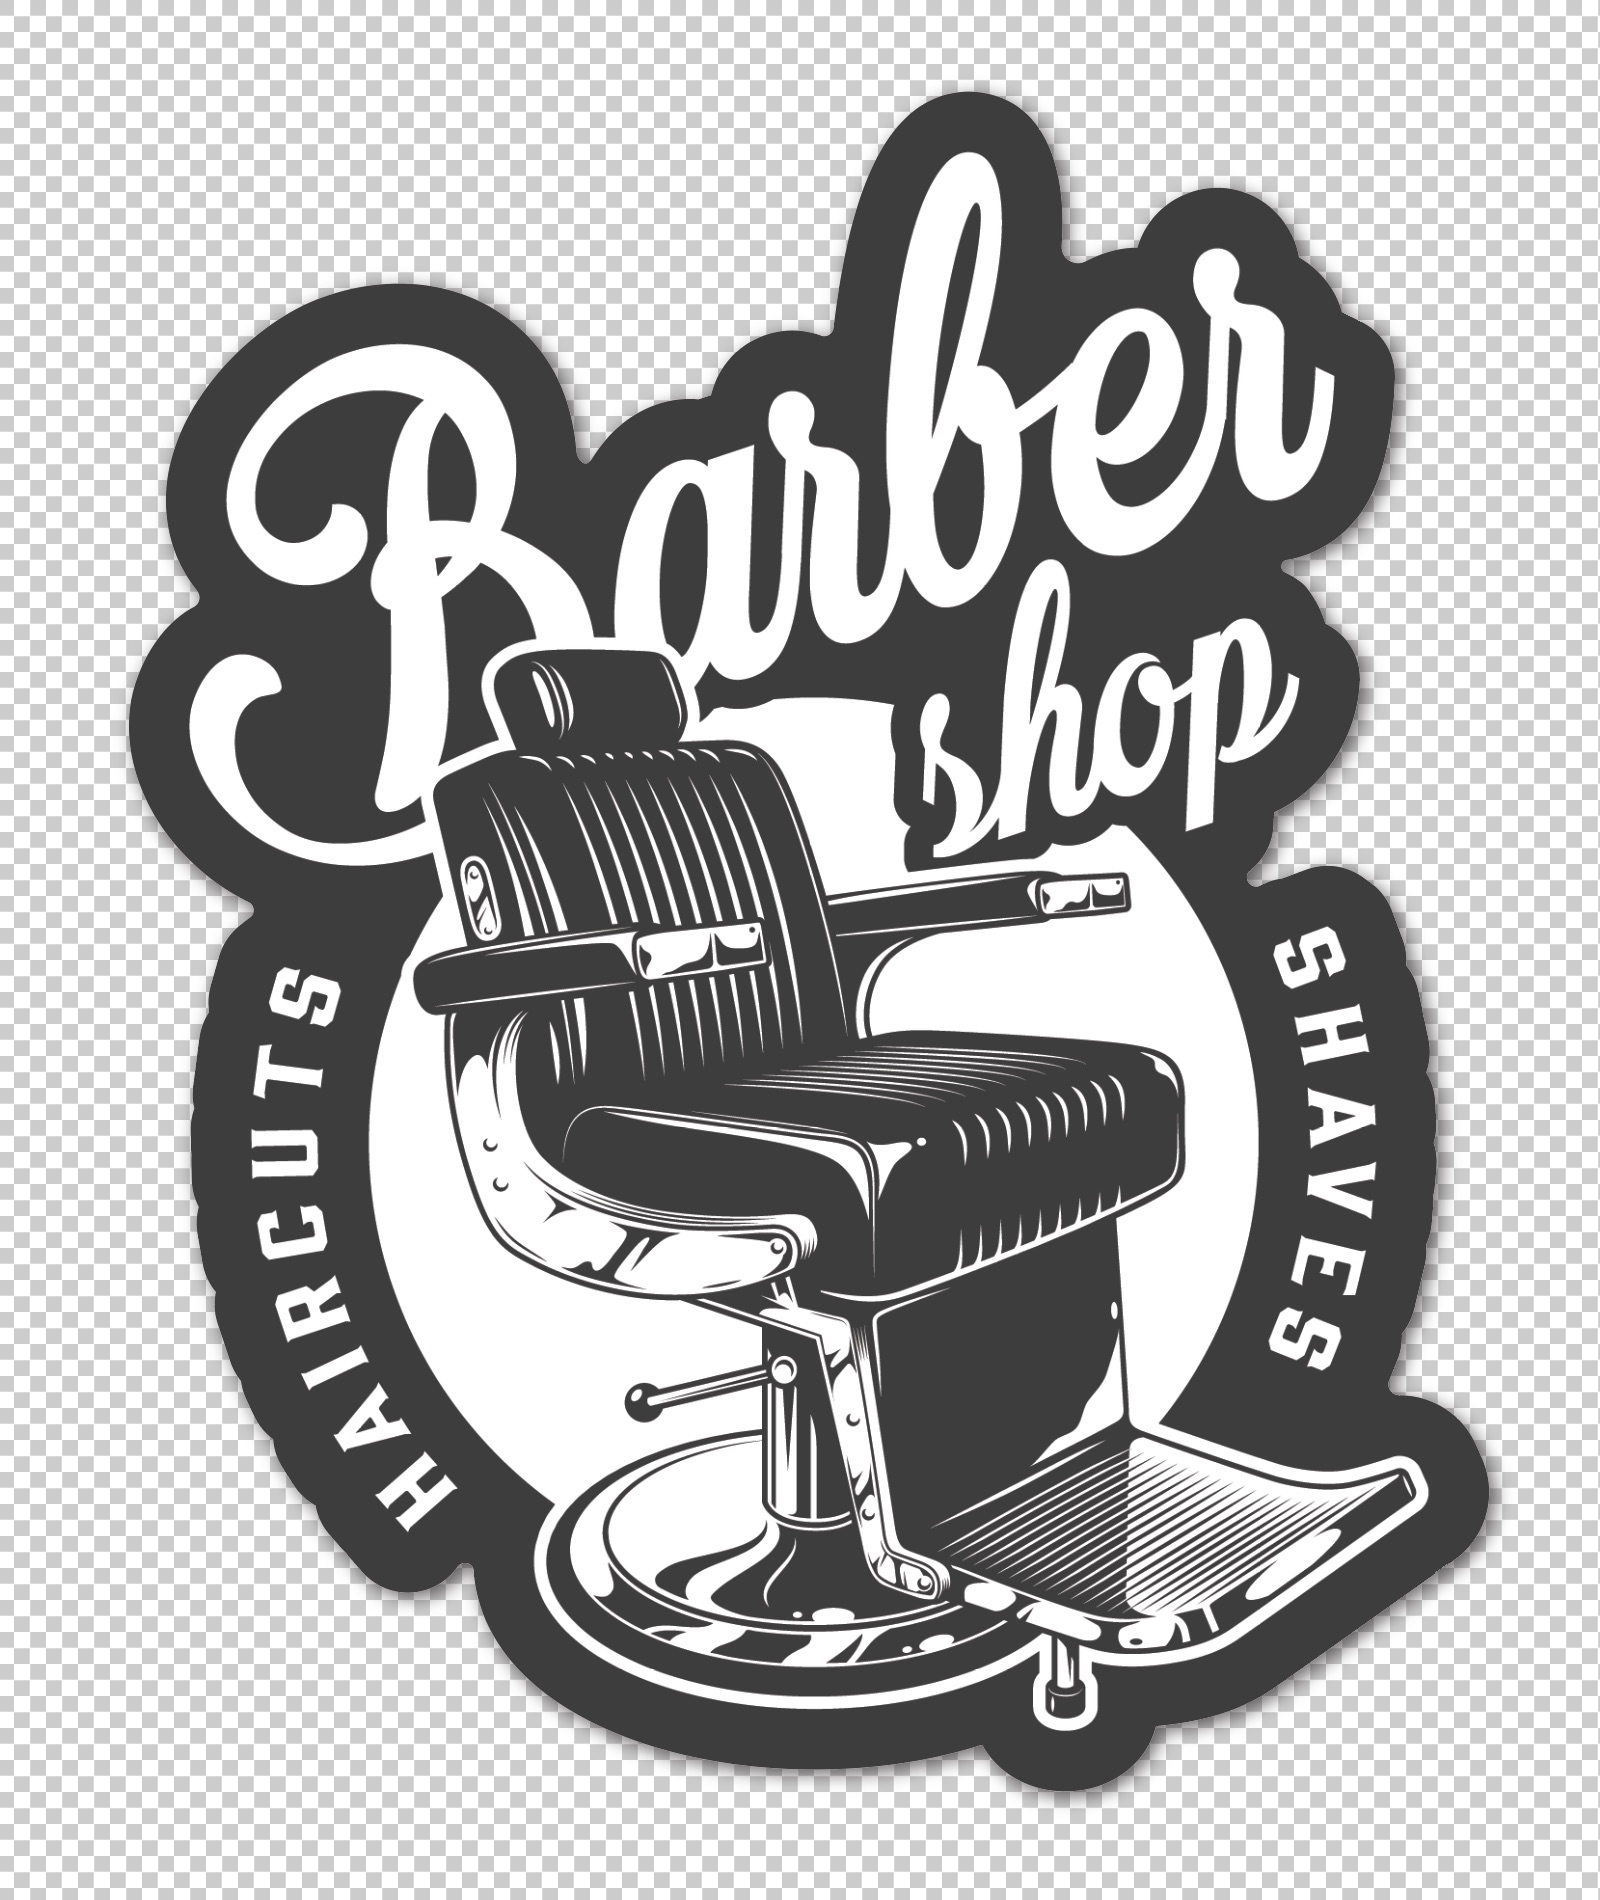
The proportions will be dictated by the logo you’re using, so make a rough approximation at this stage. Here’s a generic barber shop logo I’m going to be using to create my sticker design:
Based on the proportions of the design I’m going to aim for something around 80mm (width) by 100mm (height).
Create a new document in Adobe Illustrator and adjust the artboard to the rough size you’ve decided on. Now, copy/place your vector logo onto the artboard and scale so the logo fits roughly inside the canvas. Name the layer ‘Artwork’.
Step Two: Set up your cut layer
Now, duplicate your ‘Cutpath’ layer. You can do this by clicking on the Cutpath layer and dragging onto the ‘+’ icon at the bottom of the layers panel.
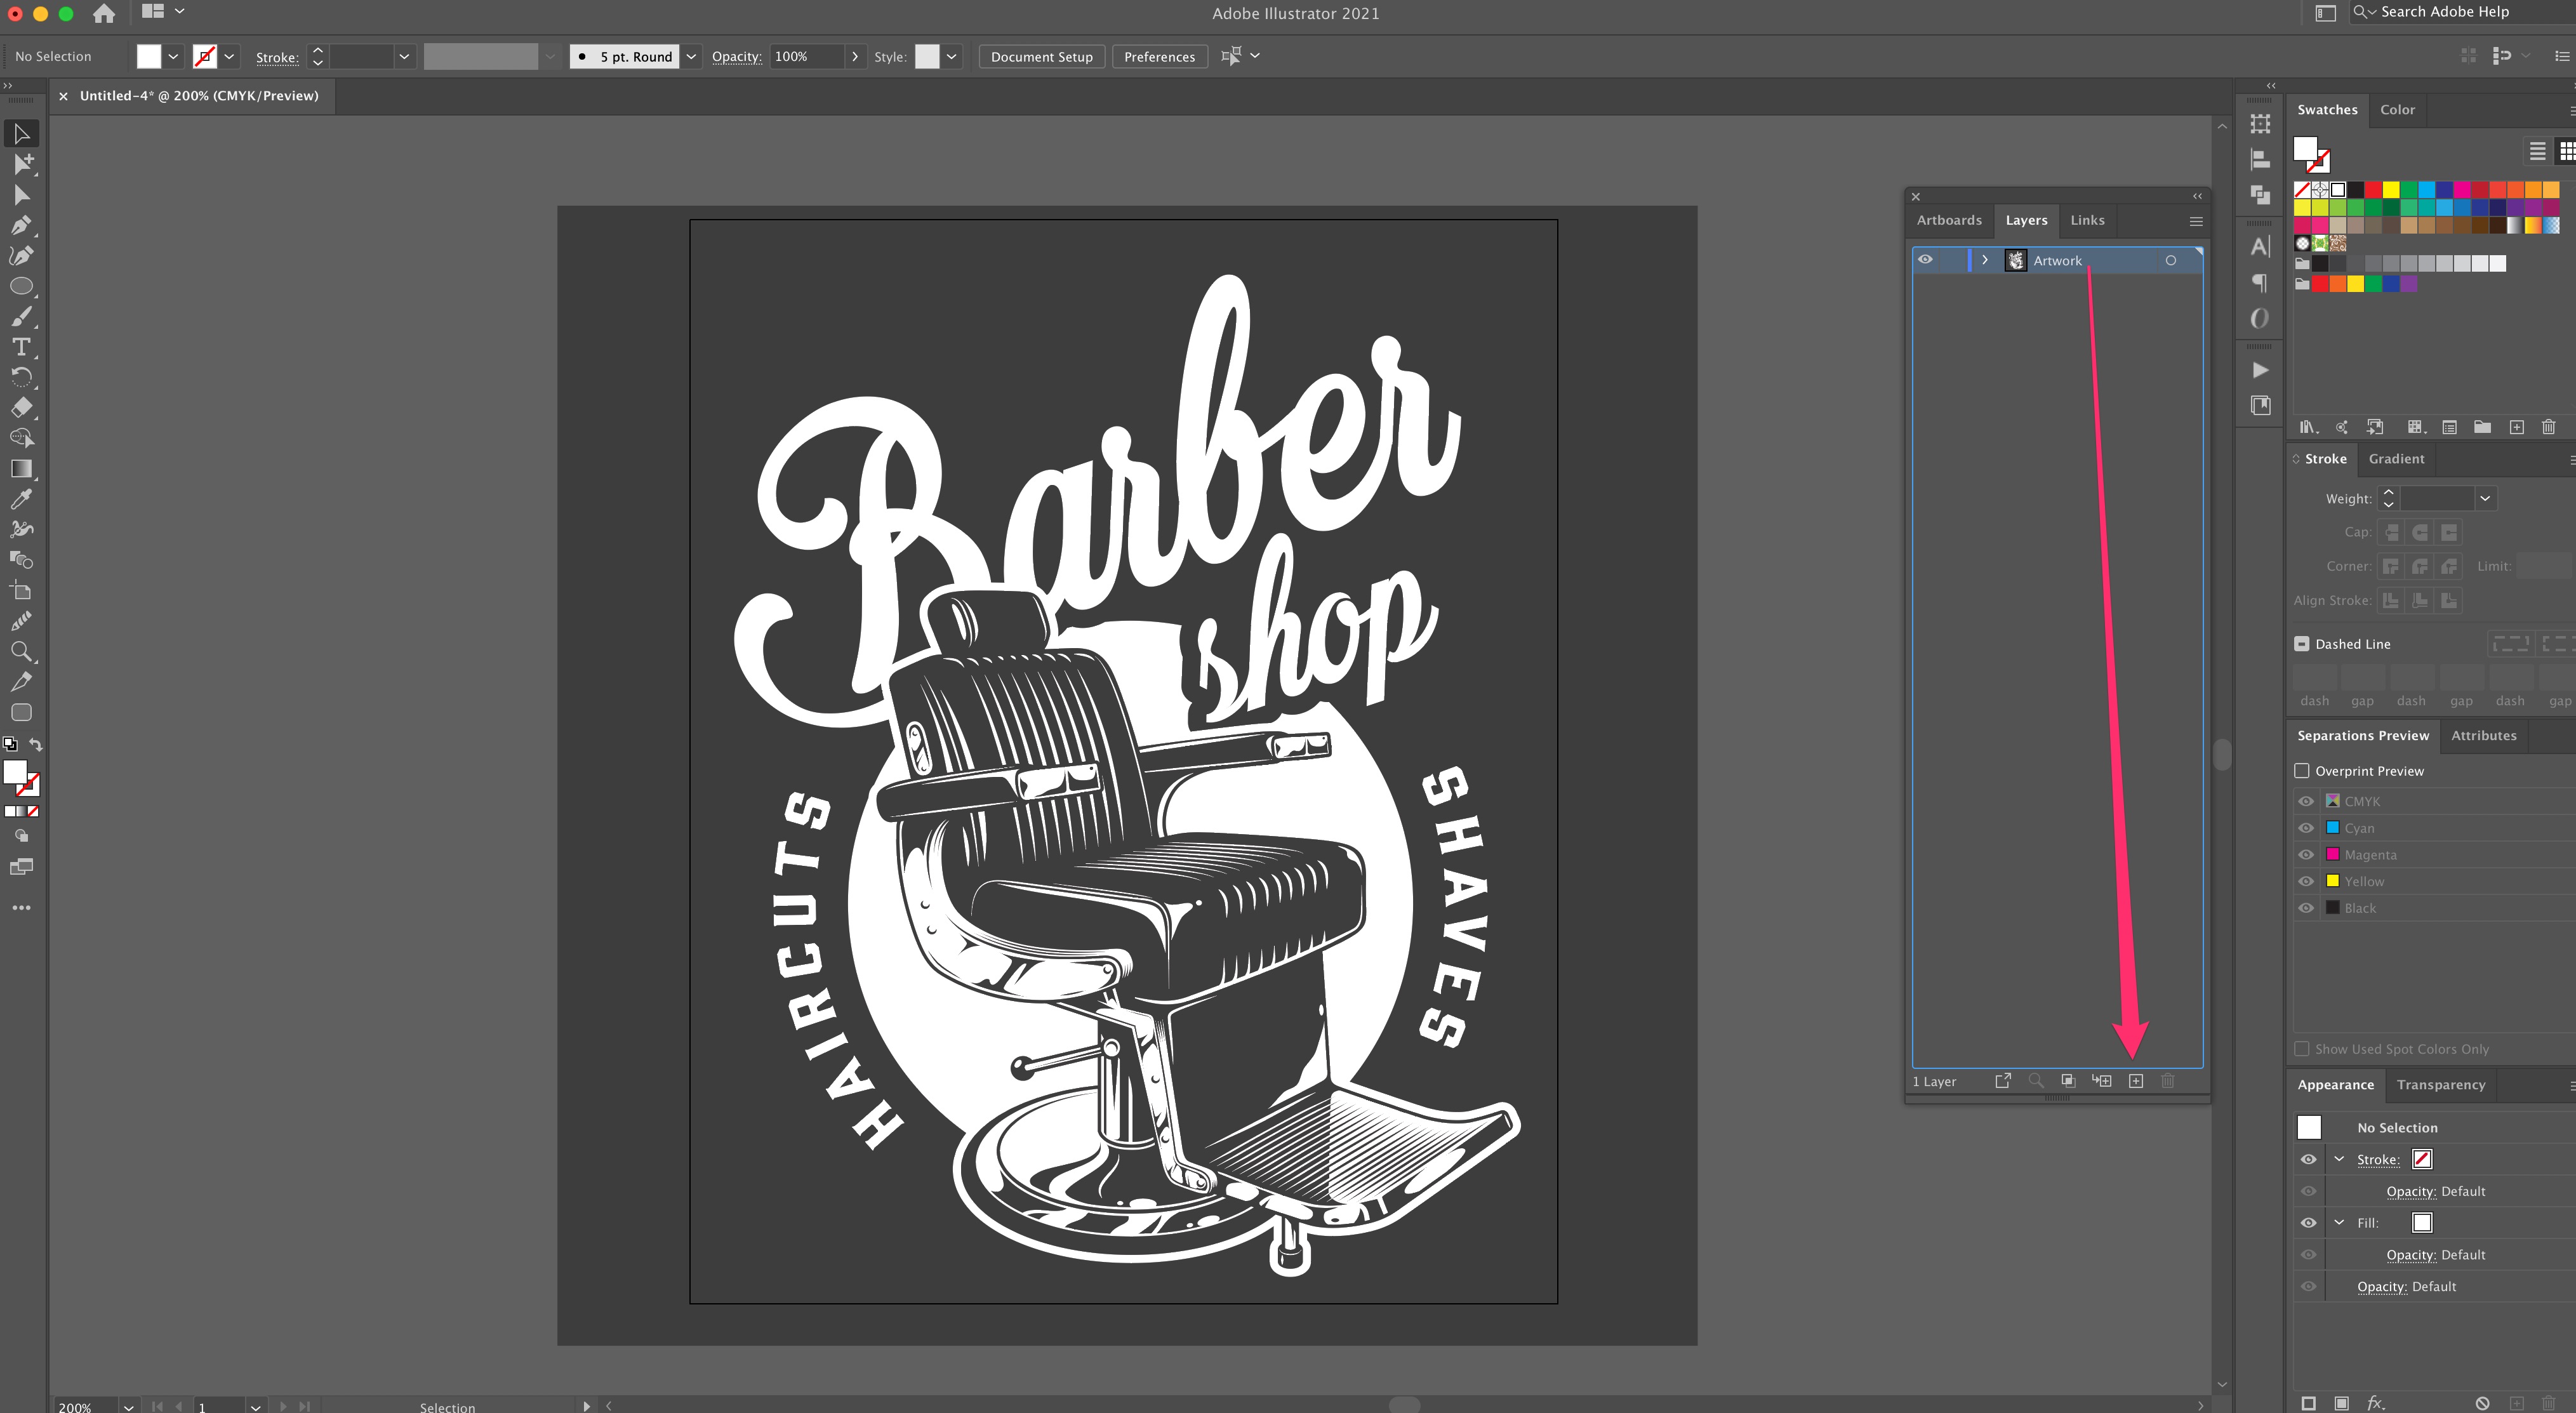
Rename this layer ‘Cutpath’.
Step Three: Generate your cut line
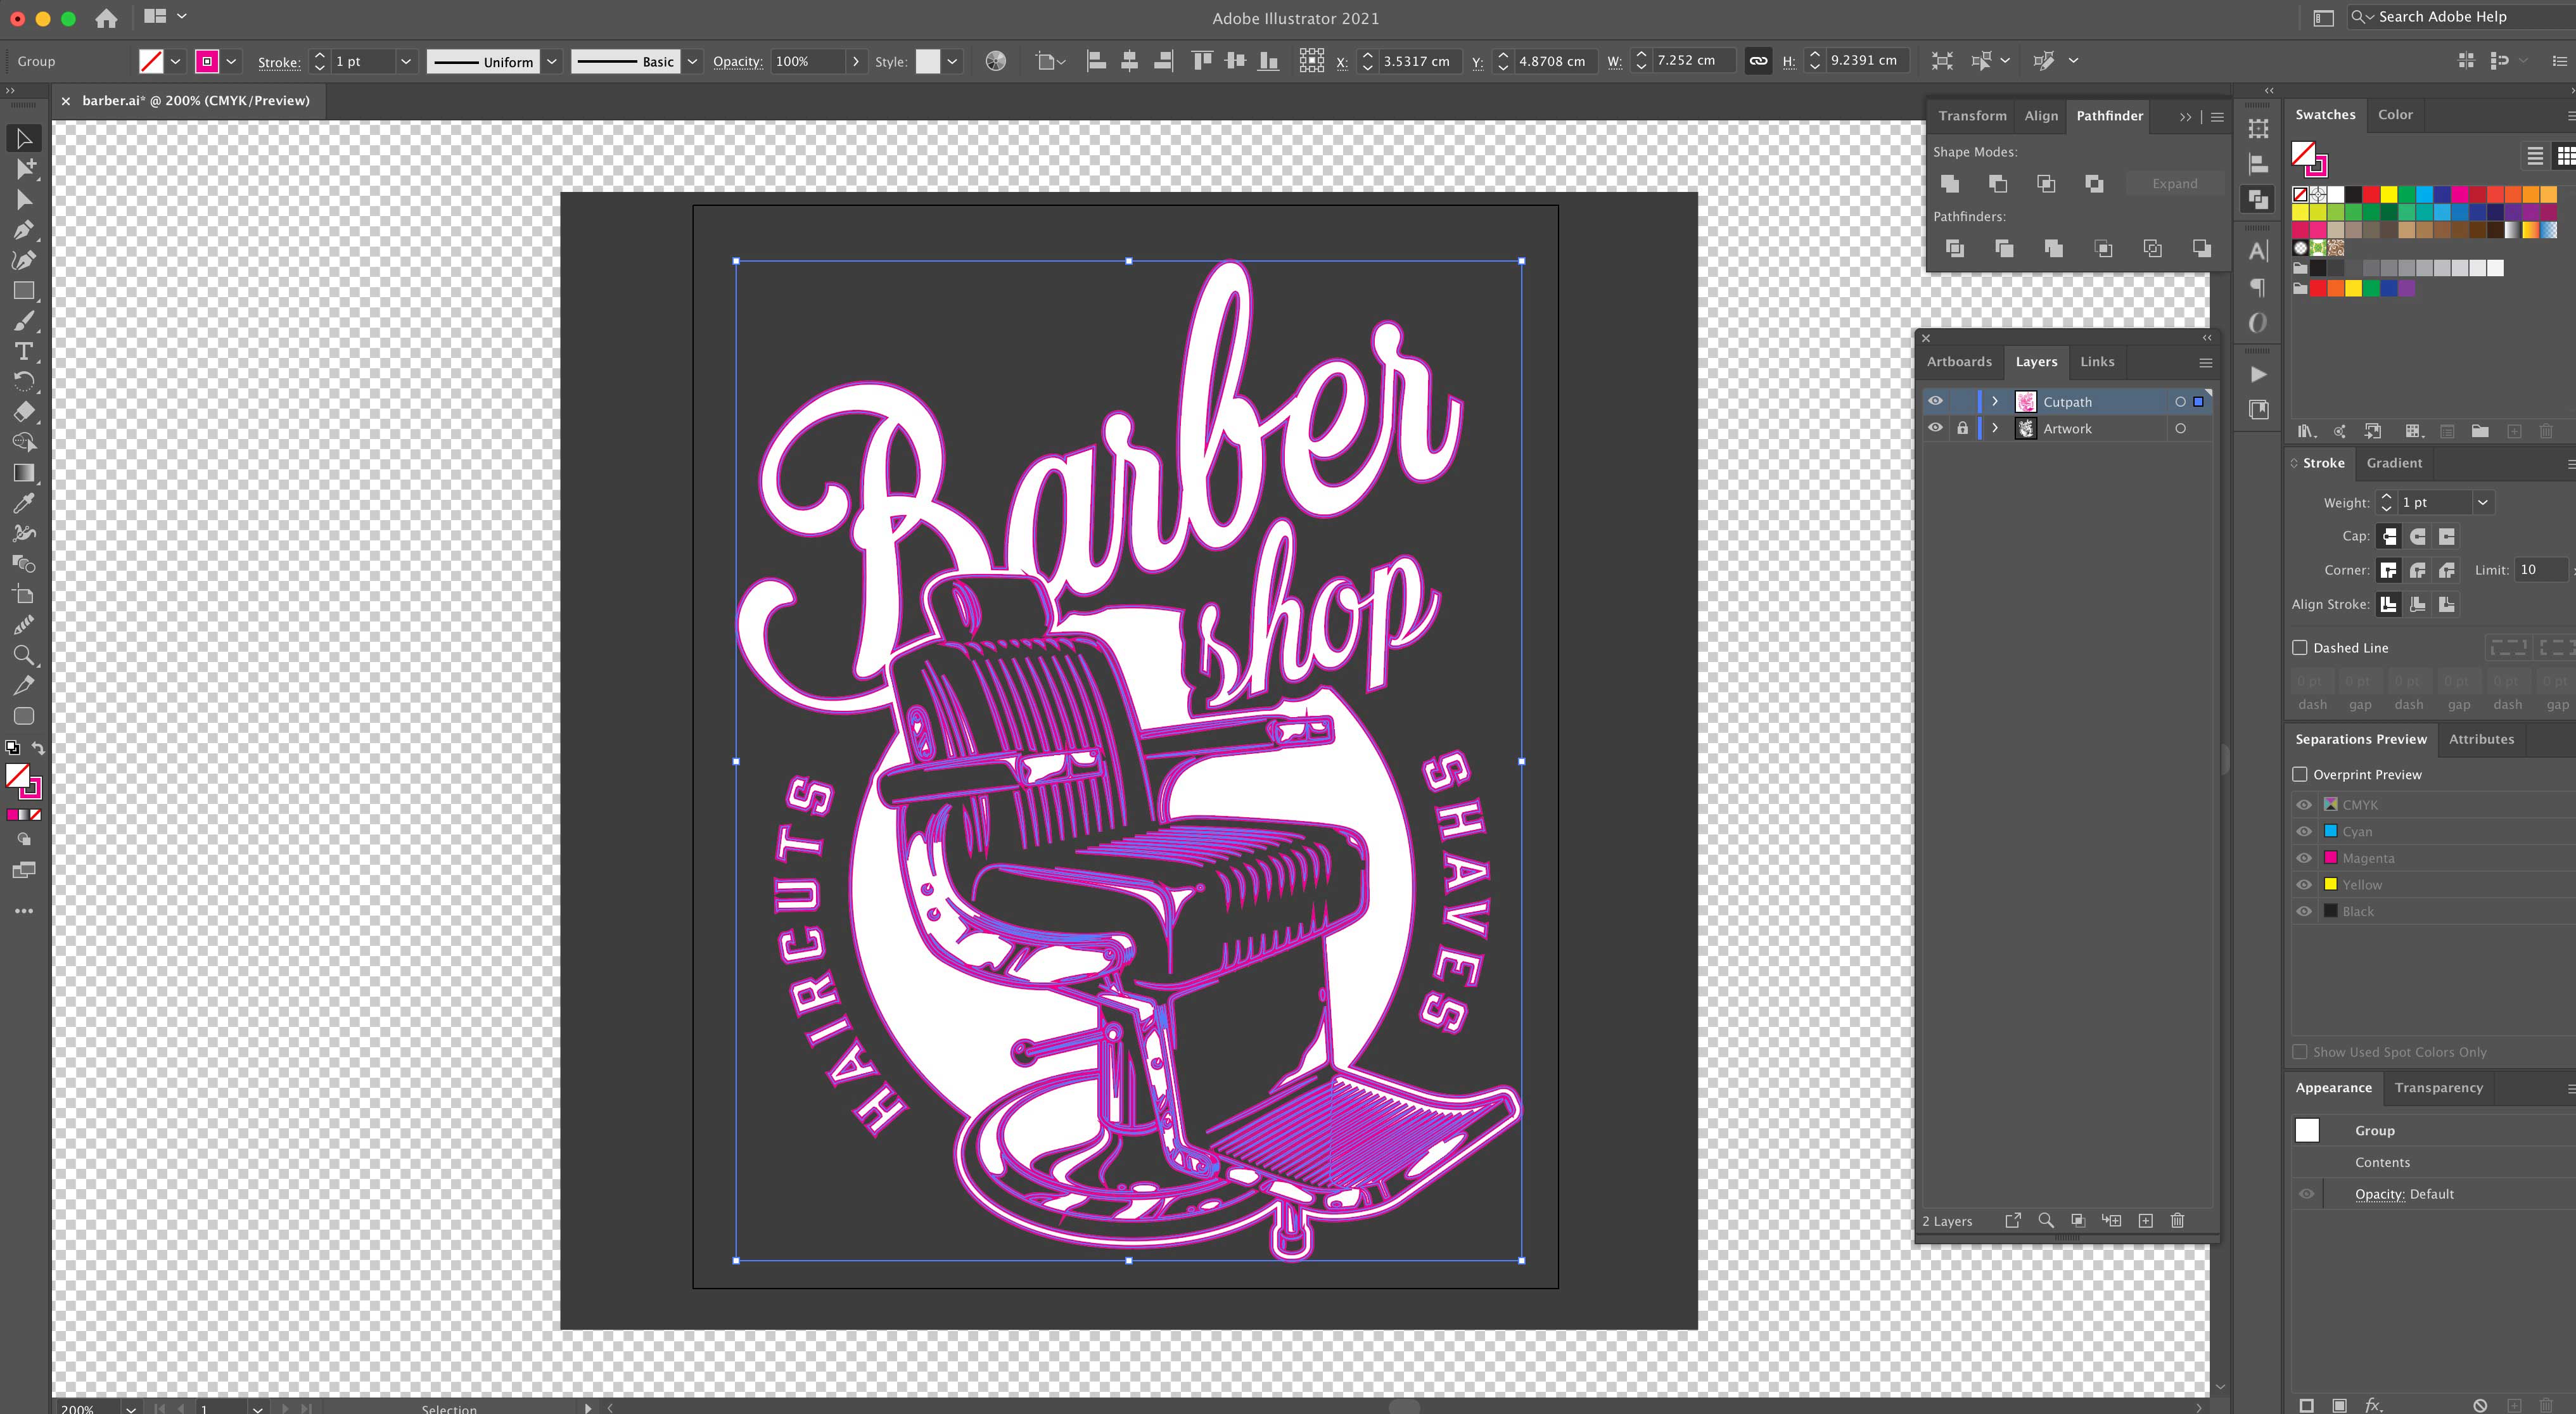
Now, lock the artwork layer so you don’t accidentally move/delete anything. On the Cutpath layer, remove any elements that you don’t want to form the shape of your cut path. In my case I’ll remove the grey background, leaving just the logo.
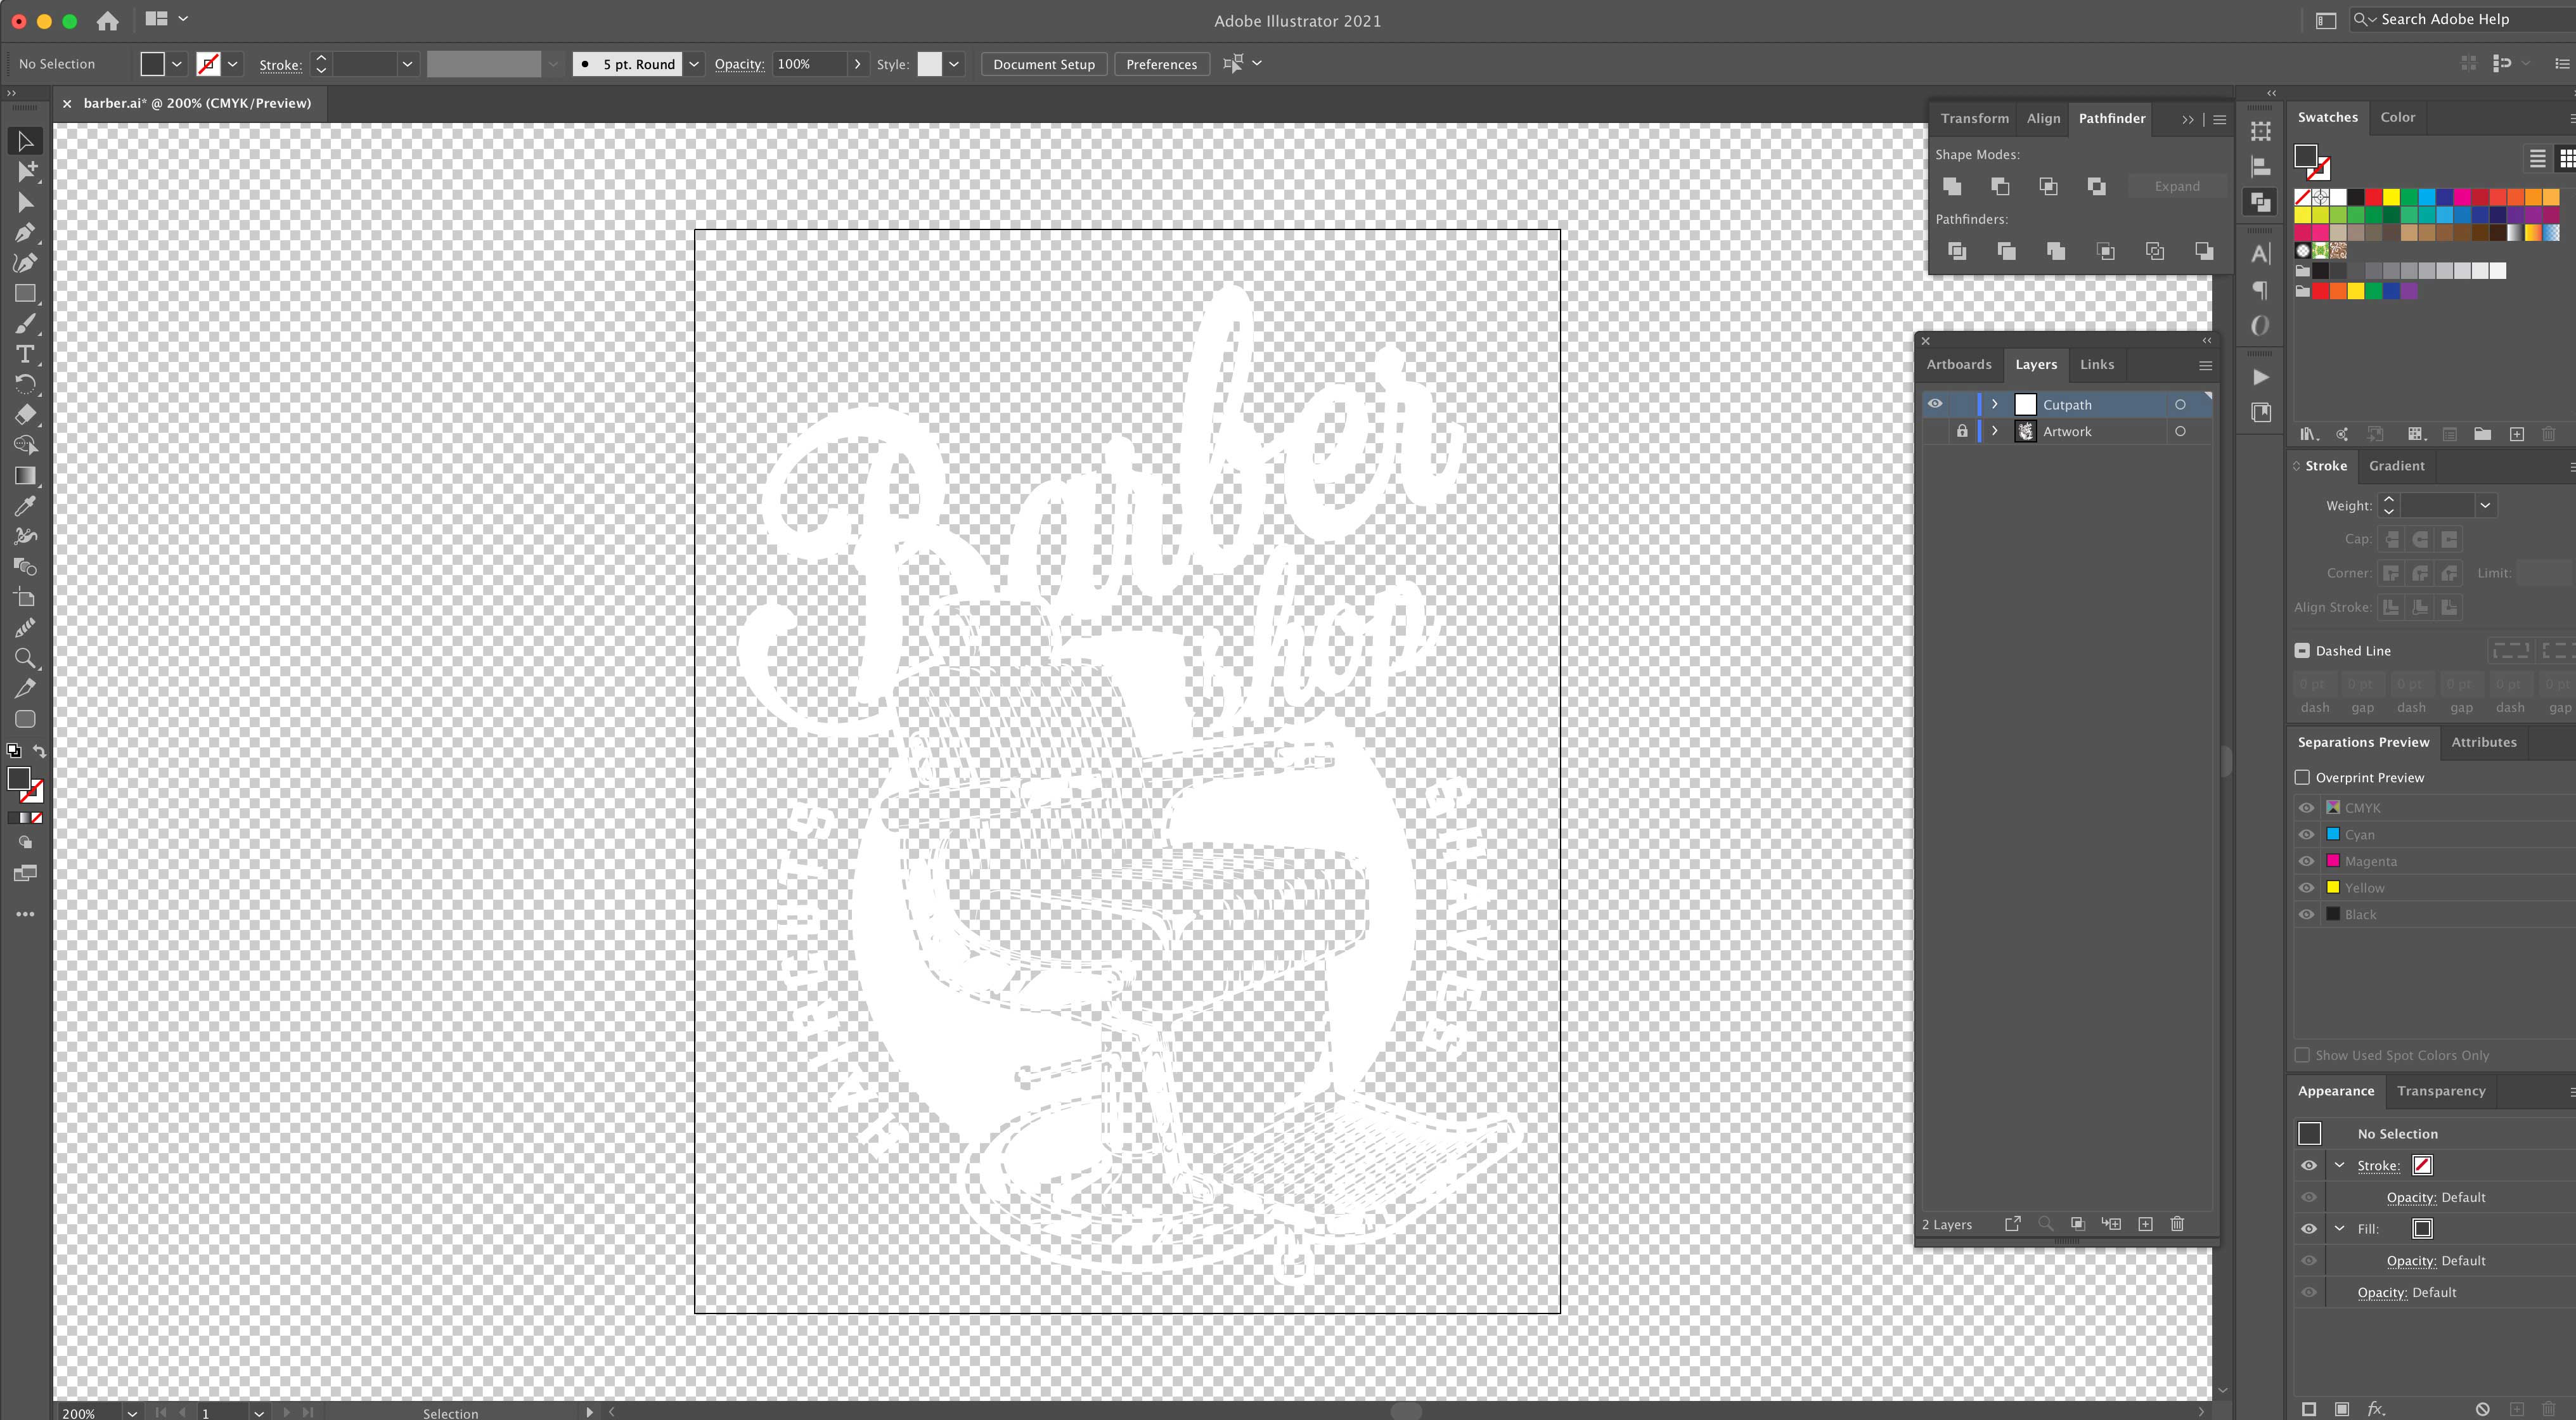
At this point it’s worth selecting everything on the Cutpath layer and hitting ‘Object > Flatten Transparency’ to make sure there’s no strokes or hidden bits and pieces that will cause issues later.
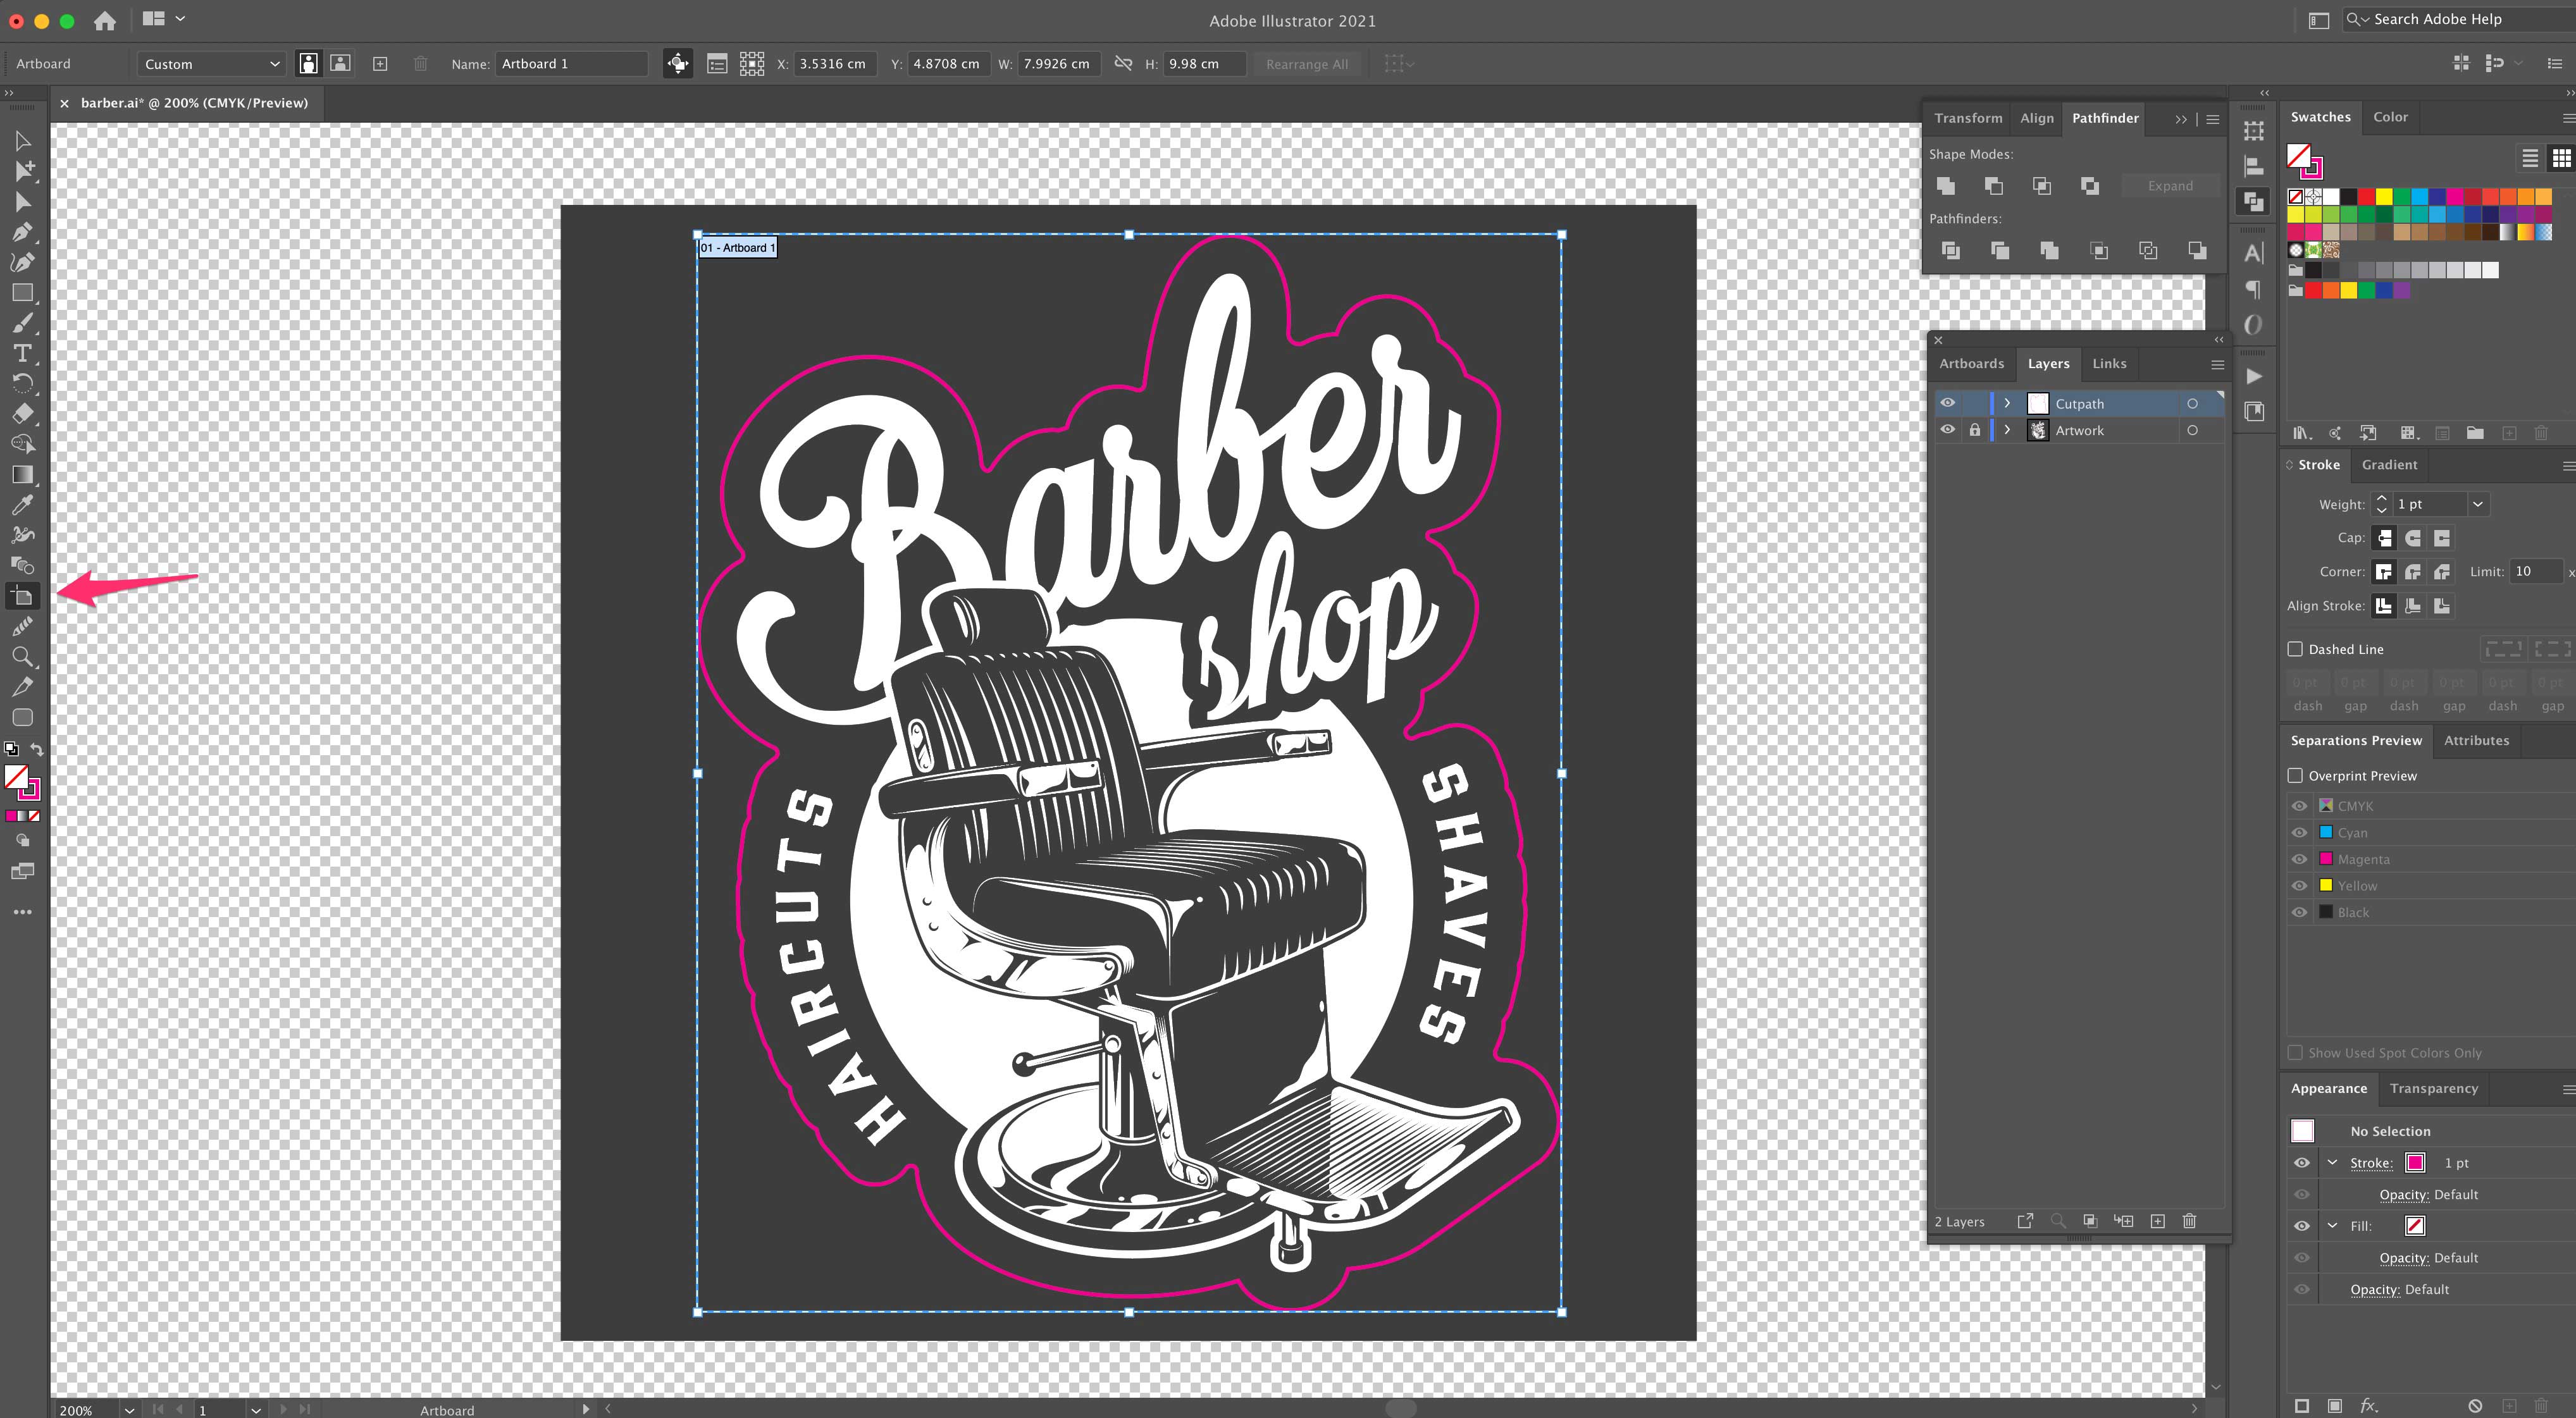
Next, set the stroke colour of the Cutpaths elements to magenta and the fill to ‘None’. Make sure the Artwork layer is visible so you can see the cutpaths overlaid onto the print image.
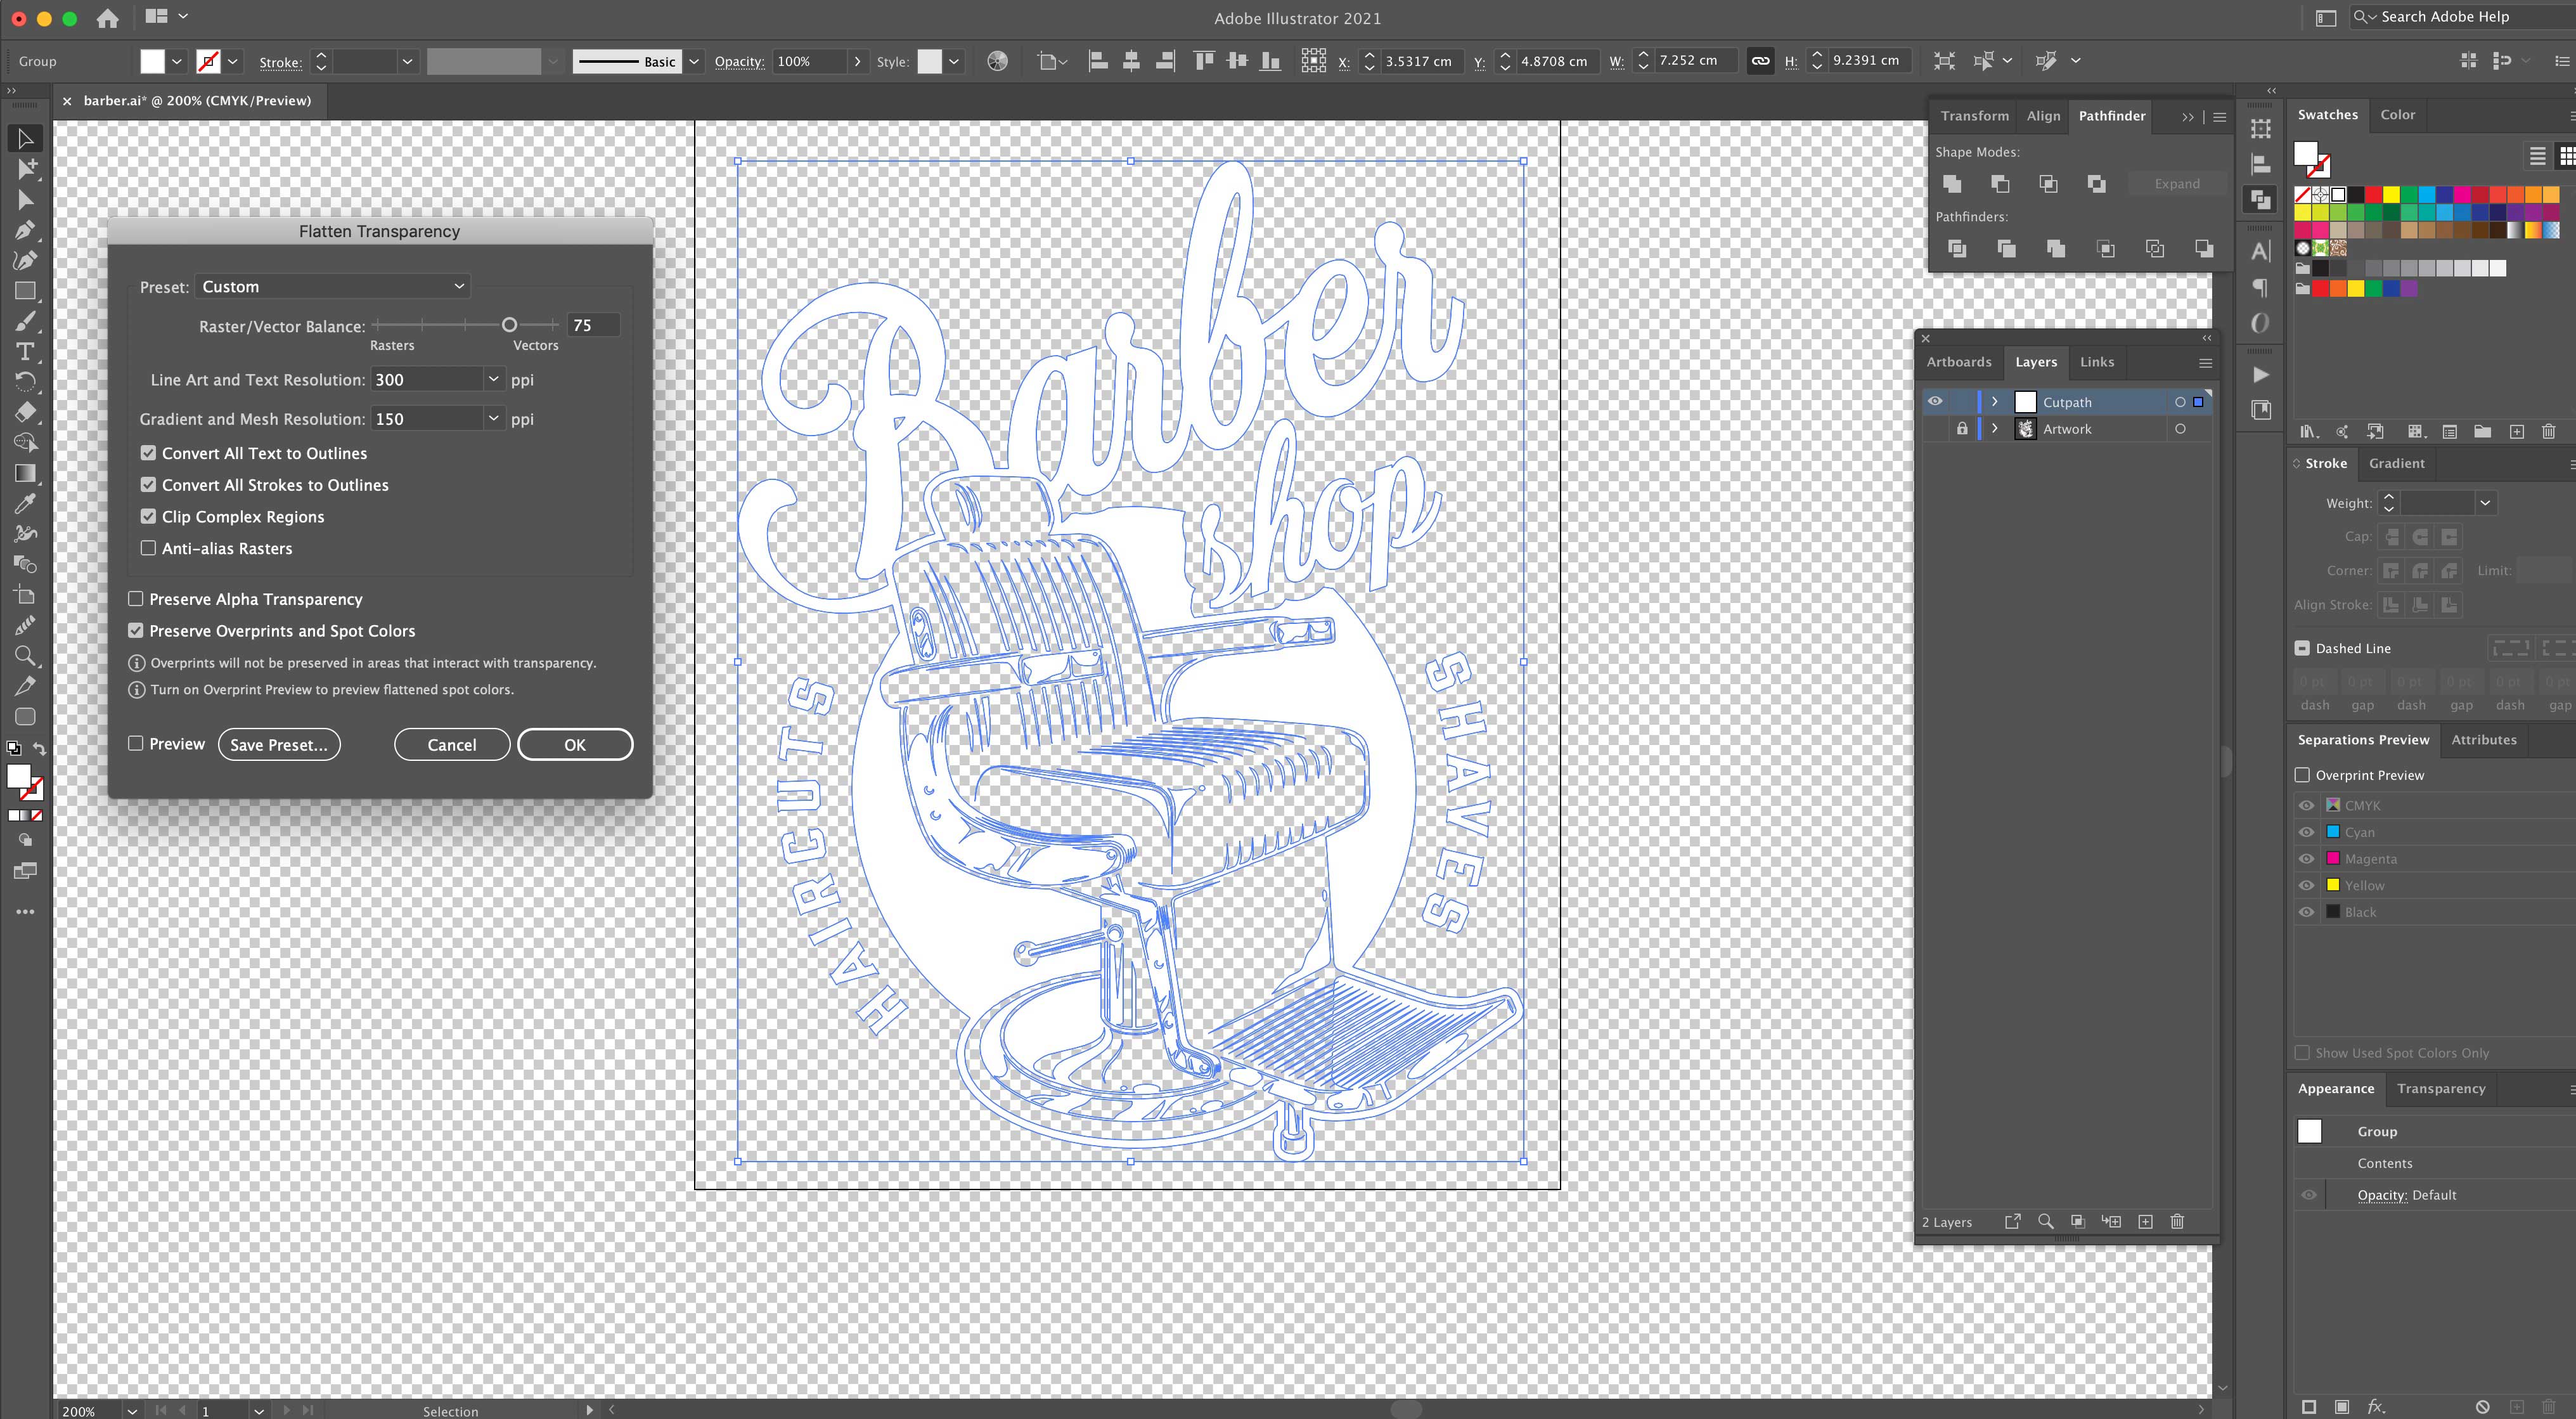
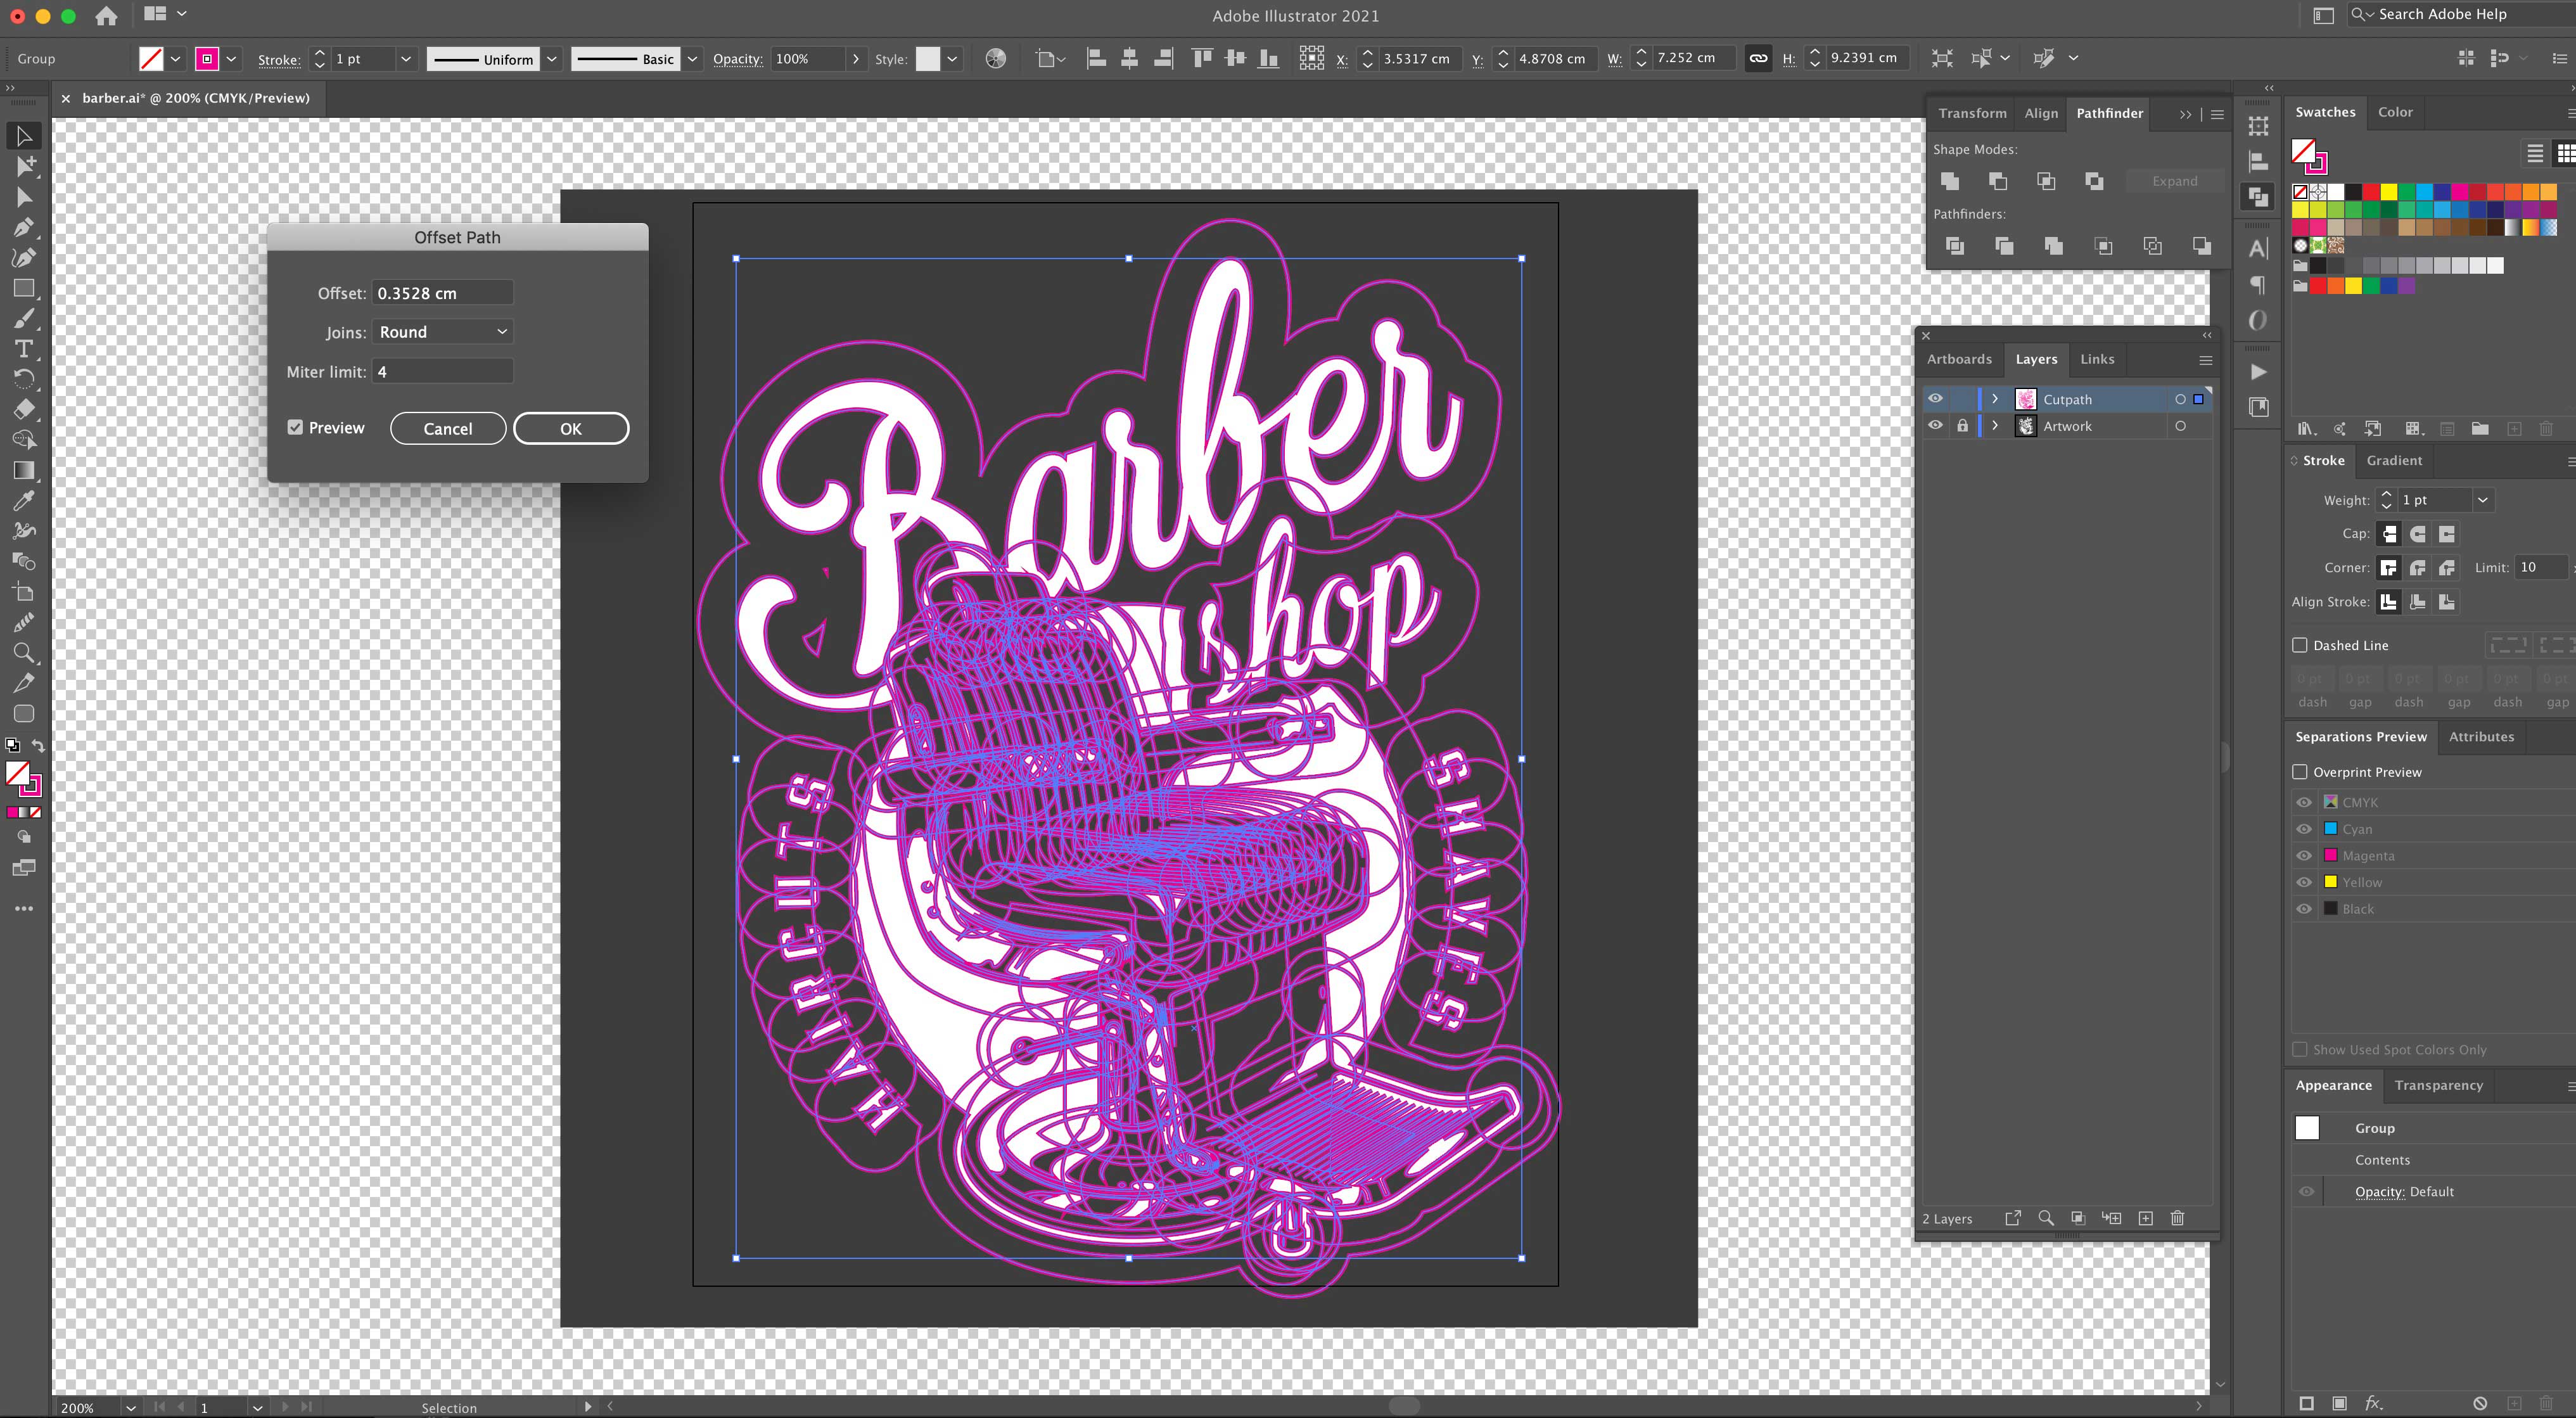
With the cut paths selected (and the Artwork layer still locked) click ‘Object > Path > Offset Path. You can then adjust the offset for the amount of border around the logo that you’d like. Make sure the ‘Joins’ setting is set to ‘Round’ – otherwise you’d end up with a jagged rather than smooth path.
Finally, we’ll merge these separate intersecting paths into one shape. Reselect everything on the Cutpath layer and invert the stroke/fill, so that the fill is set to magenta and the stroke is set to ‘none’.
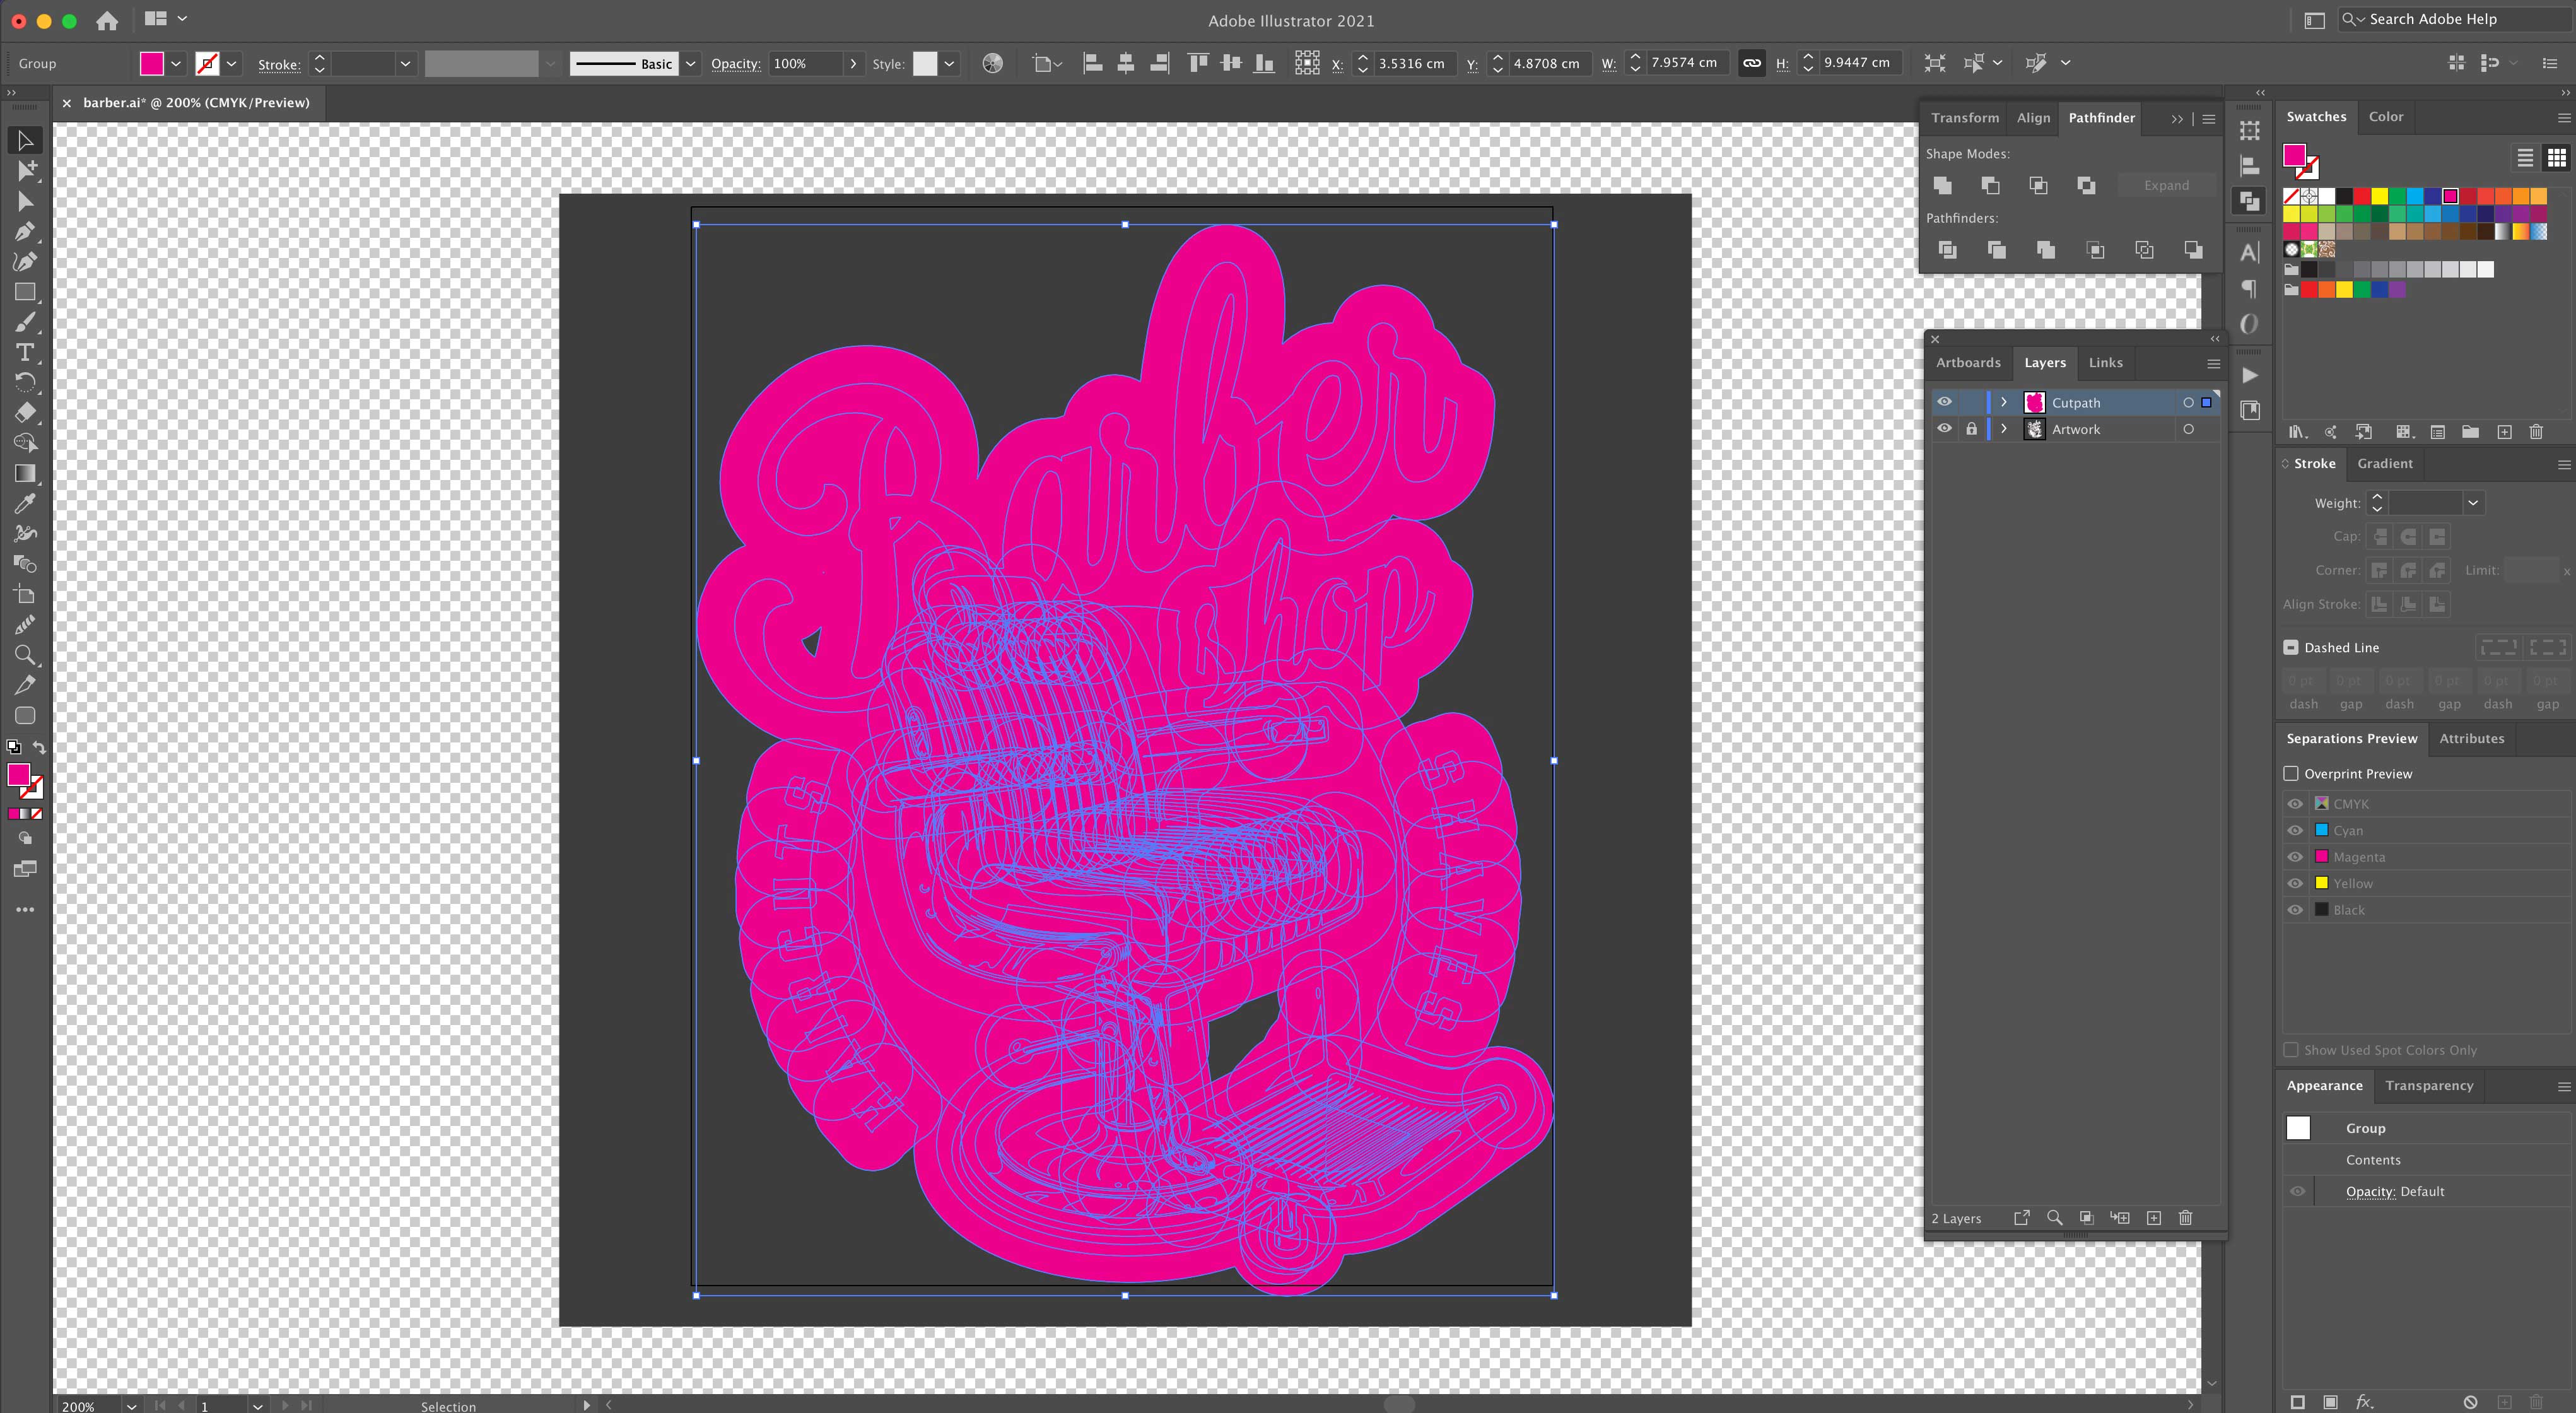
Now, (with everything on the Cutpath layer selected) click the ‘Merge’ icon on the Pathfinder panel.
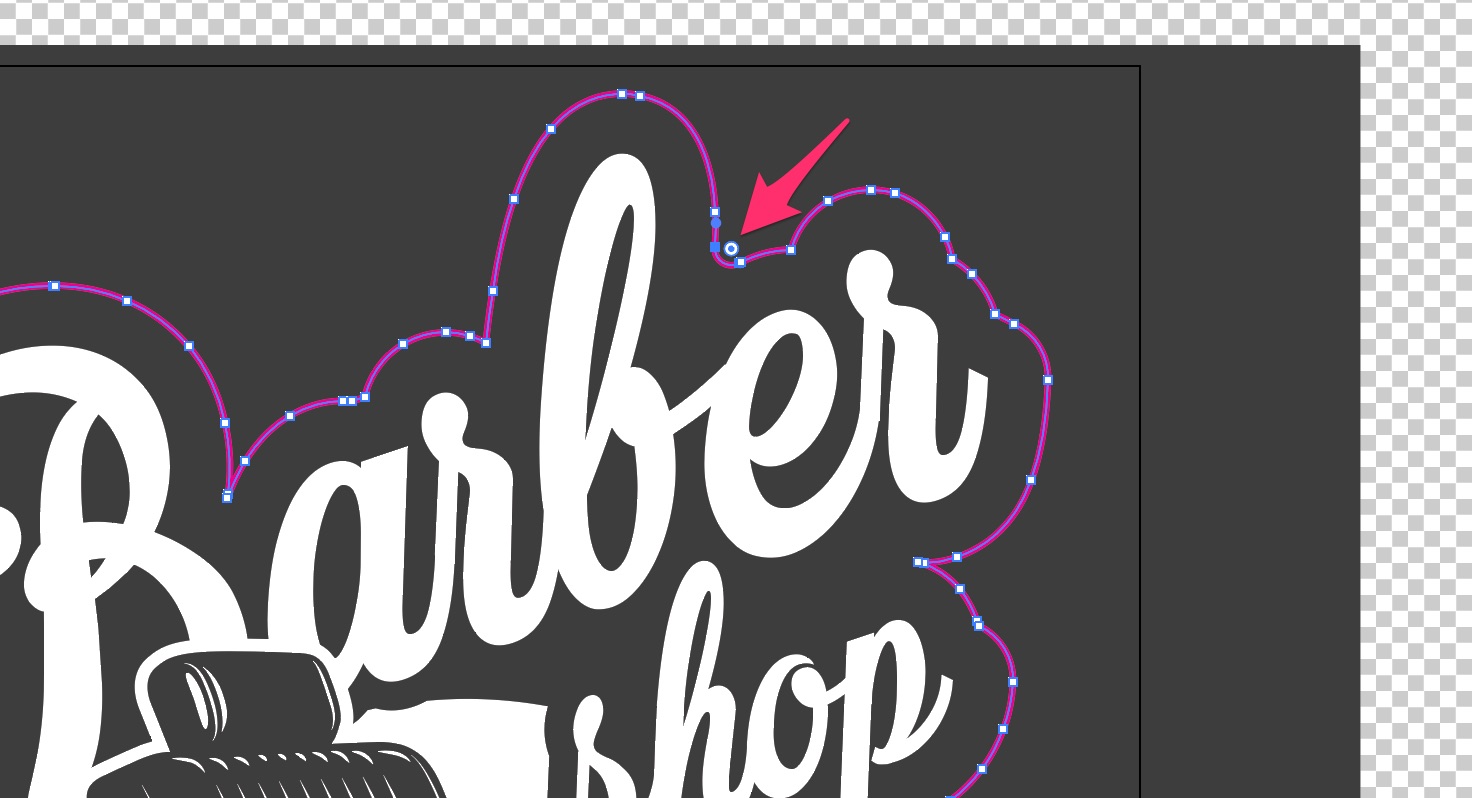
Voila! Your intersecting paths have become one shape! Invert the stroke/fill so the stroke is set to magenta and the fill is set to ‘none’. If you have some inner paths (like I do) you may have to select the shape using the white arrow to do this.
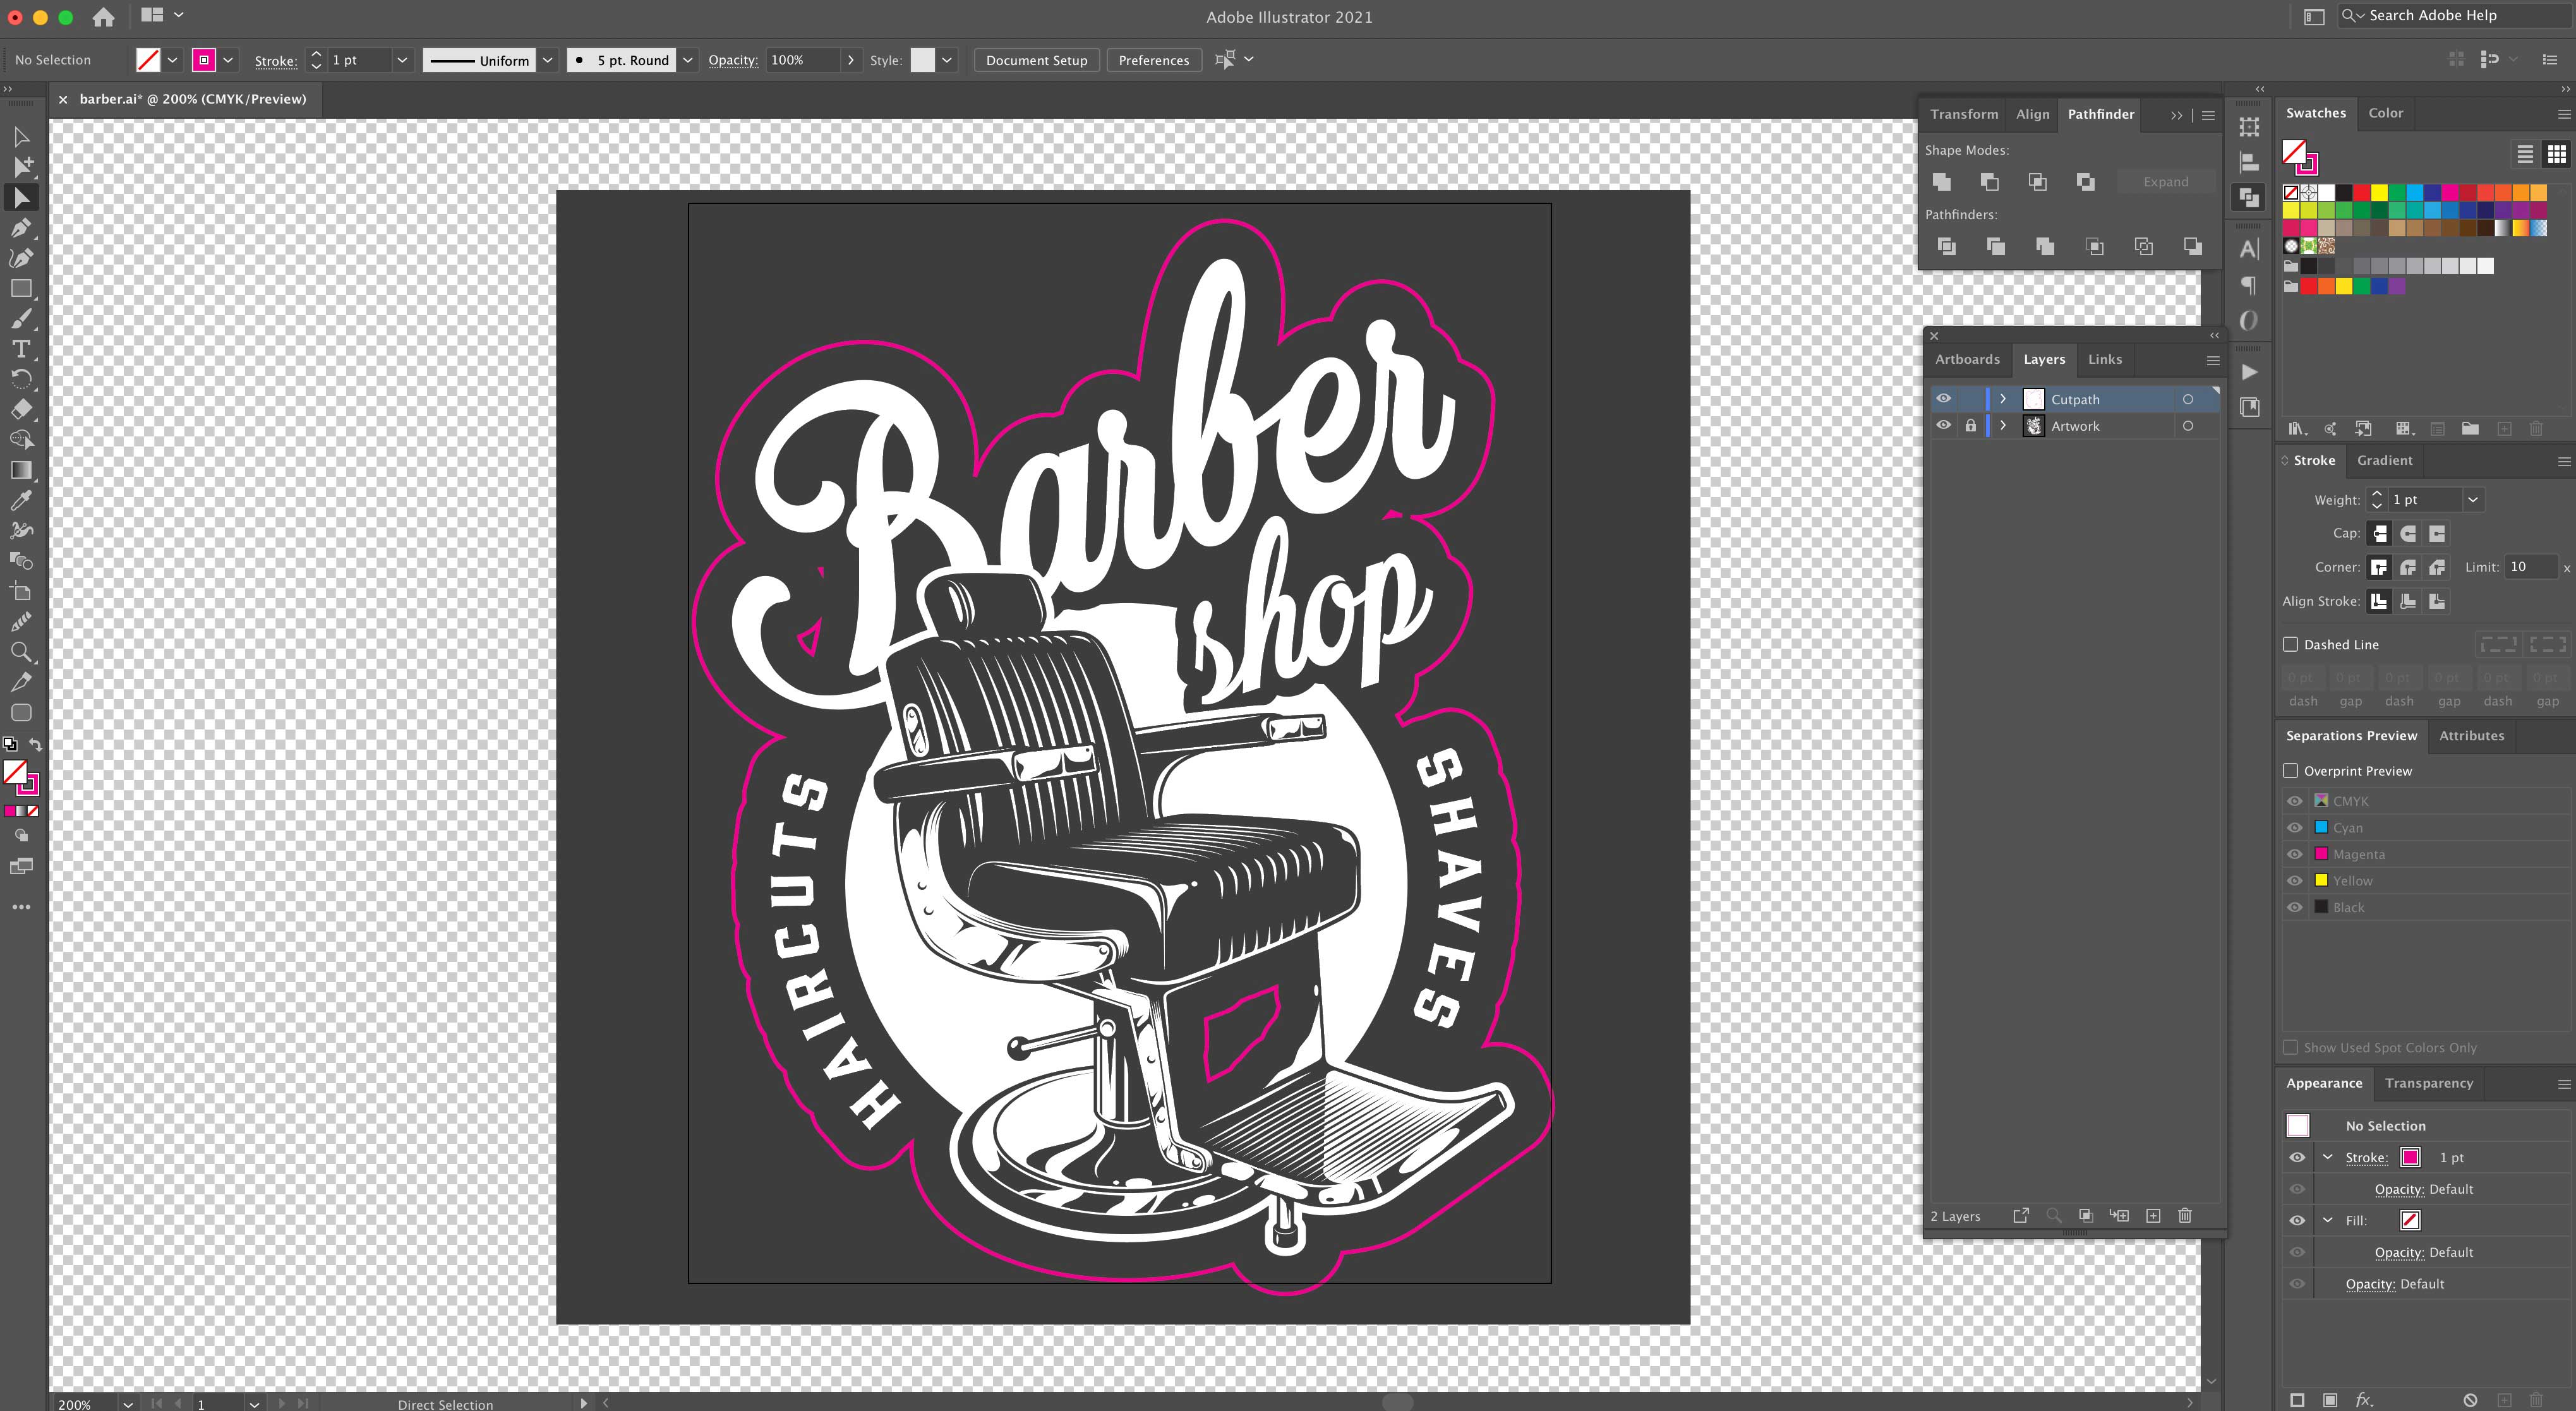
Looks pretty good huh? Now all that’s left is to tidy up. Select any small inner paths that you don’t want with the white arrow and delete them. If there’s any acute inner angles you can smooth them into curves using the corner handles.
Once you’re happy with the shape of your sticker we need to resize the artboard, check the size of the sticker, and ensure there’s sufficient outer bleed.
Step Four: Preparing for Print
Let’s adjust the artboard first. Click on the ‘Artboard Tool’ icon and double click on your cut path. That will set the outer edge of the artboard to your cut path.
The artboard dimensions will show the overall size of the sticker. In my case, 80mm x 100mm. Perfect!
Next, we’ll check there’s sufficient bleed. Adjust the artboard dimensions so that there’s an extra 2mm on each side. In my case, that’s a total size of 84mm x 104mm.

As you can see, the grey background fills the entire artboard, so we’re good to go. If there’s insufficient background you’ll need to adjust the Artwork layer to fill it to the boundary of the artboard.
And that’s it – we’re done. Here’s my finished sticker, ready to print at Diginate. Pretty smart!
If you’re struggling to create nice die cut sticker designs we’re always here to help. Just get in touch via our Contact Form and we’ll be glad to lend a hand.