How to create a variable data sticker sheet with Adobe Illustrator
Warning: if you are required to operate heavy machinery in the next 2 hours please stop reading immediately.
Yes, this is a boring topic. But if you need to prepare sticker sheets with variable data (e.g. nametags, serial number labels etc) it’s a big timesaver. The bad news is that Adobe Illustrator’s handling of variable data is surprisingly inflexible, so some workarounds are needed to get the results you’re looking for.
Let’s get into it.
Step 1: Prepare your template
The first step is to prepare your sticker sheet template in Illustrator. I’m going for a simple A4 template with rounded rectangle stickers, but since Diginate is super flexible in regards to size and shape you could equally design a long thin strip of pineapple shape stickers. It’s up to you.
First up, I’ll set up an A4 page size and add a path to demonstrate the outer cut path of my stickers.
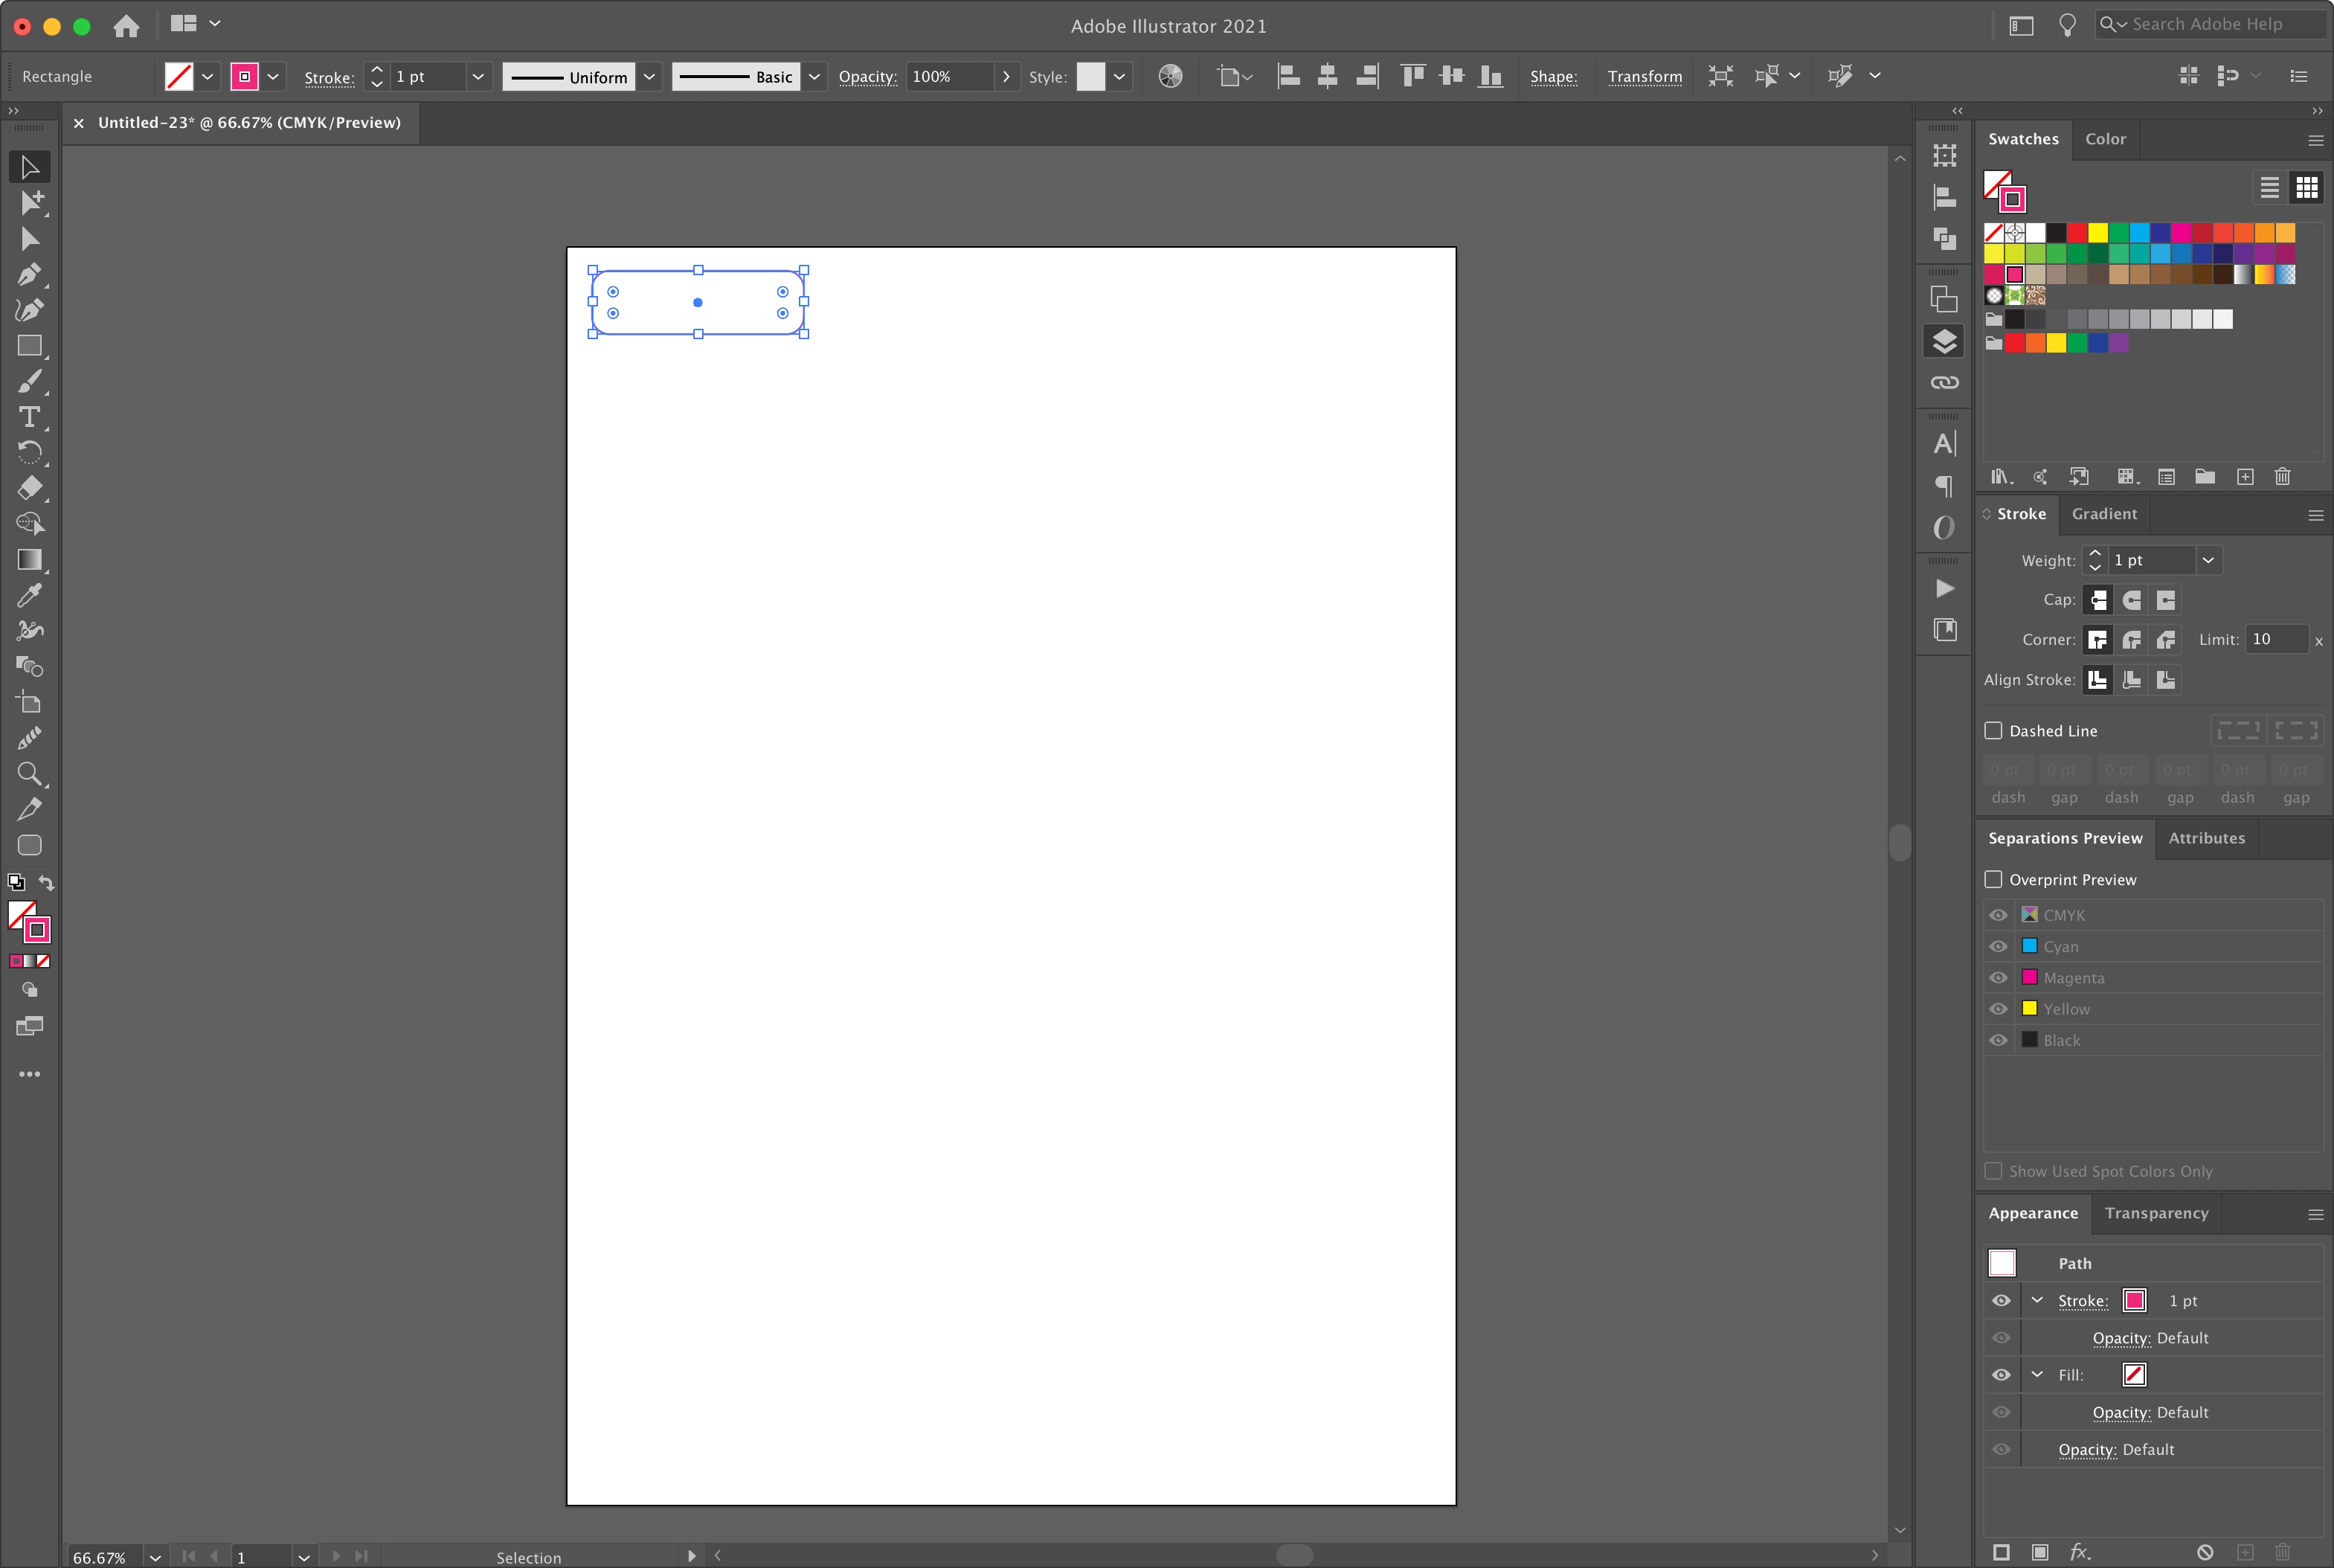
I’ll set the stroke to magenta, as that’s the universally recognised colour for cutter guides, and set the fill to none. Set the layer name to ‘Cut’.
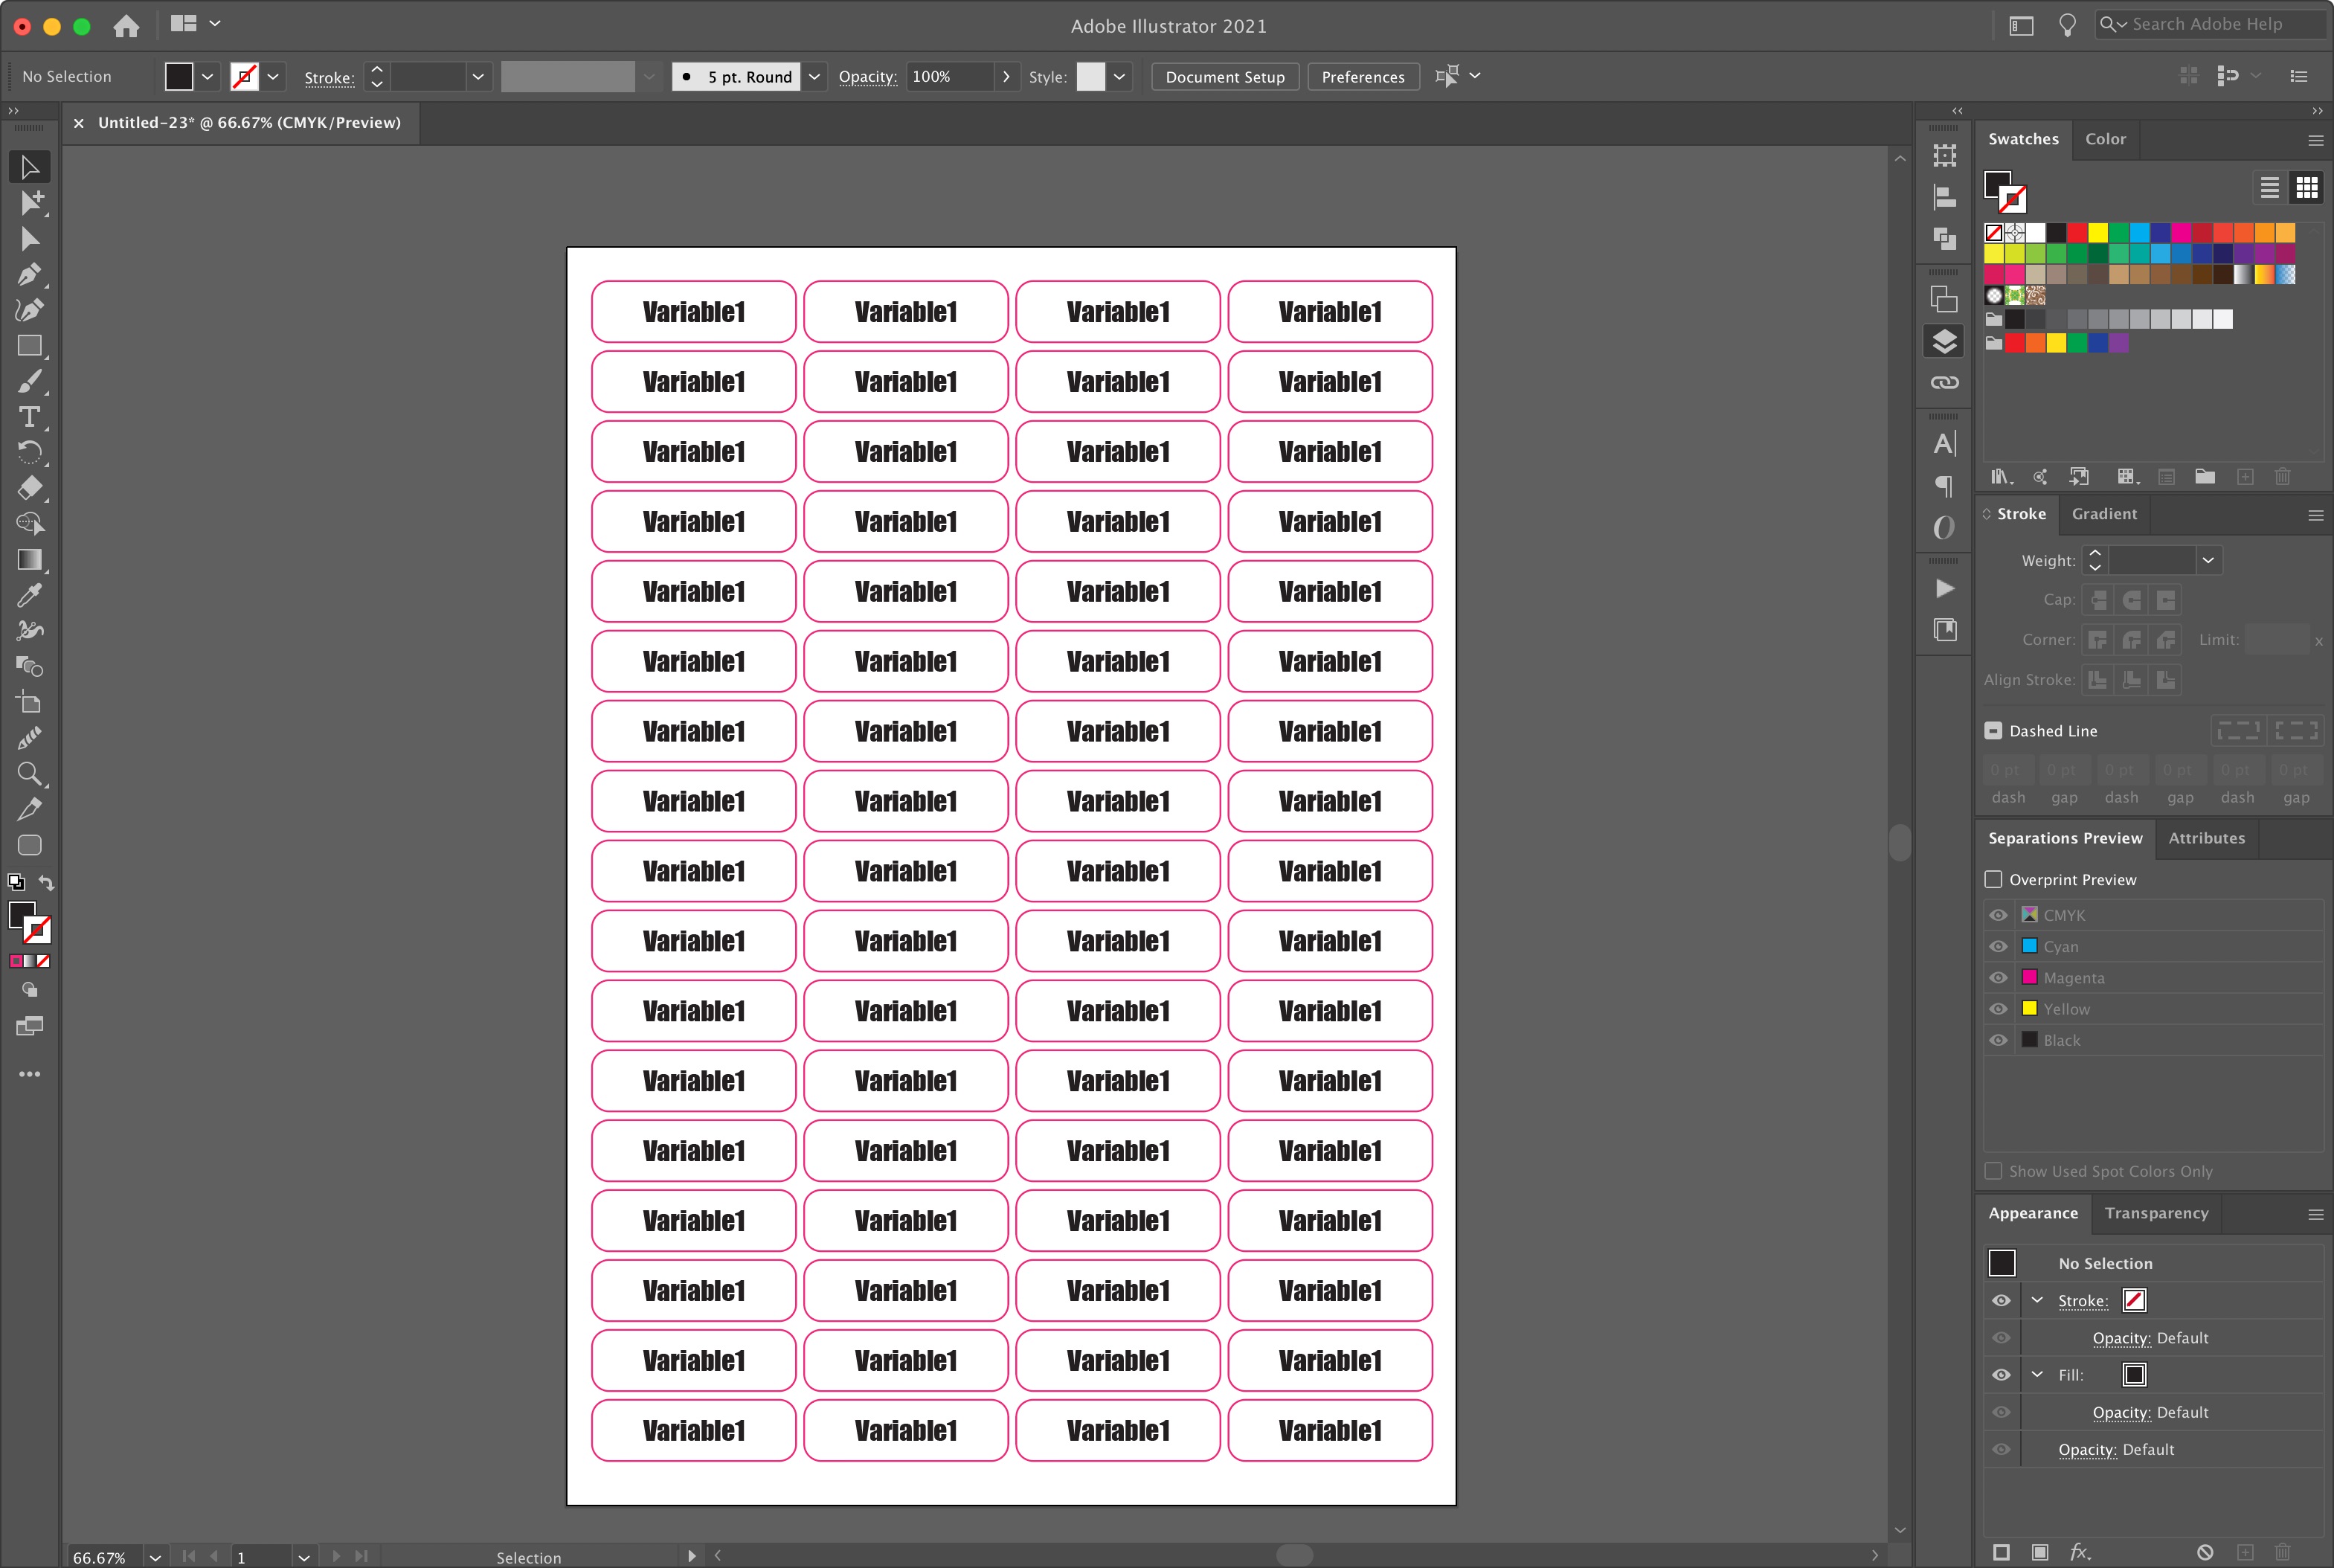
Next, I’ll set up a new layer beneath the cut layer called ‘Text’, and add placeholder text with “Variable1” inside the sticker. Make the text alignment is set to center. I’ve chosen the font Impact as it’s important to me that these stickers have impact.
Duplicate the stickers across the A4 template. There’s lots of tools in Illustrator for duplicating and evenly spacing elements but I won’t get into that now. Here’s my sticker sheet template:
Here’s where the boring admin begins. I need to update each variable name in sequential order: Variable1, Variable2 etc. This will take a little while but eyes on the prize – this will save you time in the long term.
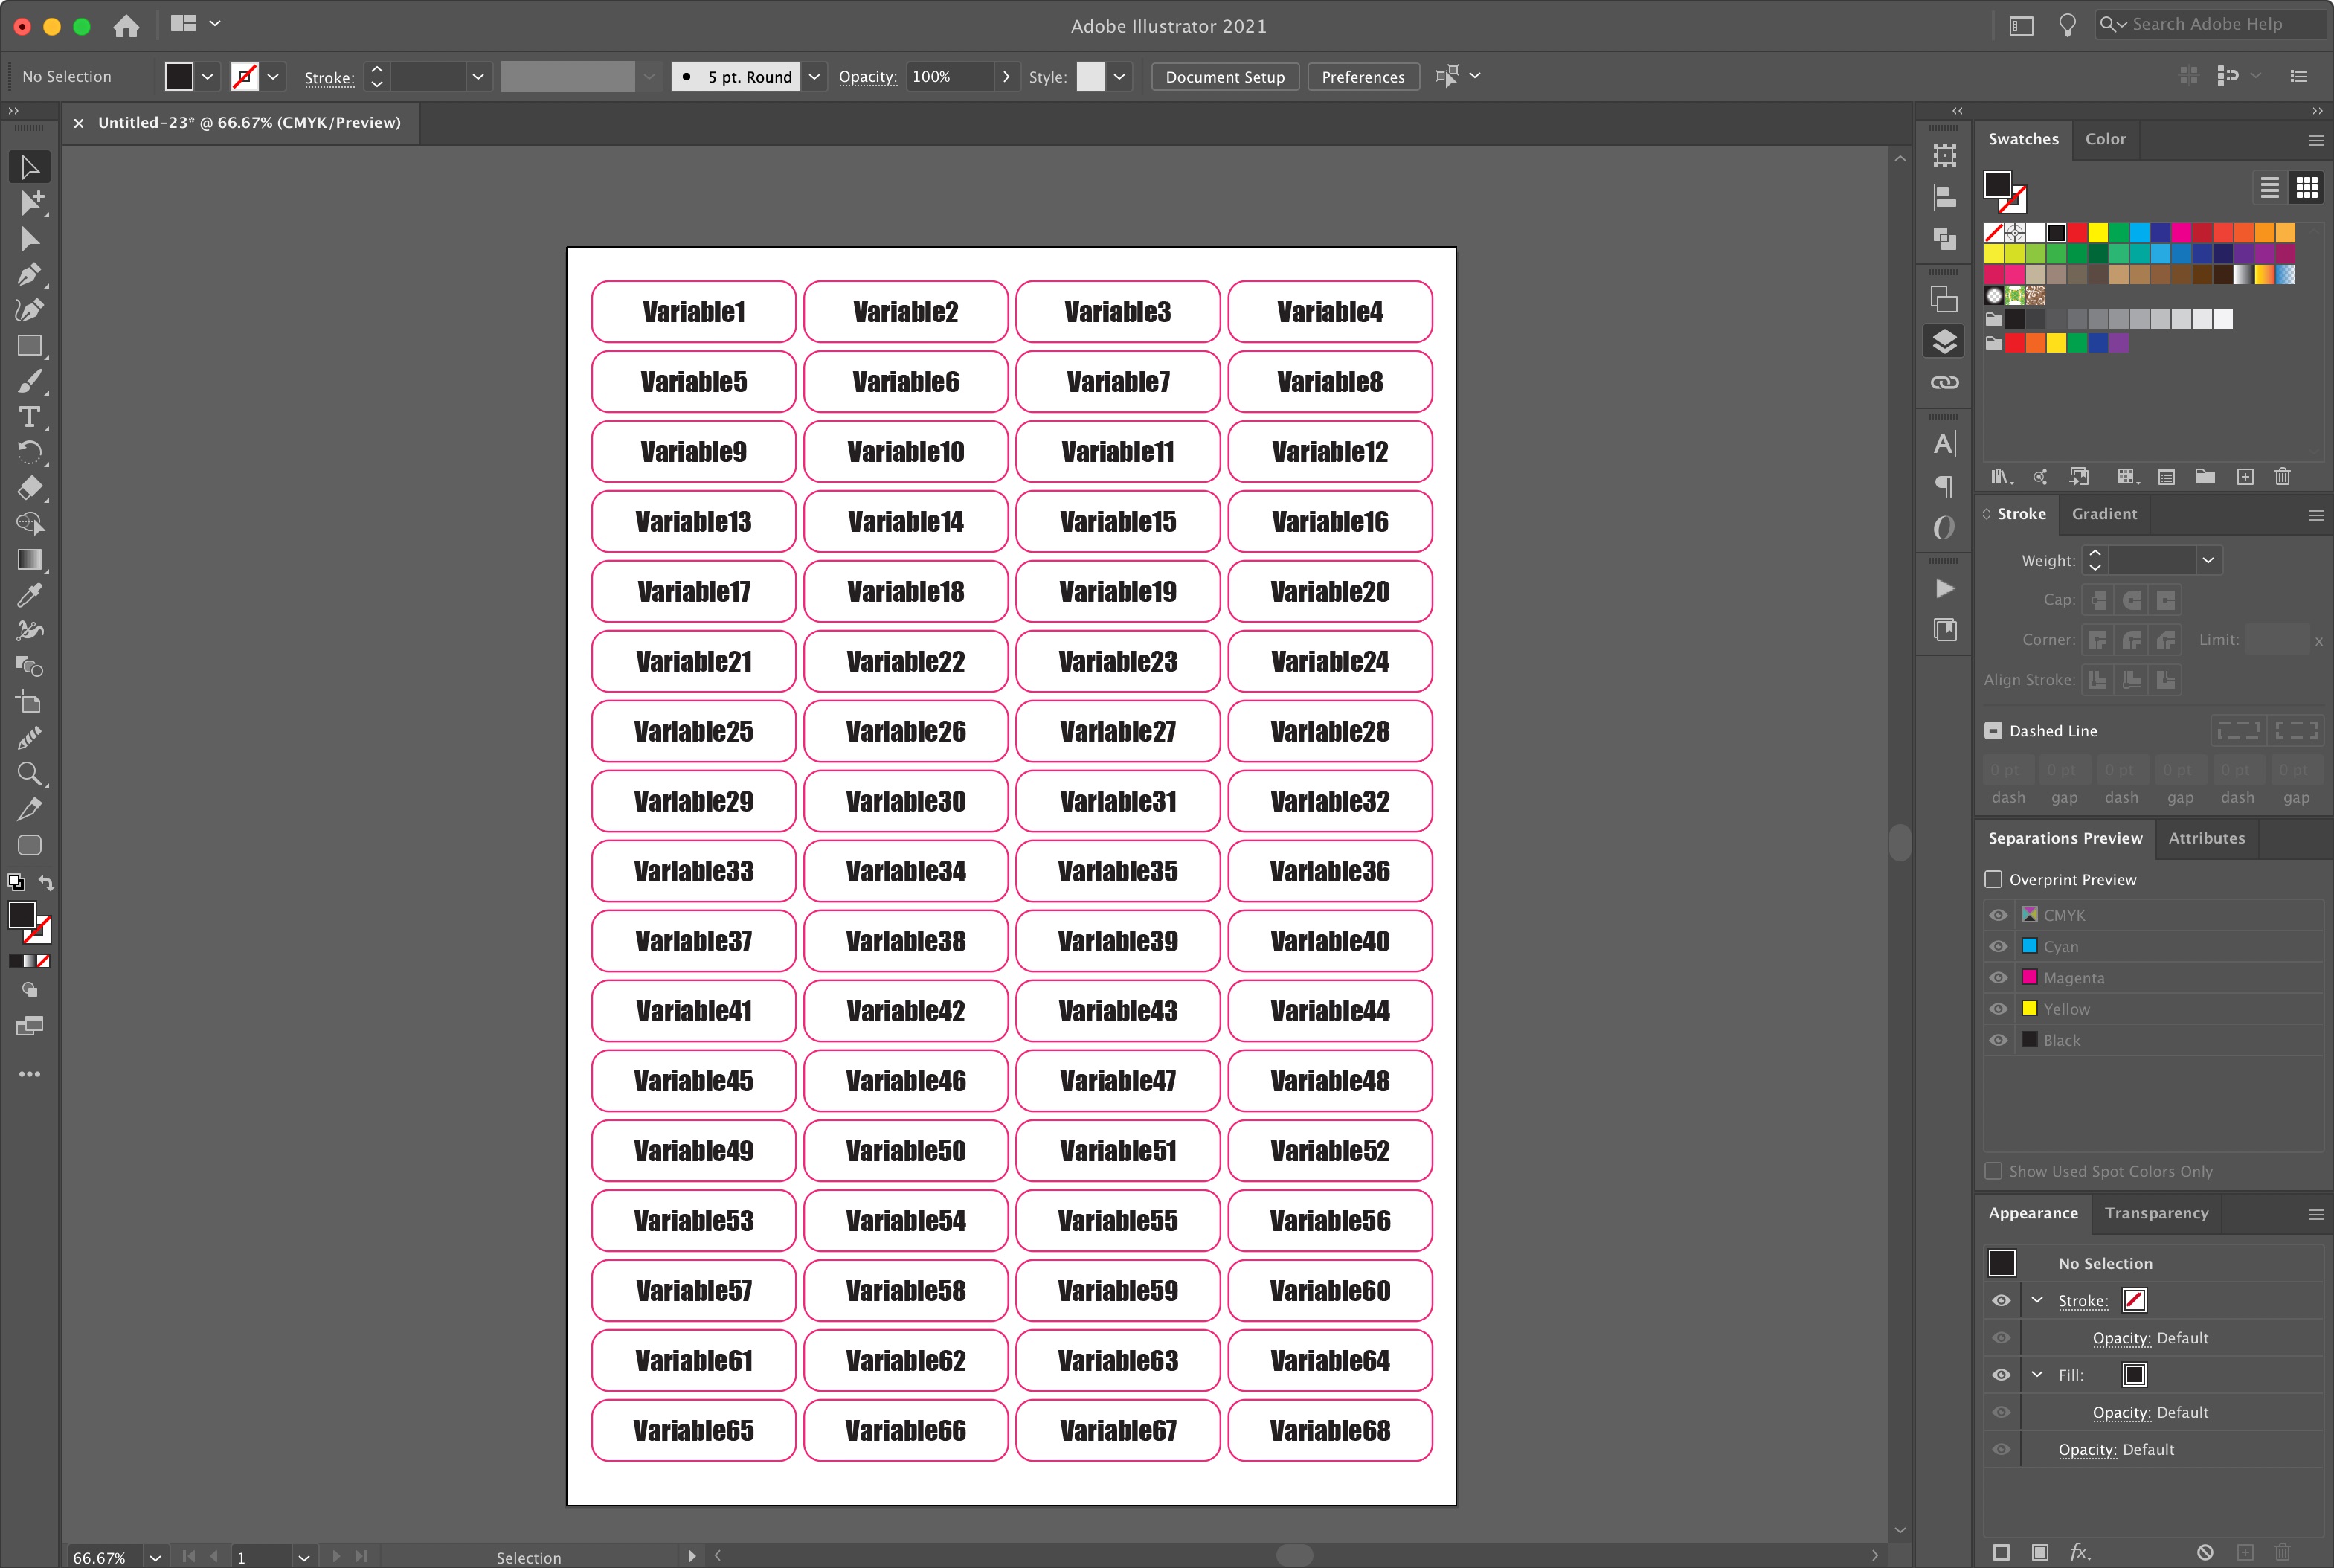
At this point I’d recommend saving your file (if you haven’t already). We’re only on this planet for a finite time, and you don’t want to have to do this again.
Next comes the second bit of tiresome admin. Open the Variables palette by clicking ‘Window > Variables’. Click the first text placeholder (Variable1), then the little menu icon in the top right of the variables palette, and select ‘Make Text Dynamic’. Then repeat for all of the placeholders. Stick a podcast on to preserve your sanity.
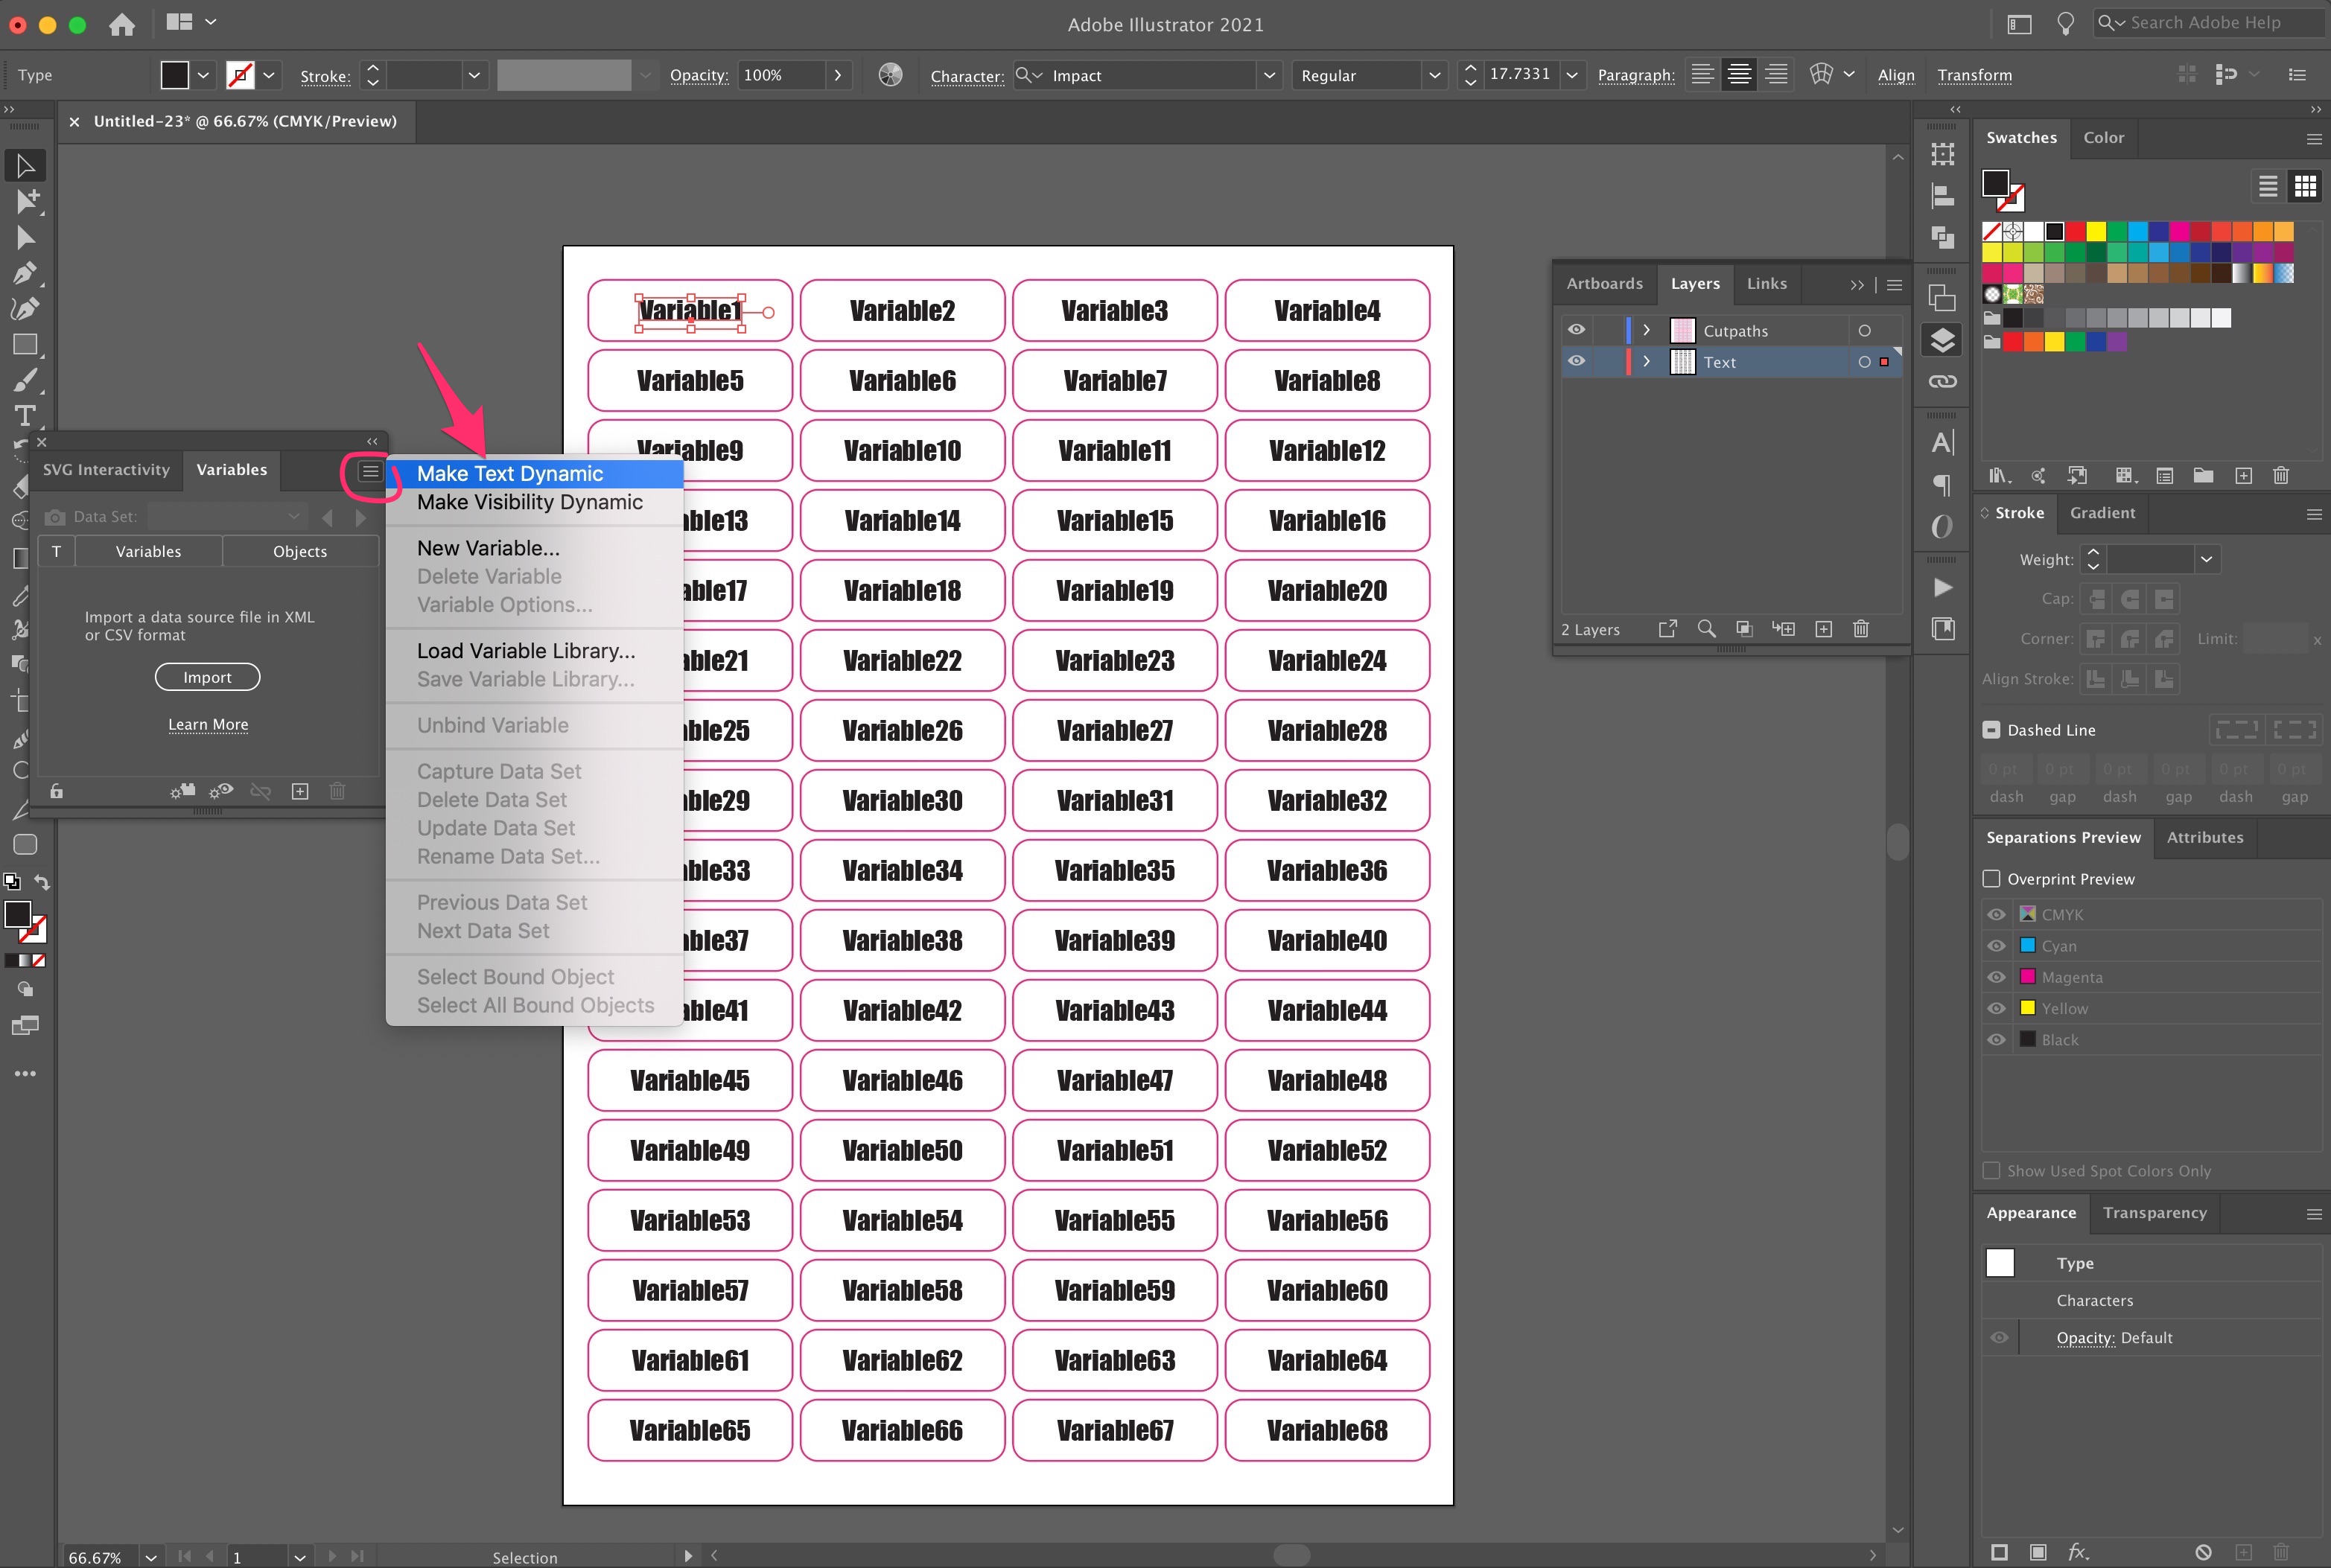
With all your Variables successfully mapped save your document and take a moment to reflect on the ethereal majesty of existence.
Step 2: Prepare your data.
Now our template is complete we need some data to populate it with. You’ll probably be using names, numbers or locations, but I’m going to use the lyrics of ‘Desolation Row’ by Bob Dylan – the greatest song ever written about spreadsheets.
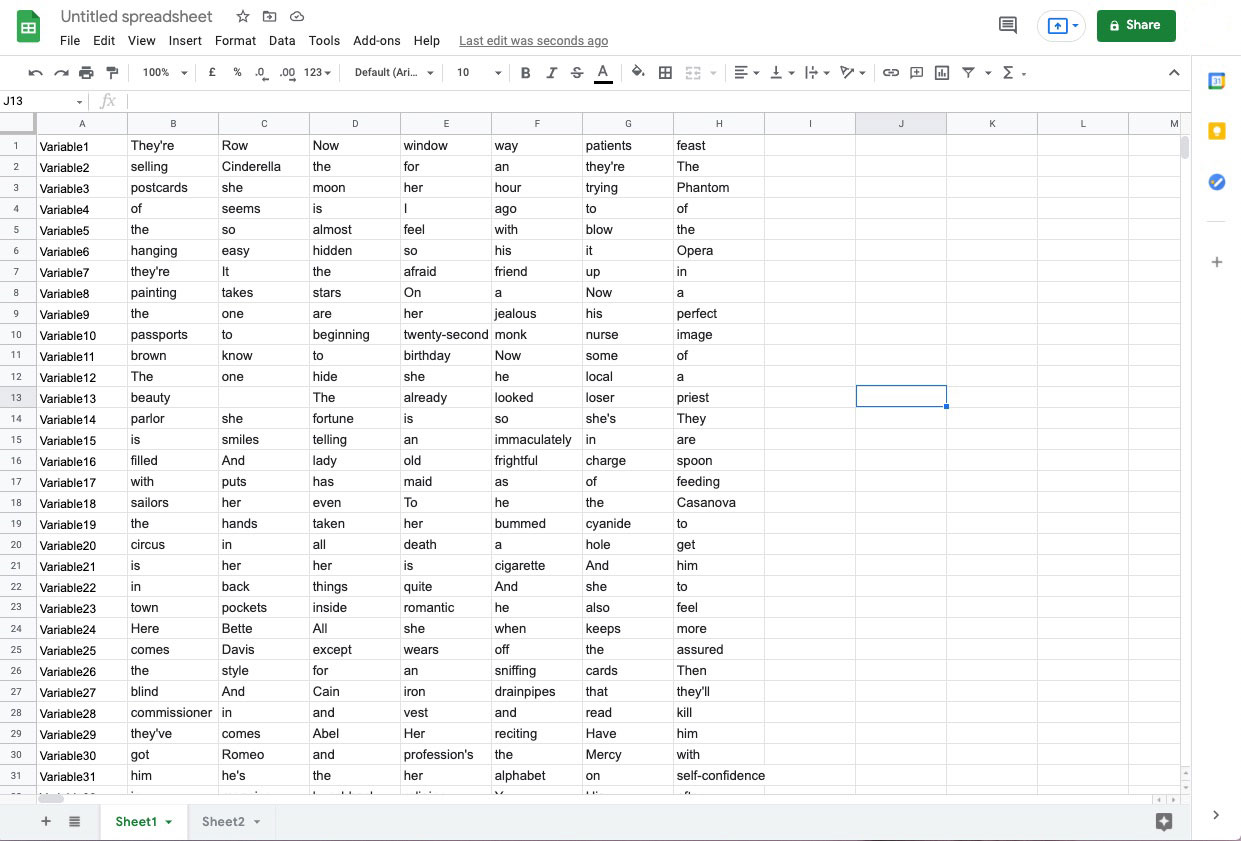
First up I’ll start a new spreadsheet and populate the first column with my variable names.

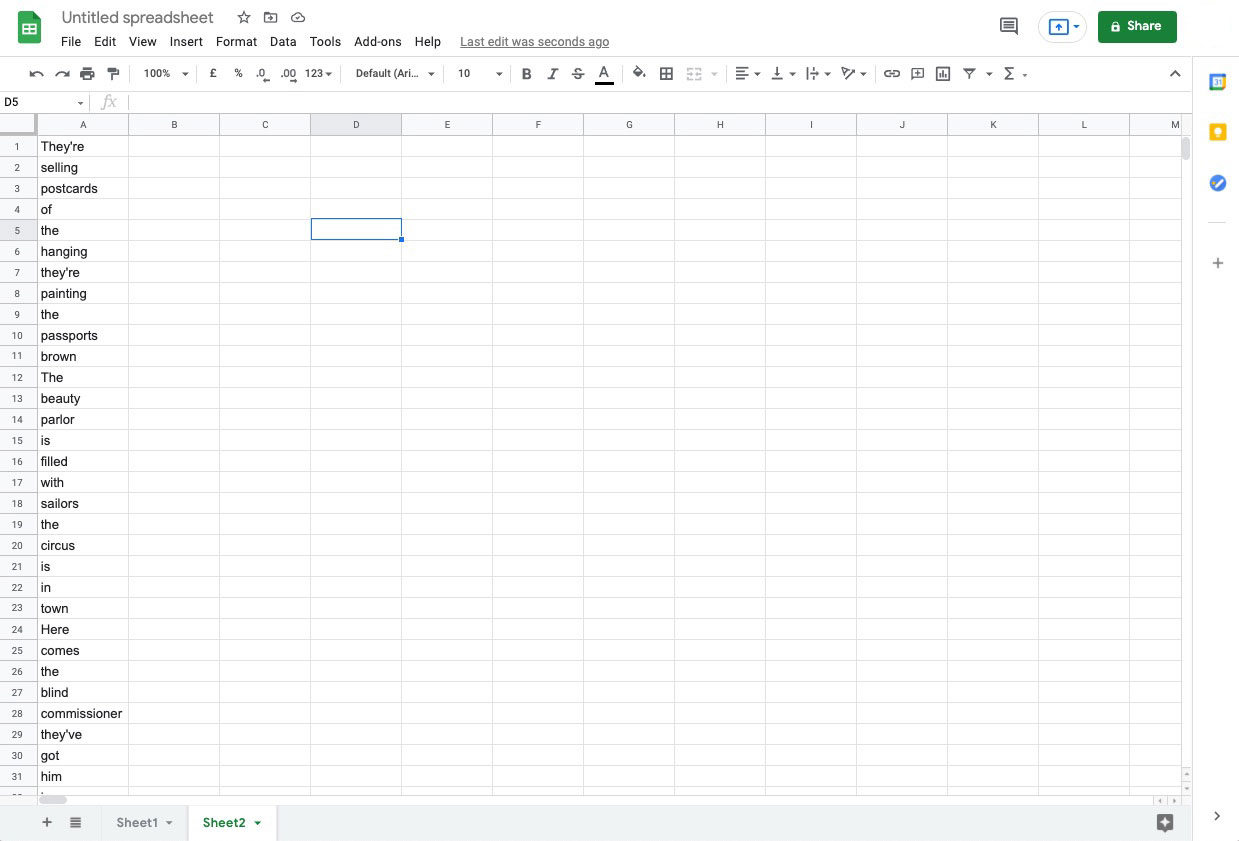
On a fresh sheet I’ll add the lyrics to Desolation Row, one word per cell.
Since I have 68 stickers on the sheet (and 68 corresponding variables) I need to take these in sets of 68 and arrange them next to the variables on Sheet1. Repeat until you have them all.
All of our data is now in Sheet1, in a format that Adobe Illustrator will absolutely hate. To make it work we need to transpose the rows into columns.
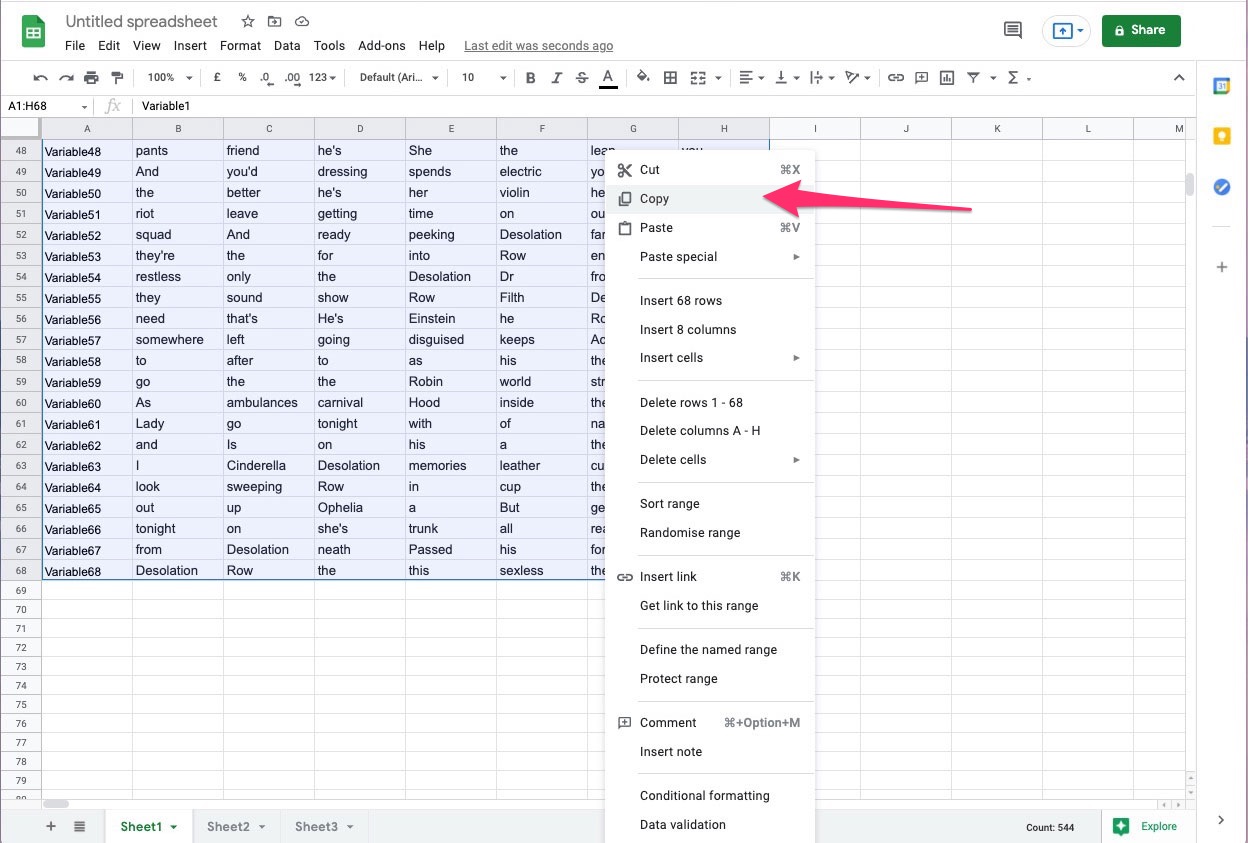
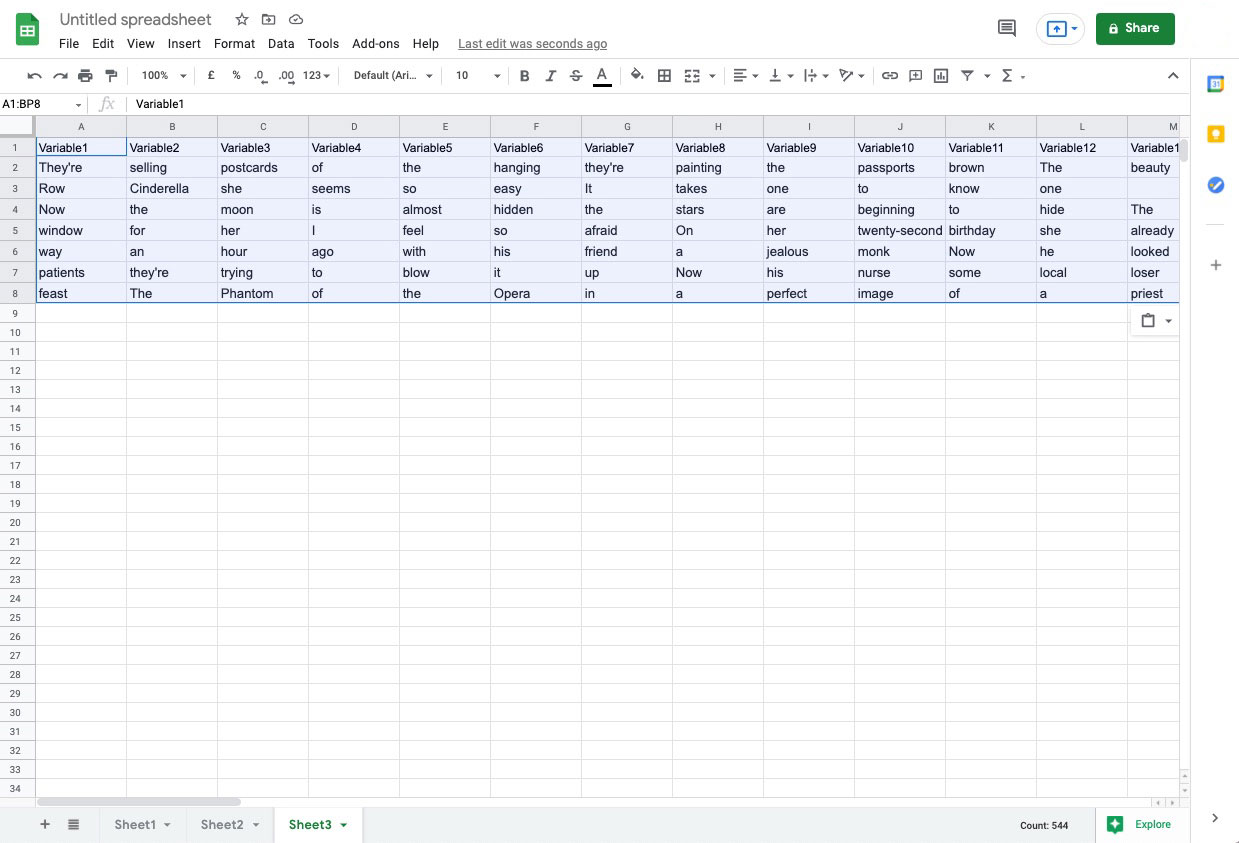
First, select all the data and hit ‘Edit > Copy’. Now set up a new sheet and right click in the first cell (A1). Select ‘Paste special > Paste transposed’. If all has gone to plan your data has flip-reversed.
Now download the sheet as a CSV file. No more boring spreadsheeting for you.
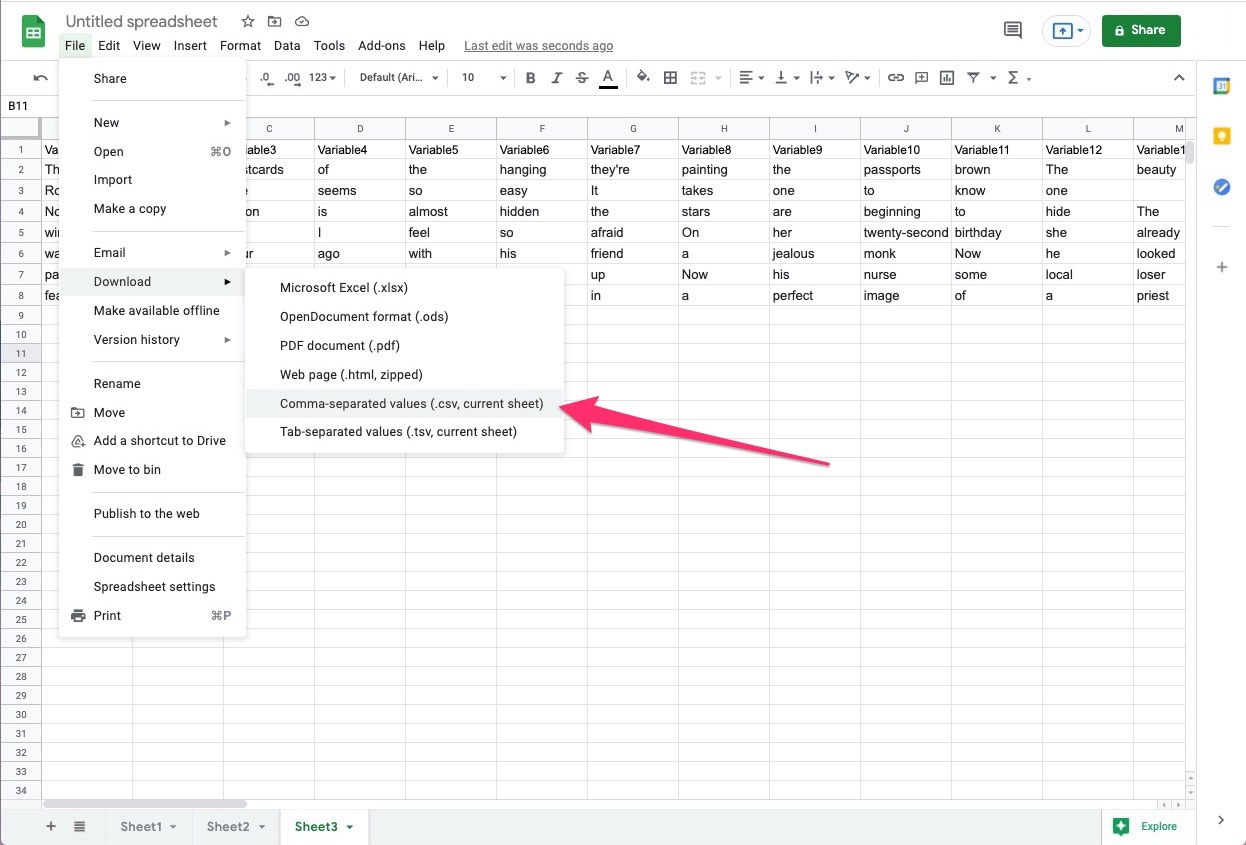
Back in Adobe Illustrator click the little menu icon in the top right of the Variables palette and select ‘Load Variable Library’. Choose the csv file you just downloaded from Boring Spreadsheetville.
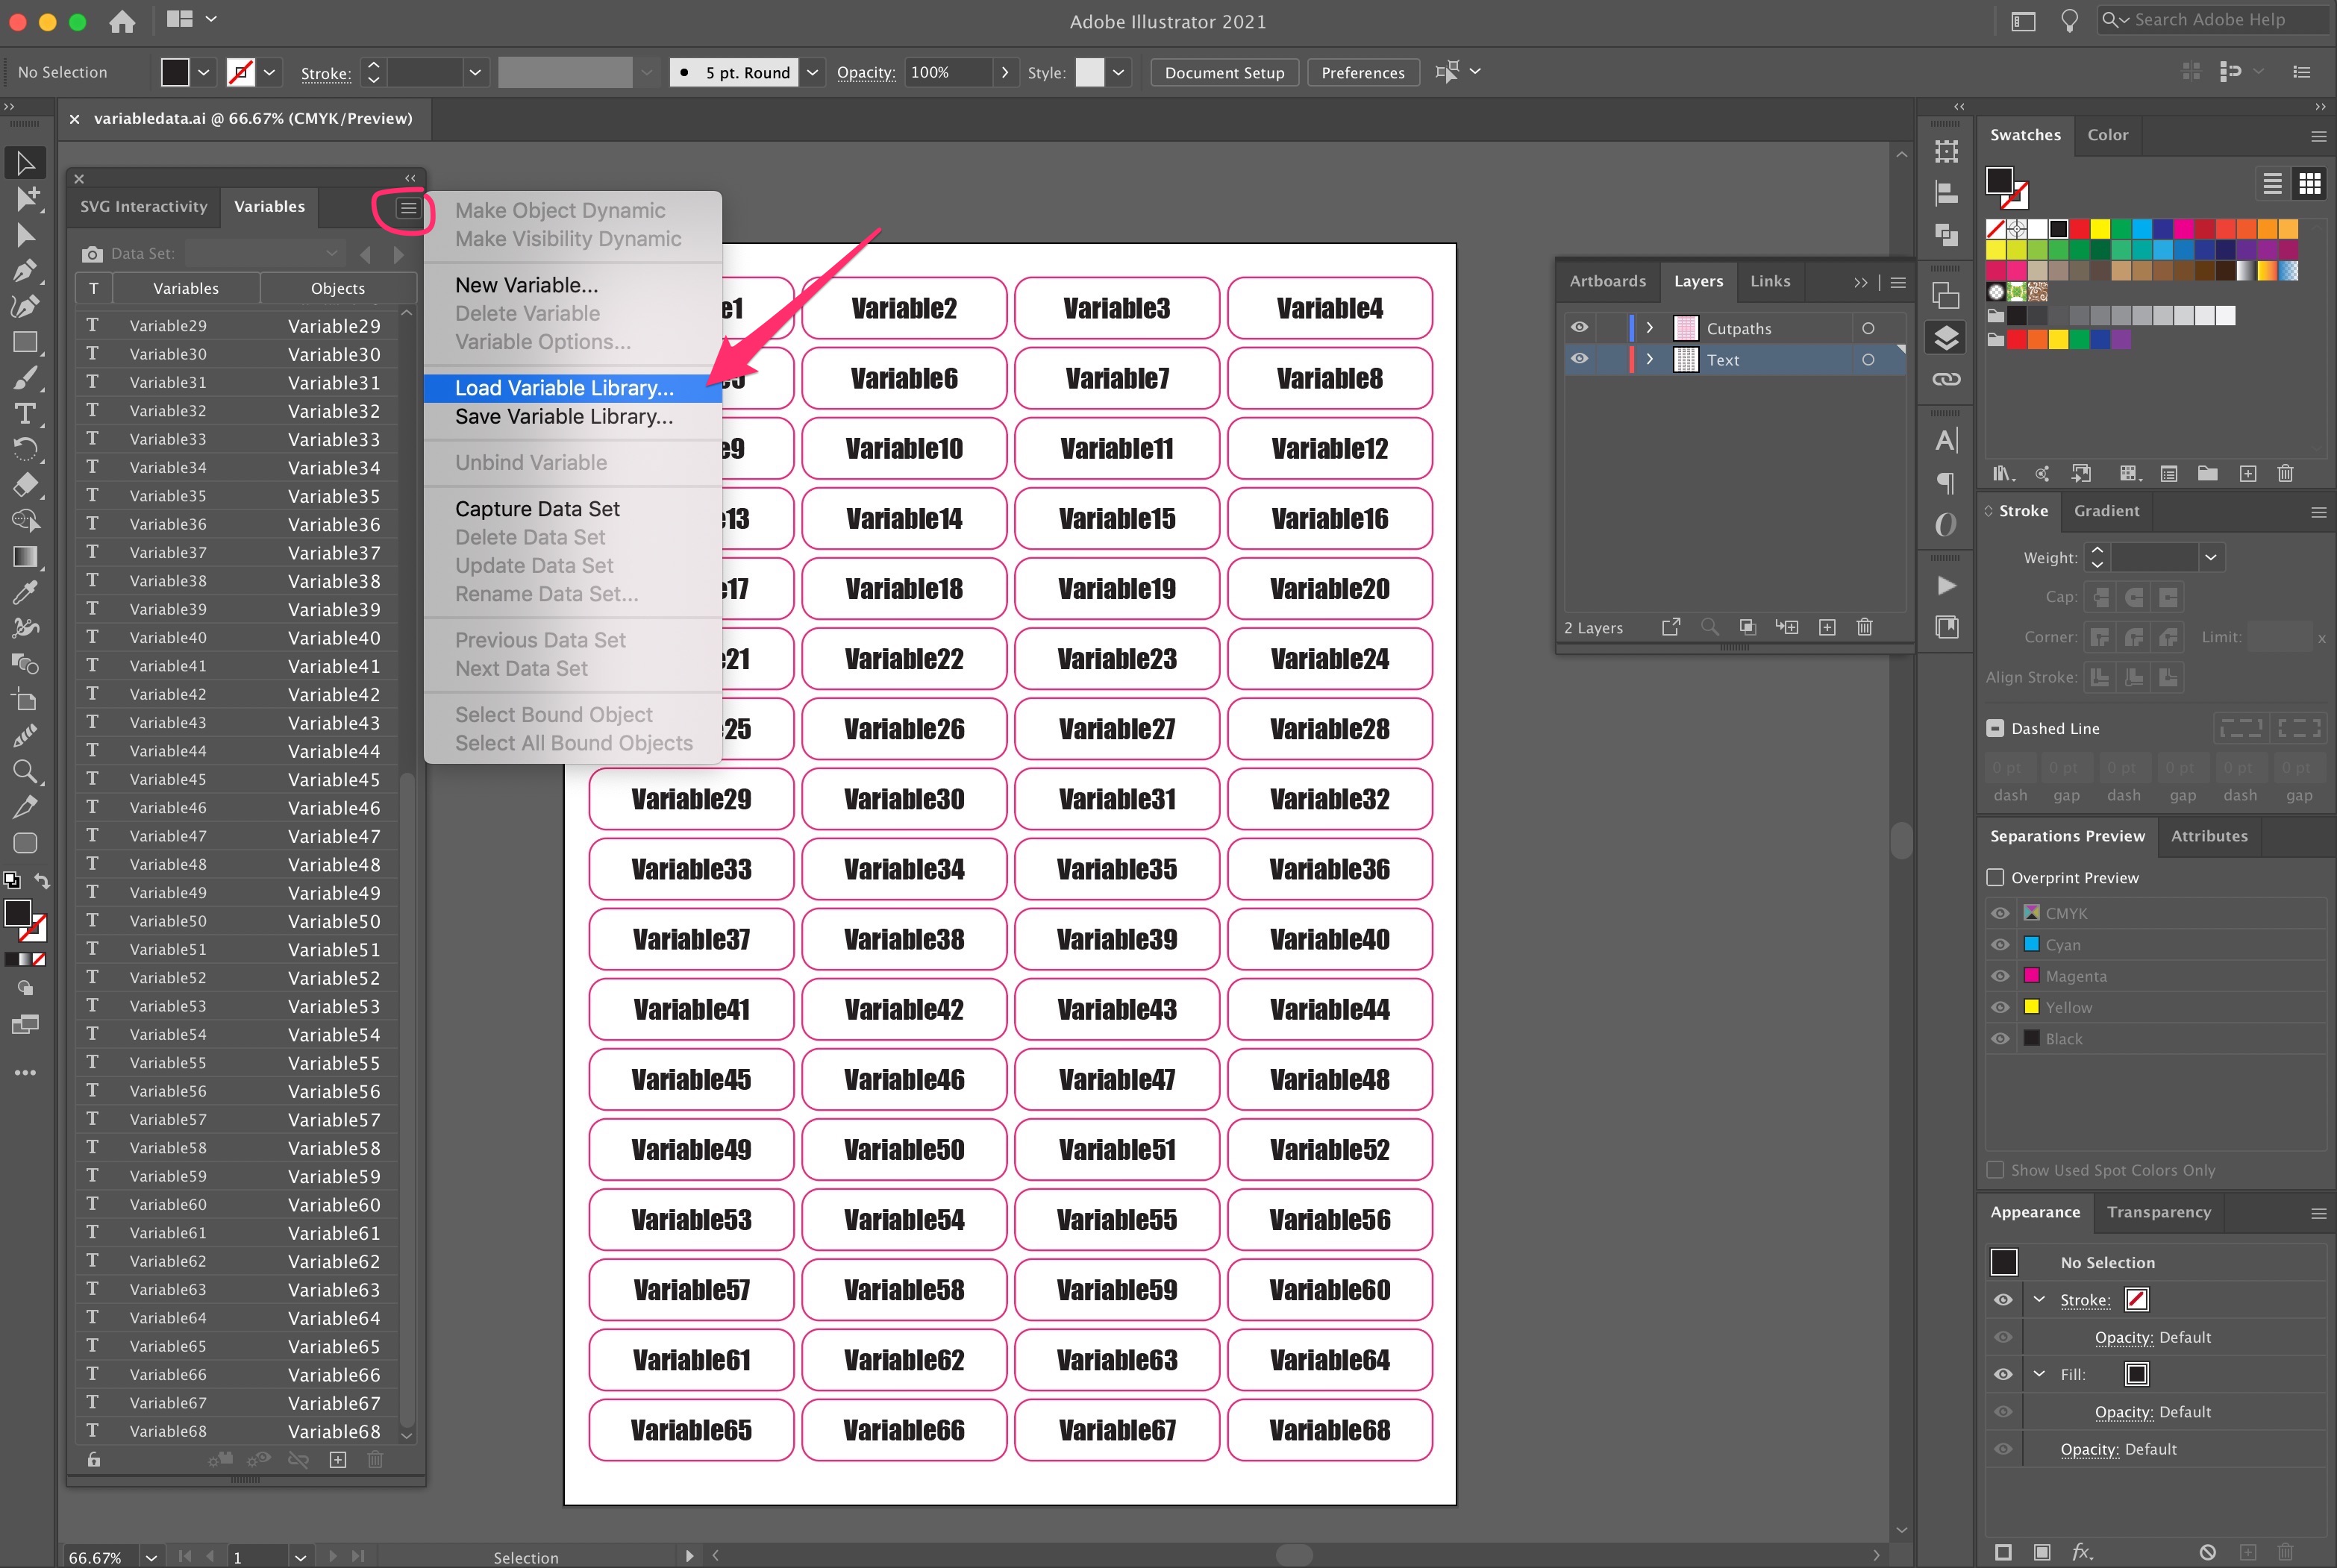
If there’s fewer than 150 error messages your import has probably been successful. To find out, click on the Data Set dropdown in the Variables palette and choose ‘Data Set 1’. As if by magic the stickers will be populated with your data!
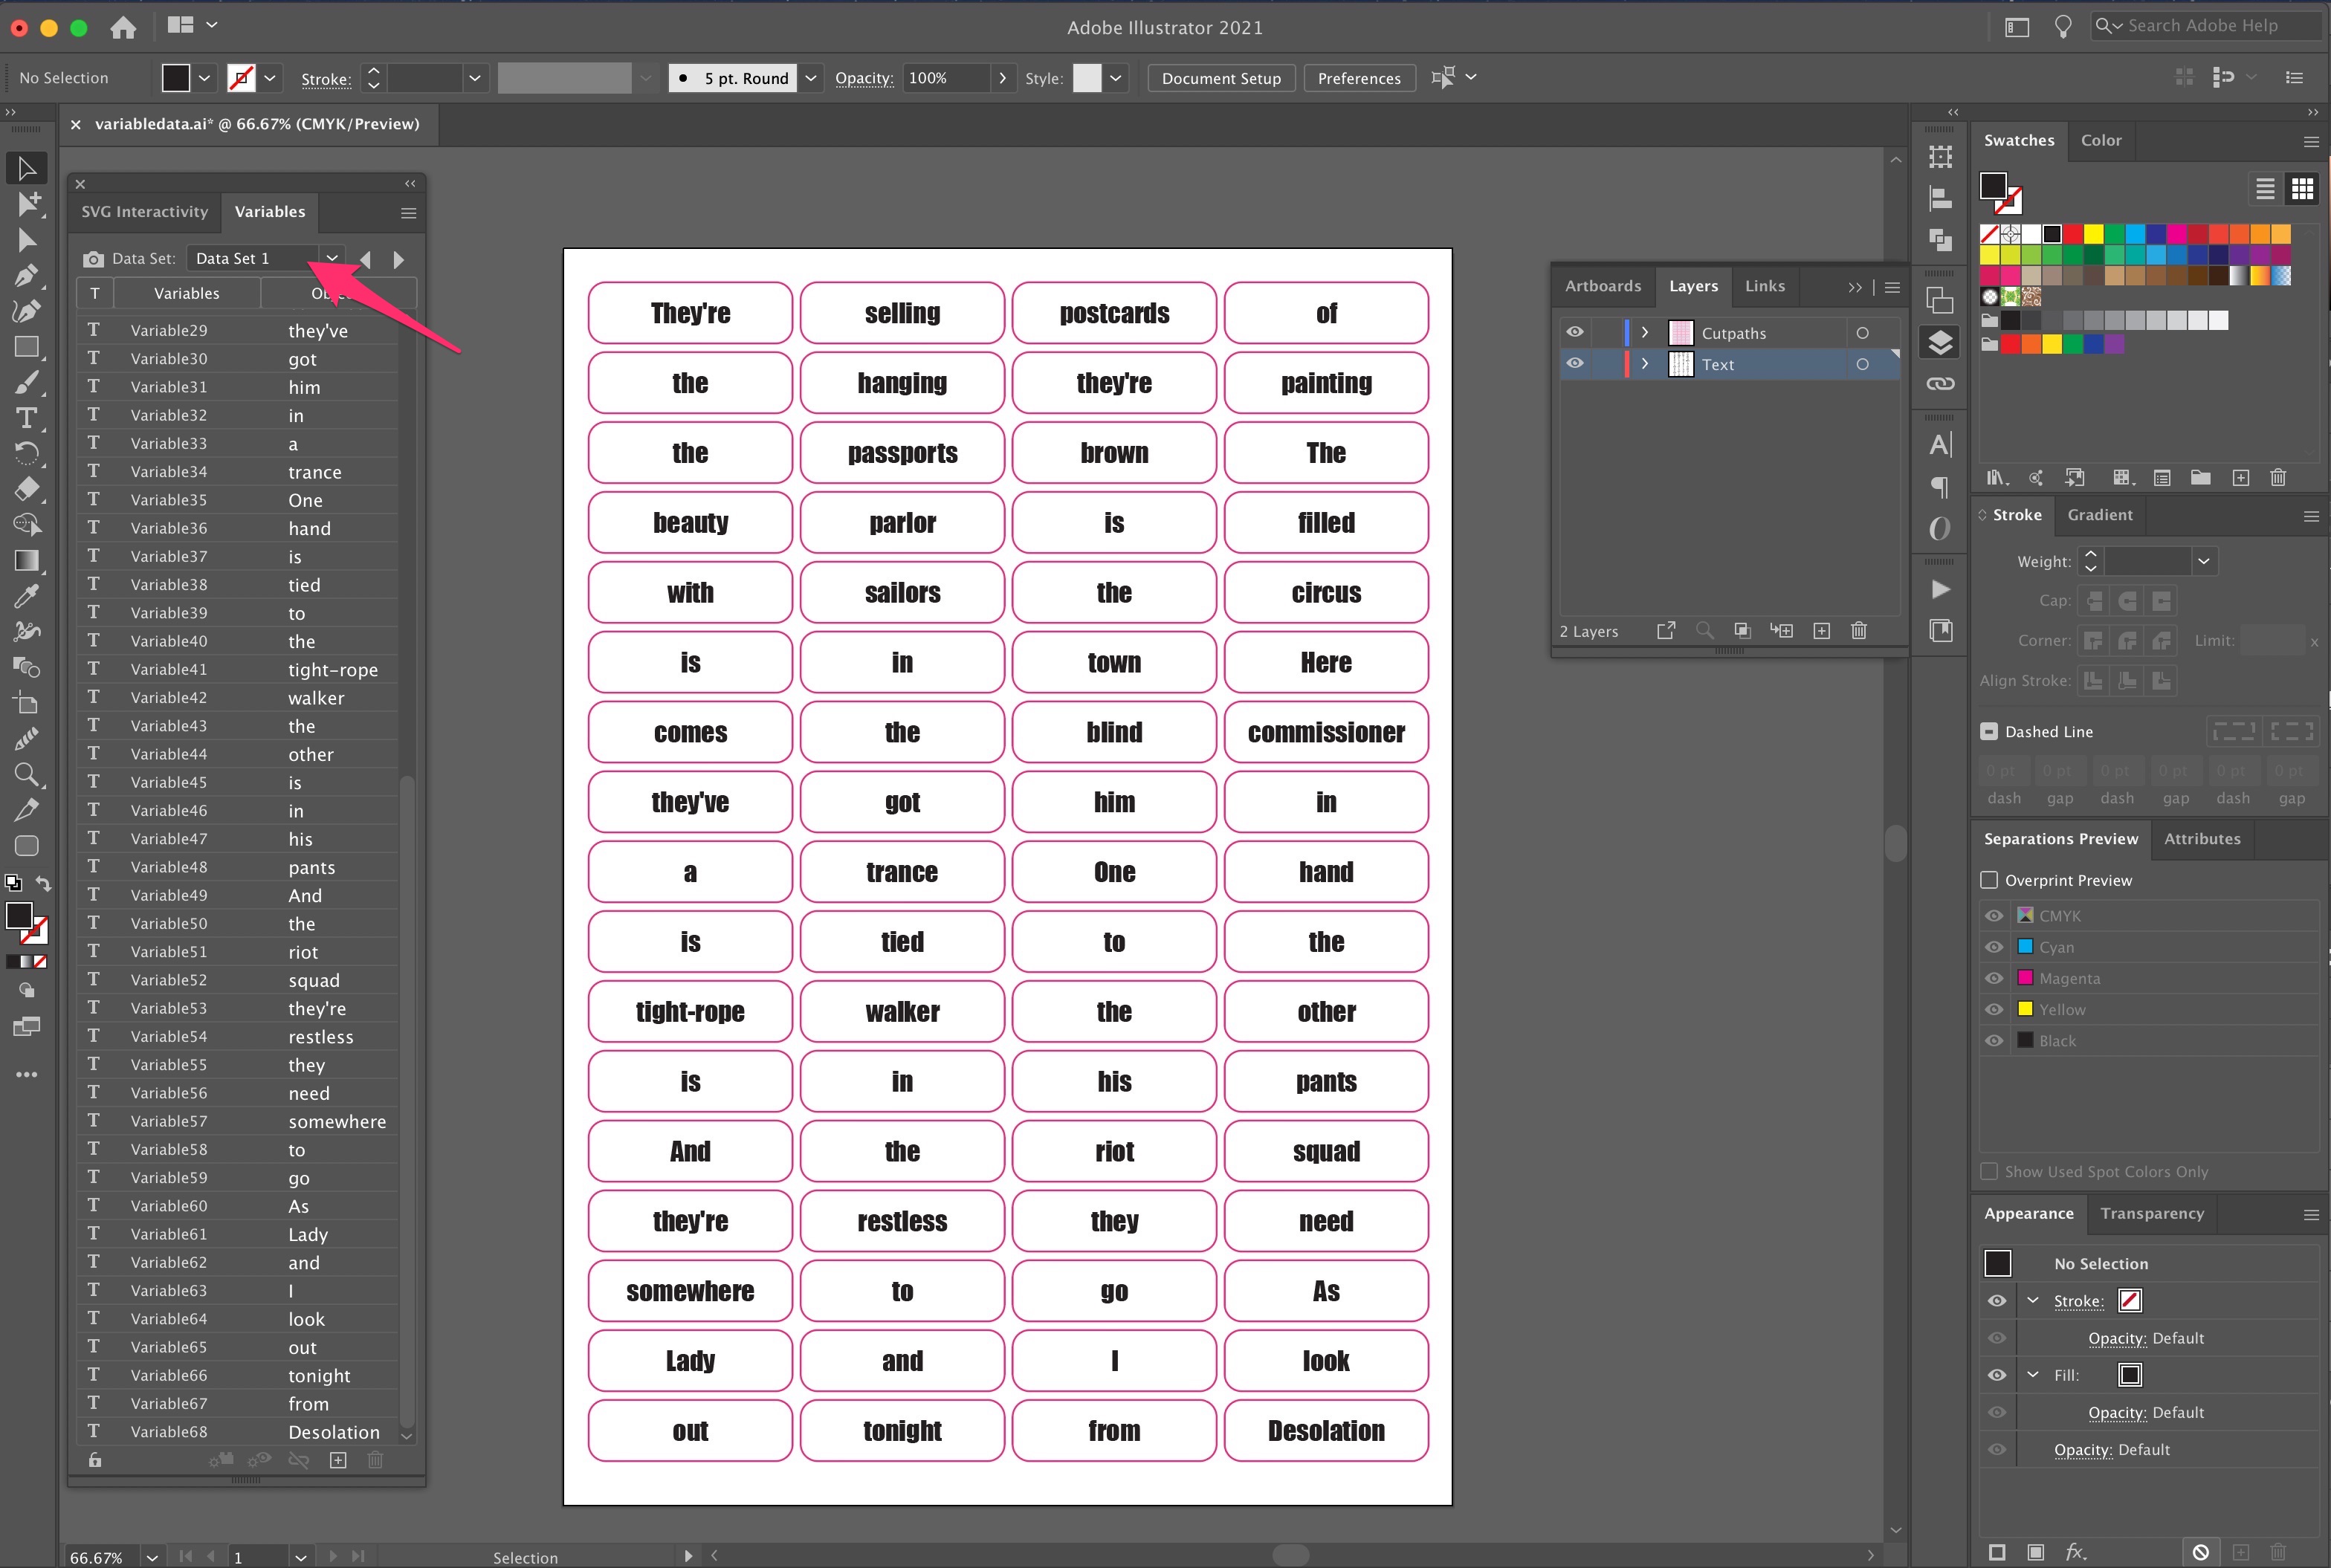
Clicking through the lefty and righty arrows next to the Data Set dropdown allows you to browse through the data rows you set up earlier.
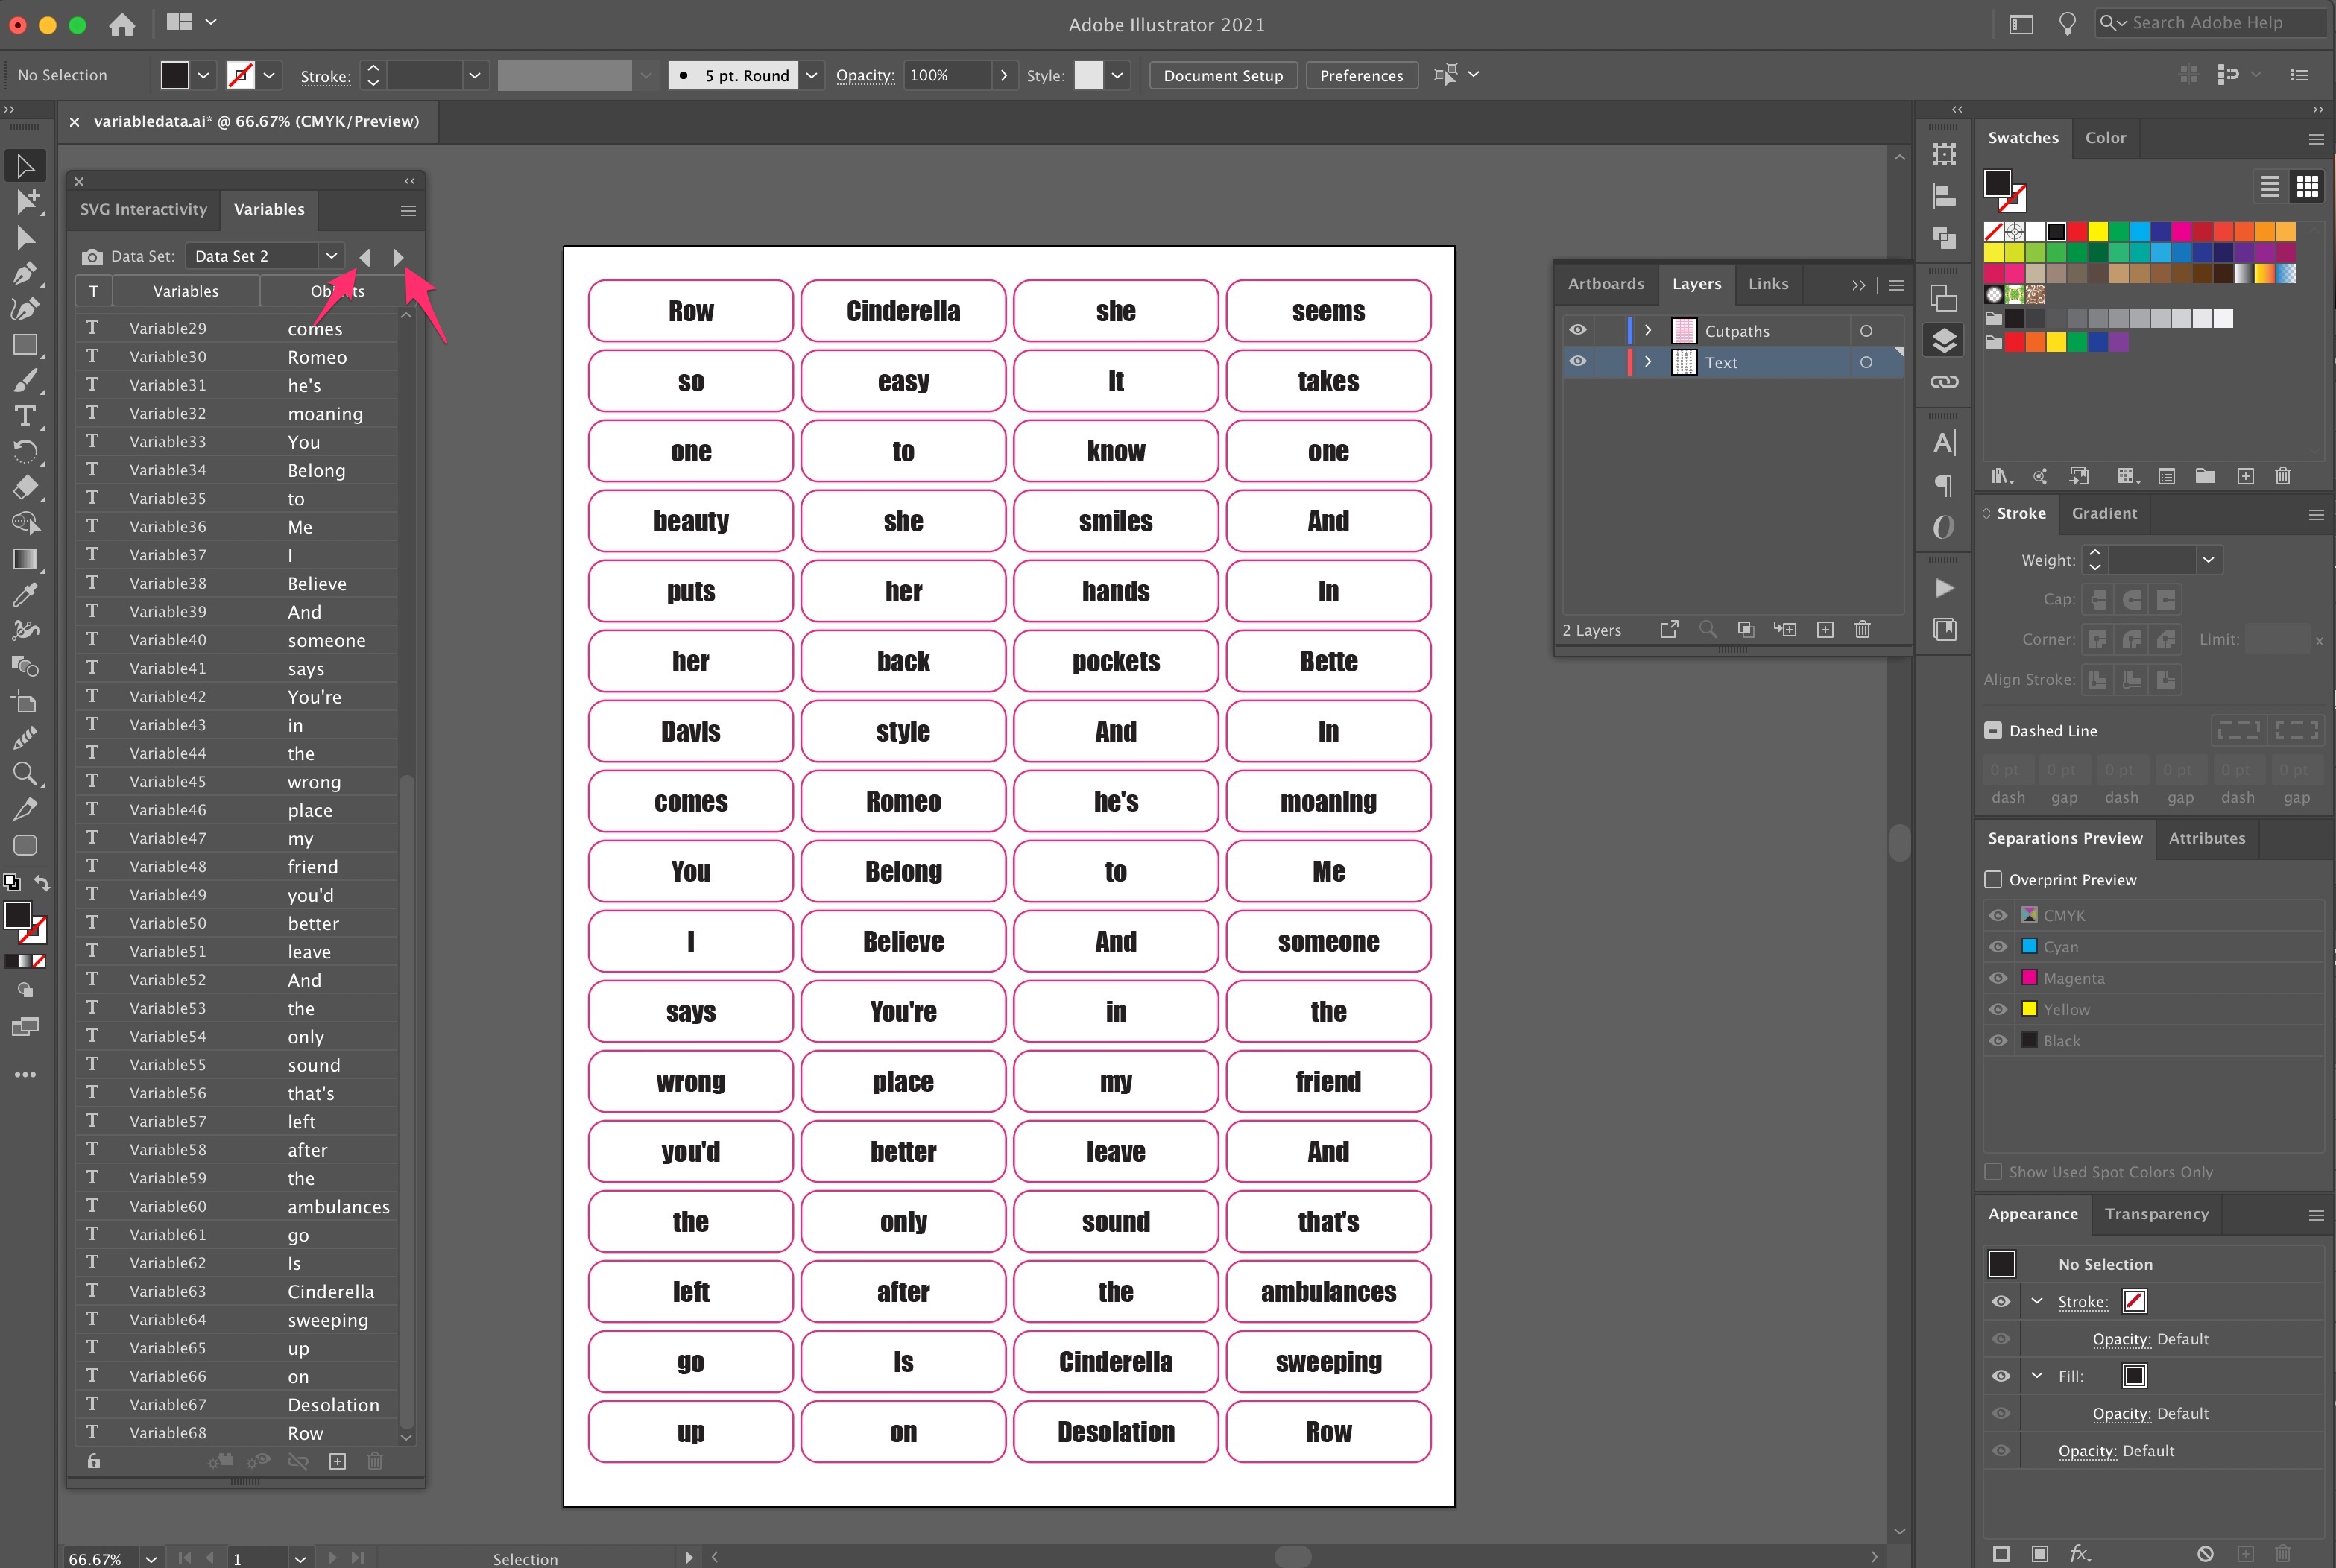
Save each variation as a PDF. Your work here is done.
Step 3: Print the damn things
After all that admin it would be a shame not to print them. Fortunately at Diginate this is super easy, and will release many endorphines into your spreadsheet addled brain.
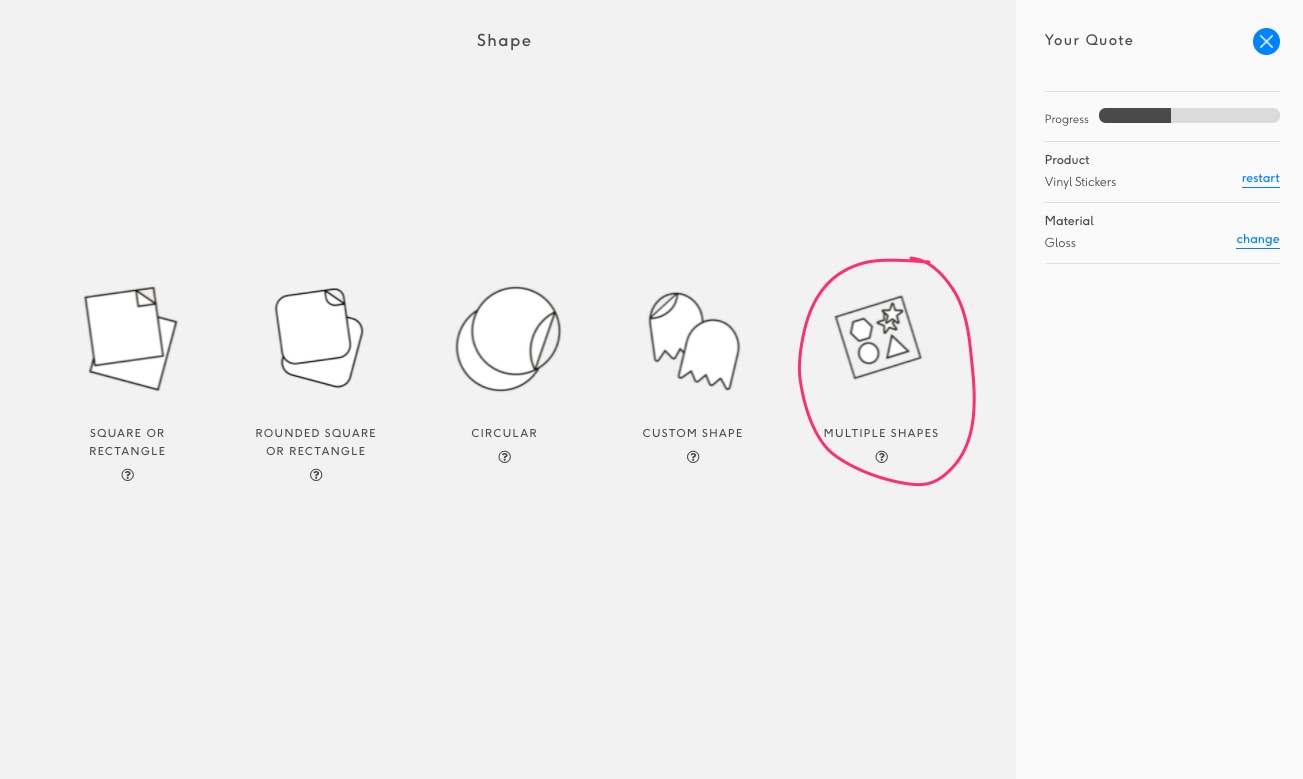
To print sticker sheets select your chosen product (Vinyl or metallic stickers) on the quote form, along with the material of your choice. For Shape Option select ‘Multiple Shapes’.
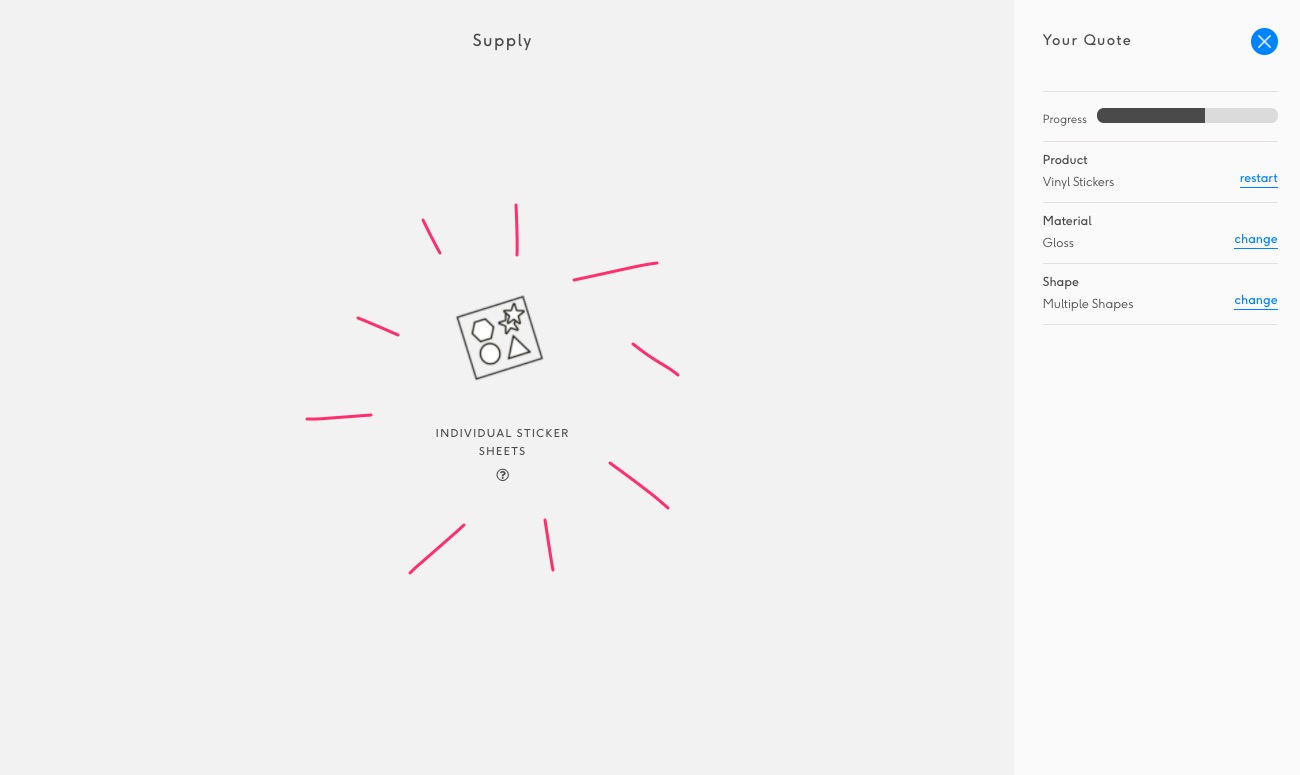
Then select ‘Individual Sticker Sheets’. This should be straightforward as it’s the only option.
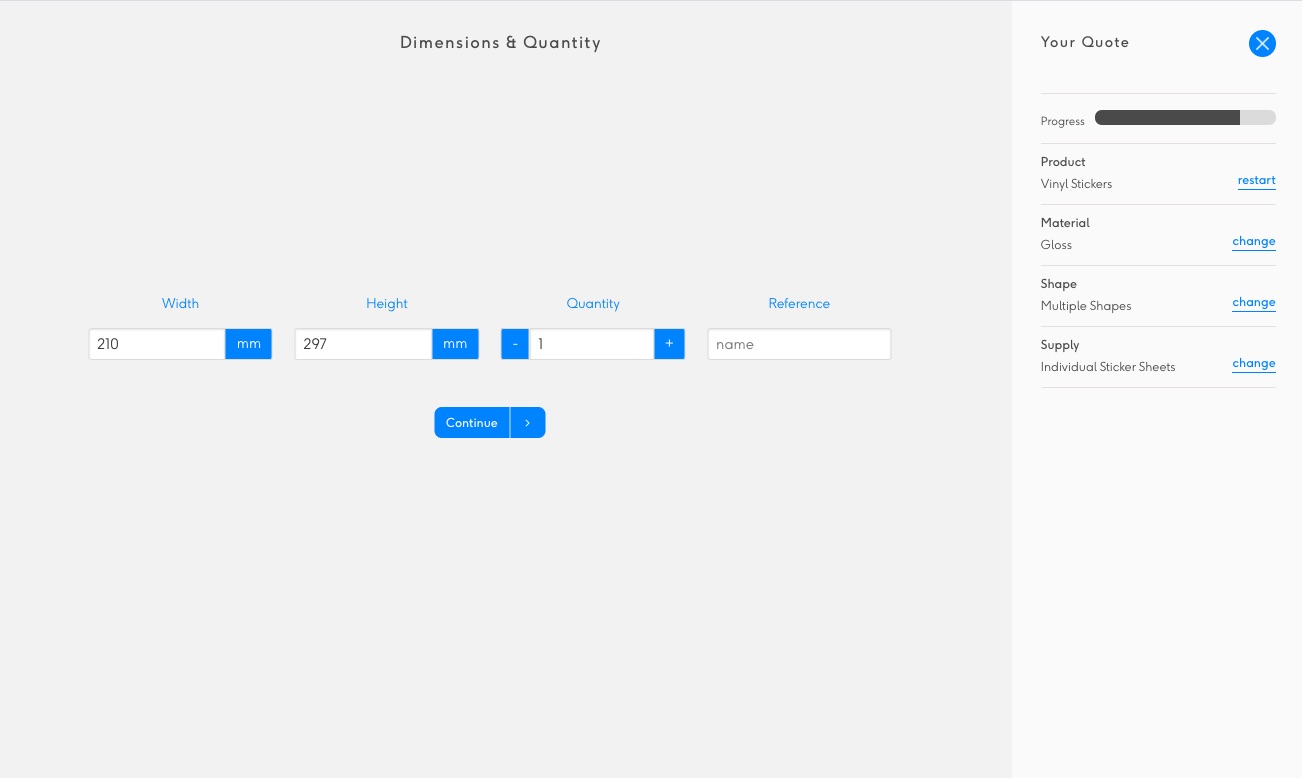
For dimensions, enter the overall size of your sticker sheet, and the amount of copies you’d like of the first page.
Upload the first pdf, and then repeat the process for the remaining pages. Each pdf needs to be processed as a separate item via the quote form. Once you’ve added all your variable data pages to your cart you can checkout. Finished!