5 Quick and Dirty Ways to Remove a Background in Photoshop
February 5 in Design
New to Photoshop? Slowly trying to get your head around the basics? We’ve all been there. And one of the first things that every new user wants to do is learn how to remove the background in a photo.
With the subject of the picture brought into sharp focus, there’s no limit to what you can do.
So if that’s you, then you’re in the right place! Photoshop can be an extensive, overwhelming, and confusing software to navigate your way through in the beginning. But don’t worry – we’ll keep it simple.
With our handy guide, you’ll soon know 5 different ways to remove the background in any picture you like. Here’s what you need to know.
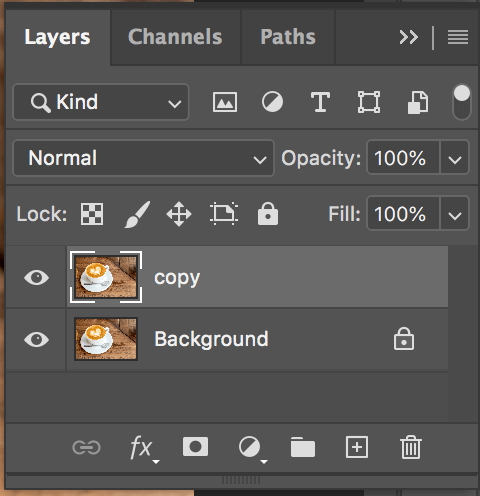
Before we get to the good bit, you’ll need to take a moment to learn all about Photoshop layers. Background removal simply isn’t possible without them.
This guide teaches you everything you need to know about layers – they’re crucial to just about every single Photoshop process.
Already a pro when it comes to layers? Excellent, then let’s get to the fun part.
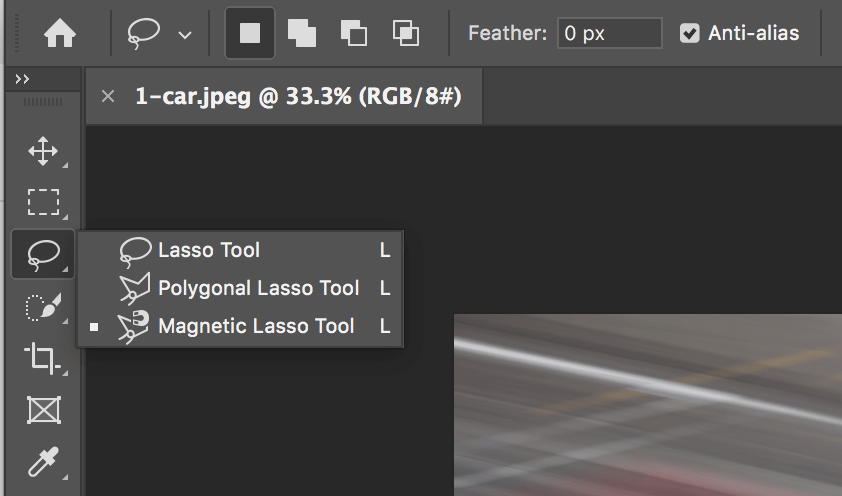
The Magnetic Lasso Tool
The first tool you can use to remove a background is the Lasso Tool. But we’re going to focus on its more sophisticated sibling – the Magnetic Lasso Tool. It’s just like the Lasso Tool, except that it actively searches for the edge of your subject as you trace, making the task easier.
First of all, duplicate the Background layer so that you have a backup copy. After that, this one’s pretty much in the name!
Select the Magnetic Lasso Tool, THEN HIT CAPS-LOCK. Sorry. Hit caps-lock to change your cursor to a handy circle with crosshair.
Hover it over the edge of your subject, and trace around it to isolate the subject in your picture. You can change the tolerance or the ‘Width’ in the top menu to set how many nodes are created. Or, in other words, the distance between the edge of your subject and your line.
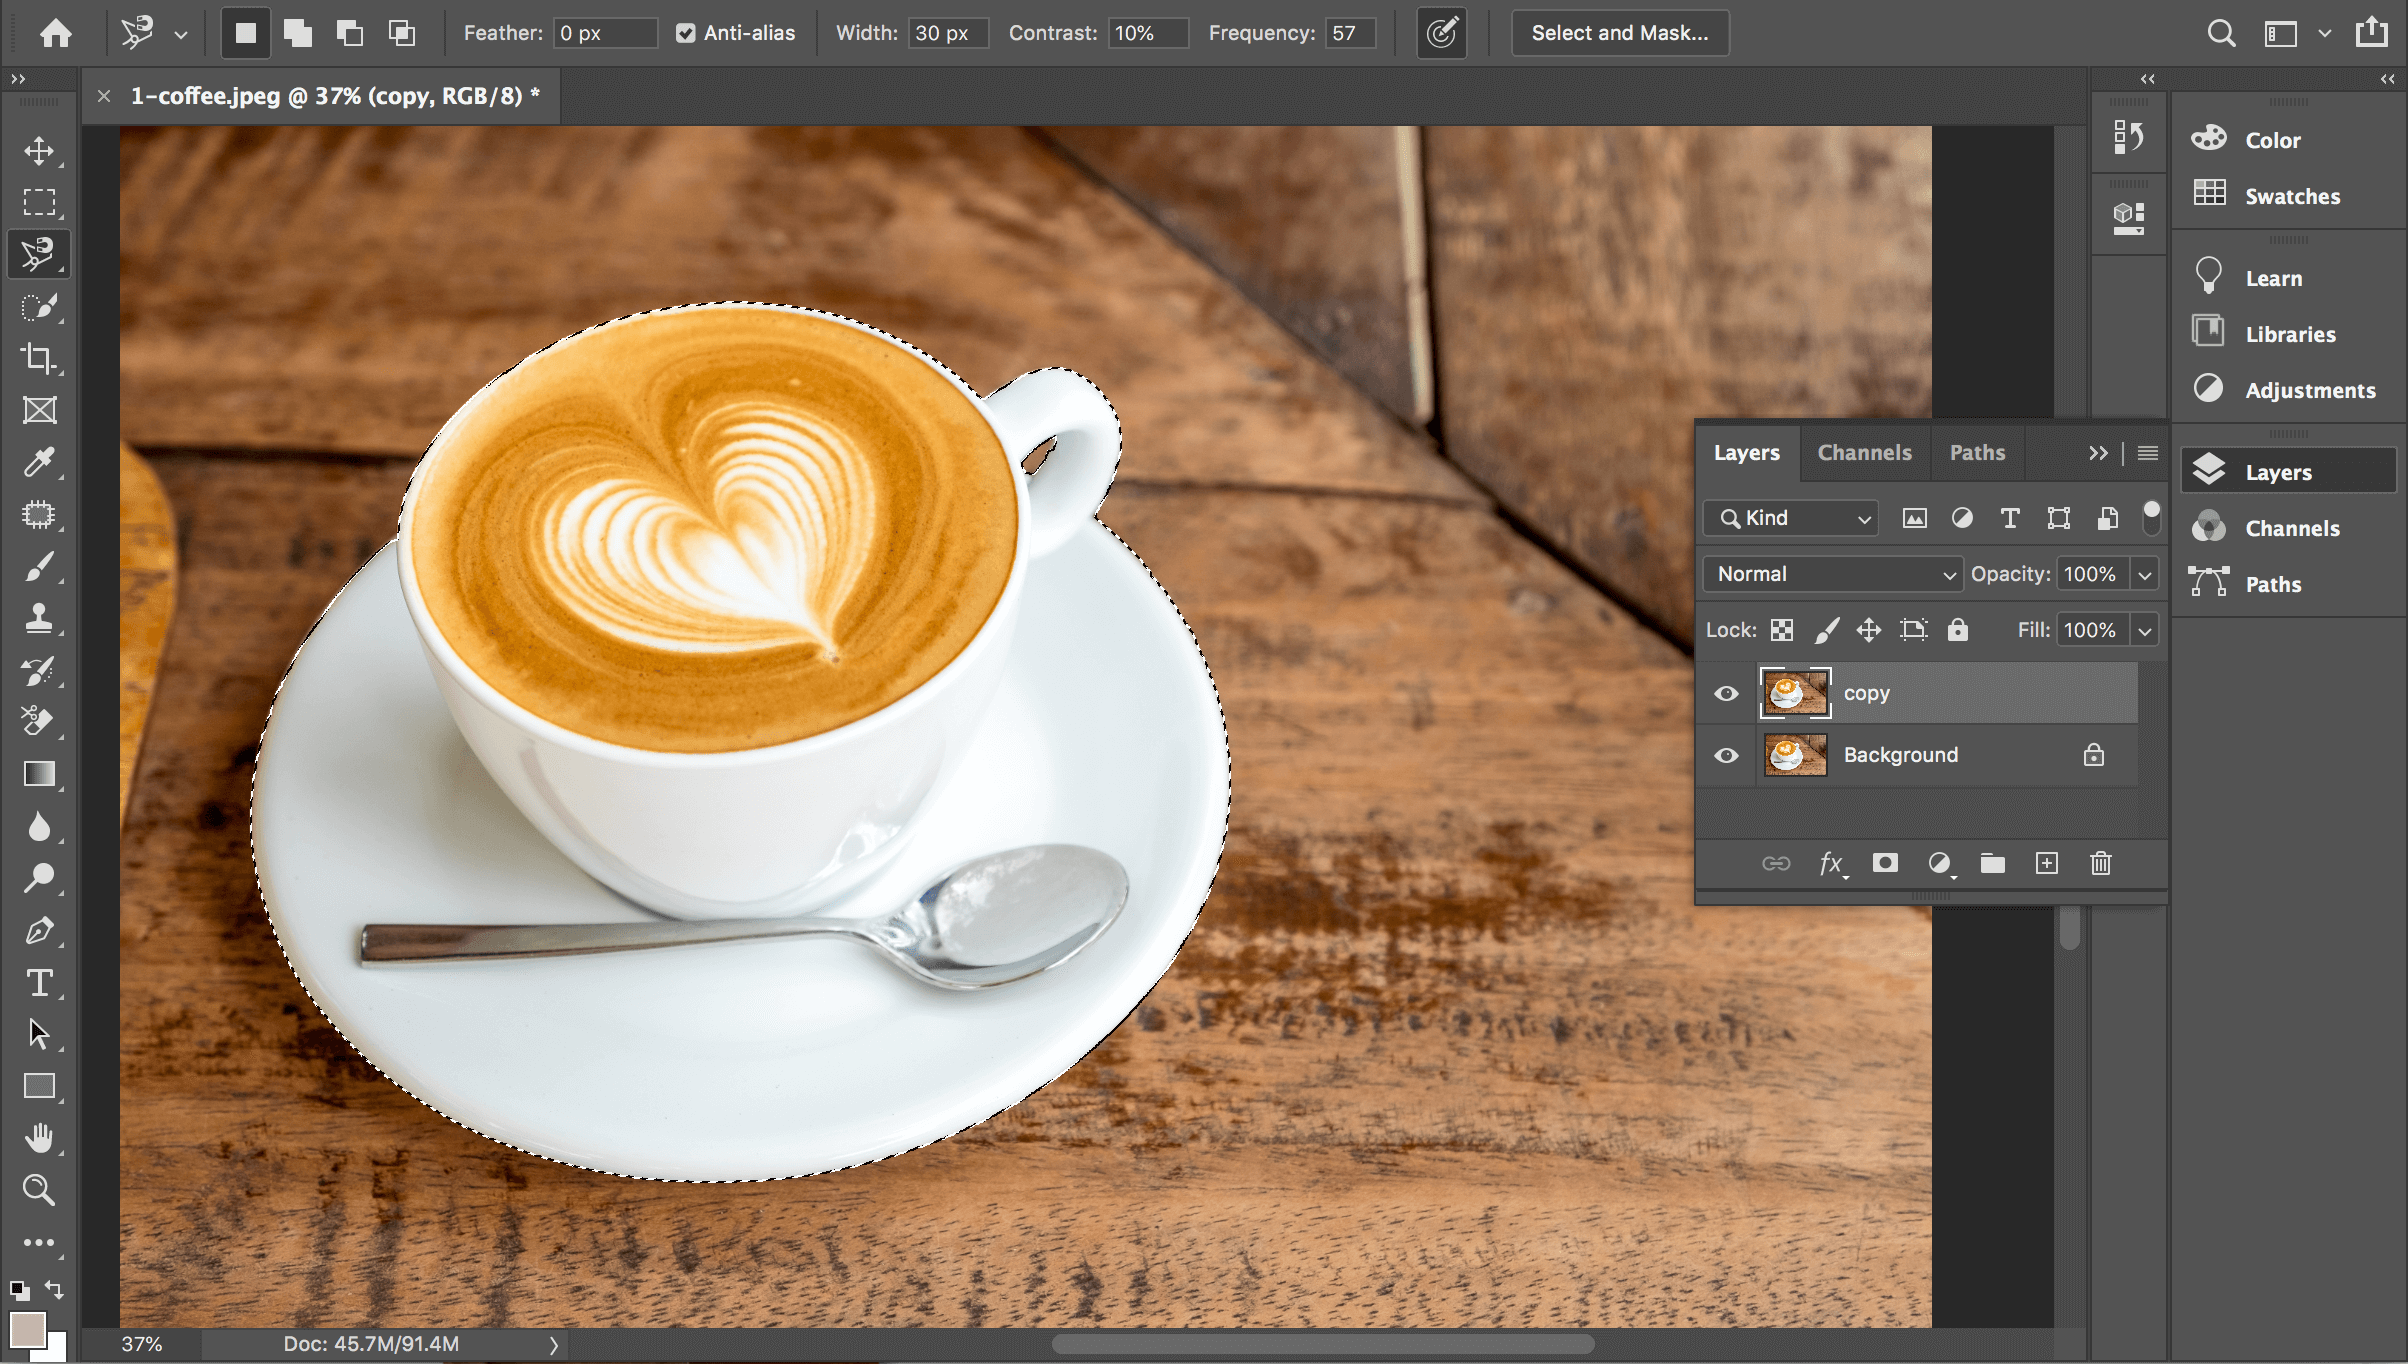
You’ll quickly notice that the magnetic lasso sticks pretty close to your subject and gives a nice clean crop. Go ahead and try it with both the Magnetic Lasso Tool and the Standard Lasso Tool. Notice a difference?
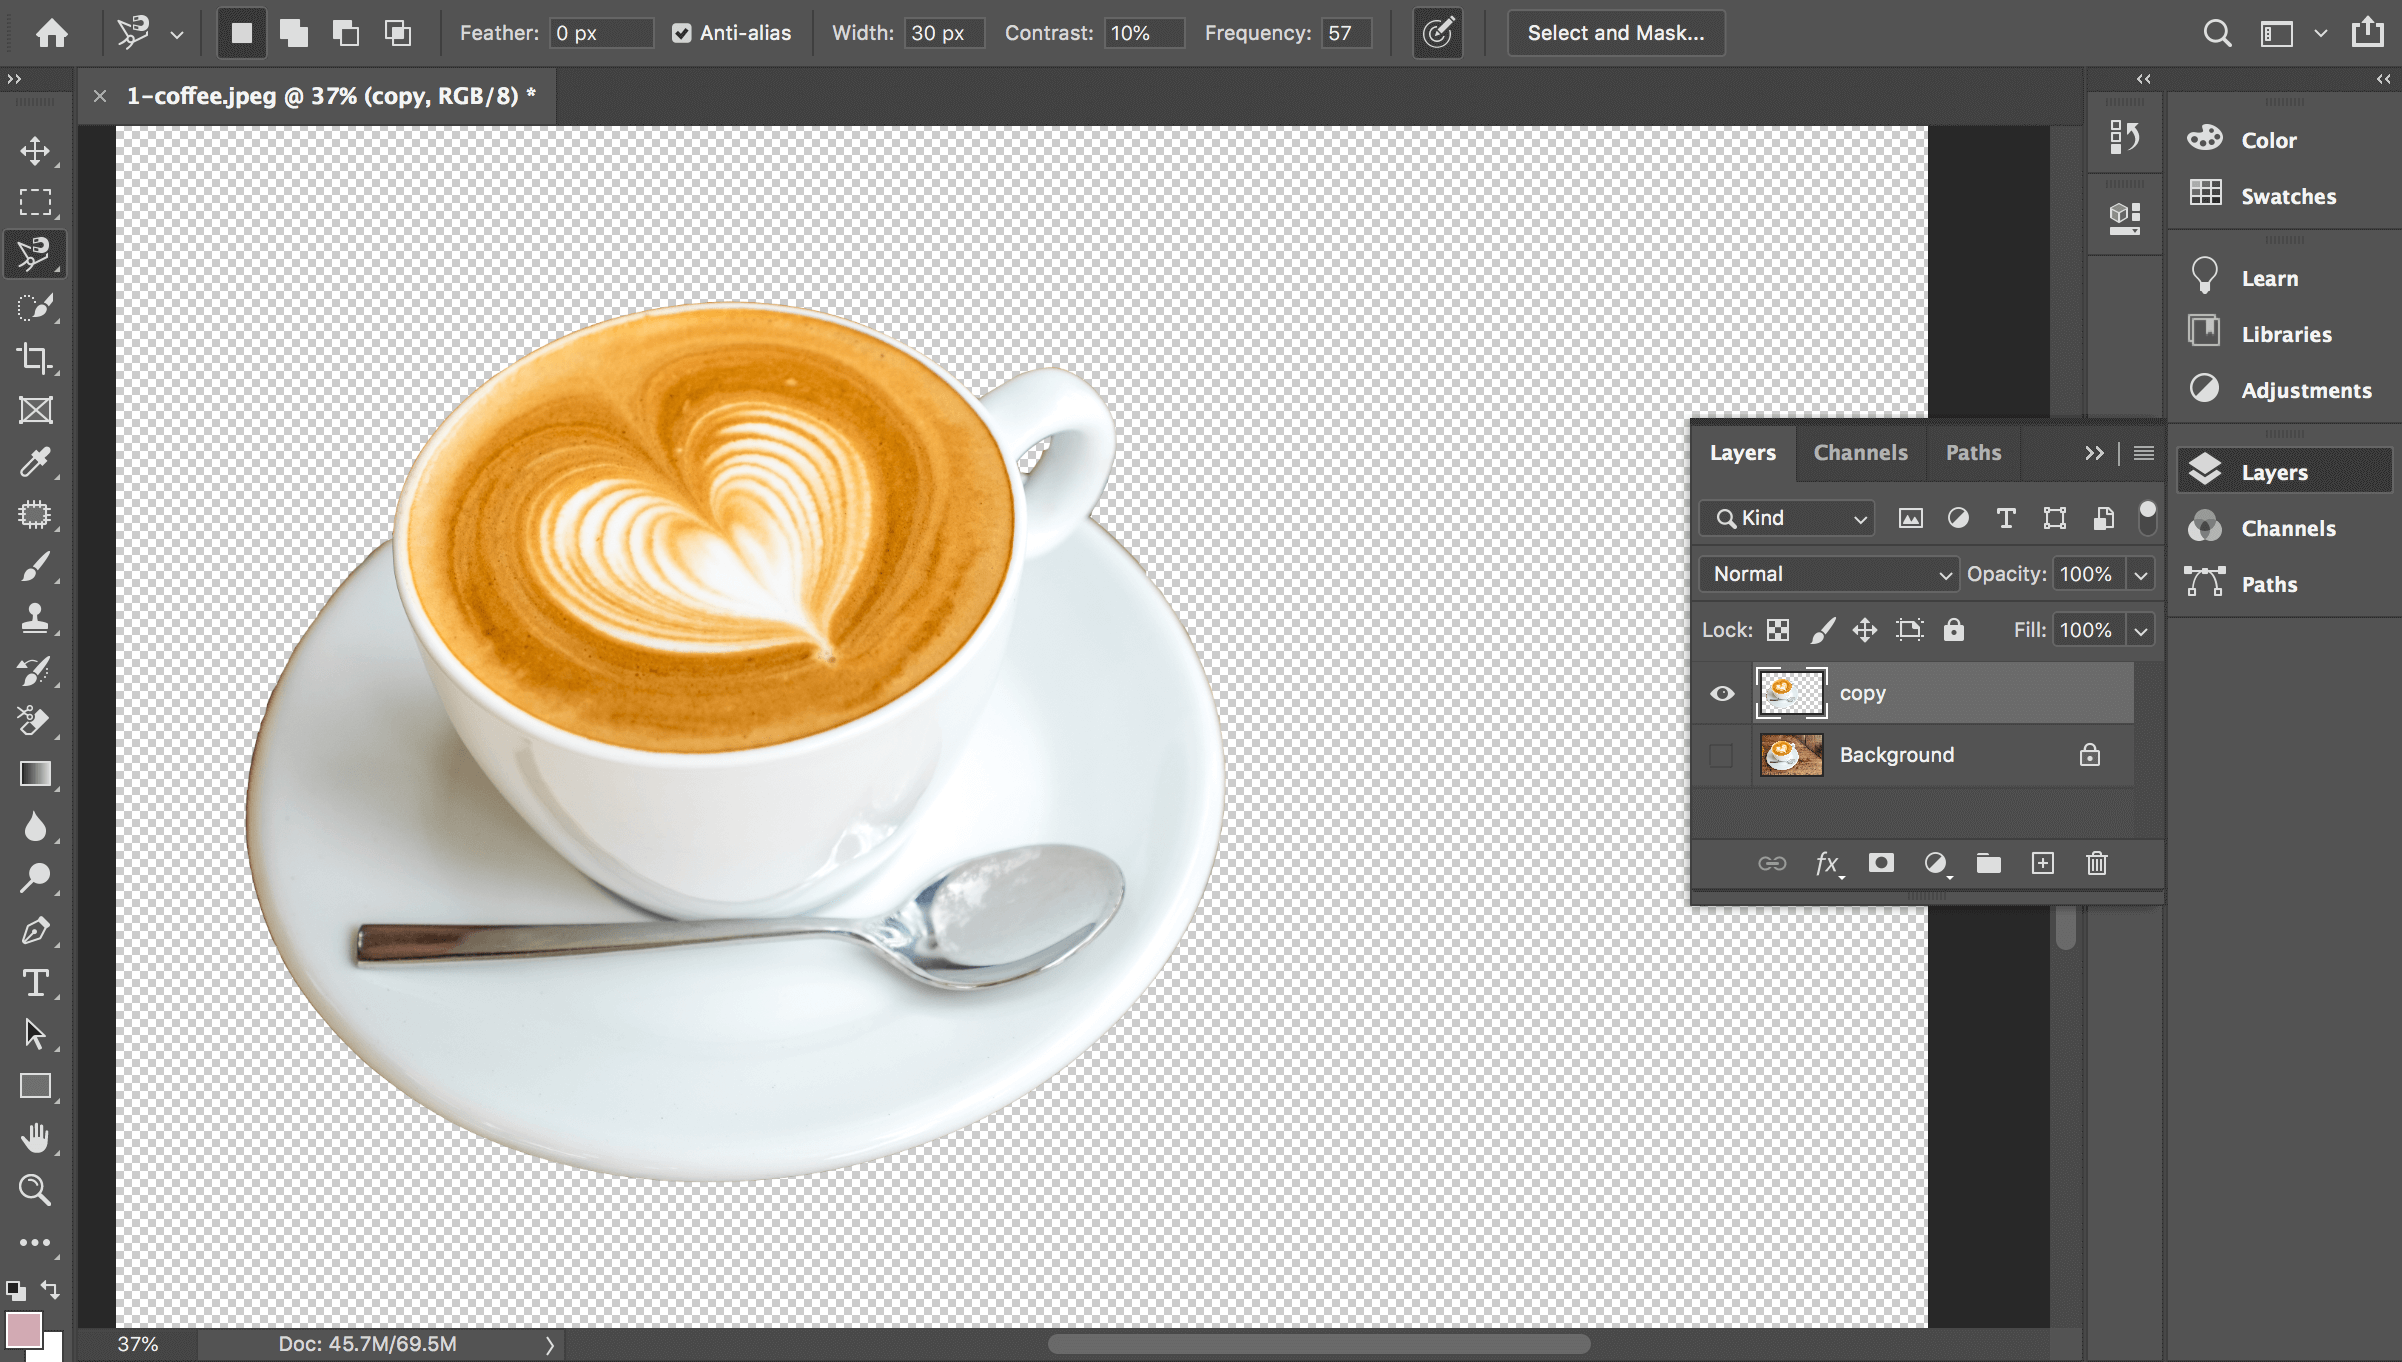
Once that’s done, right-click to Select Inverse and then Delete. Hide the view of your background layer and you’ll be left with your cut-out and nothing else.
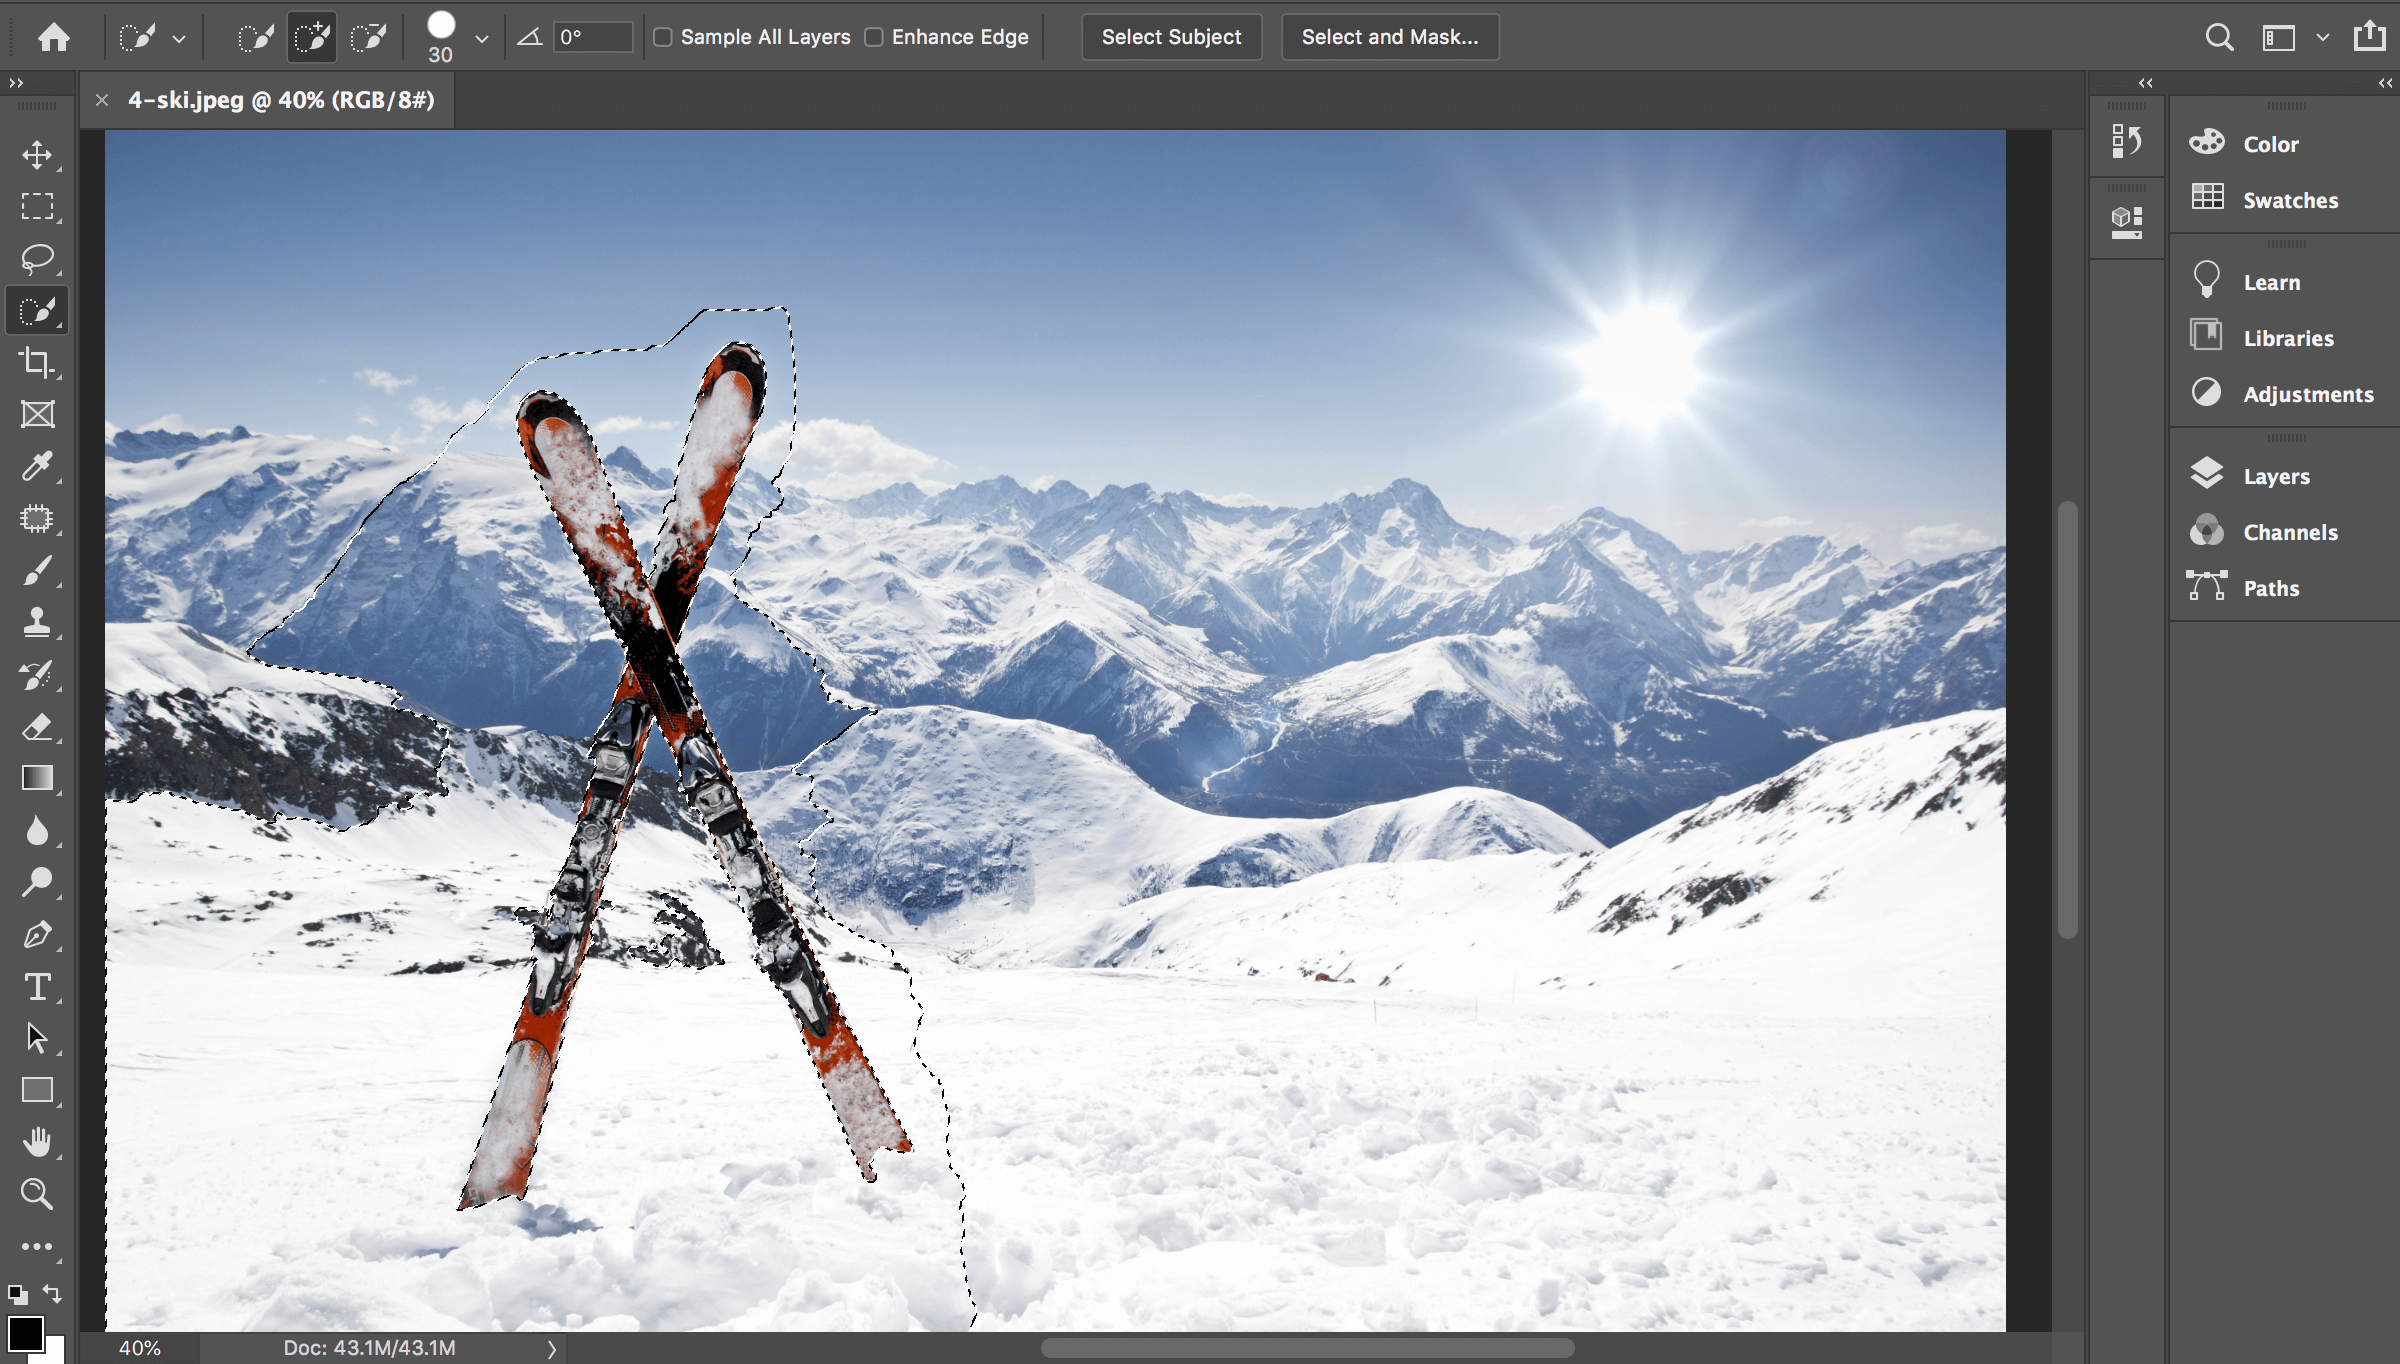
The Pen Tool
For curved lines and rounded edges, you’ll be much better off using the Pen Tool.
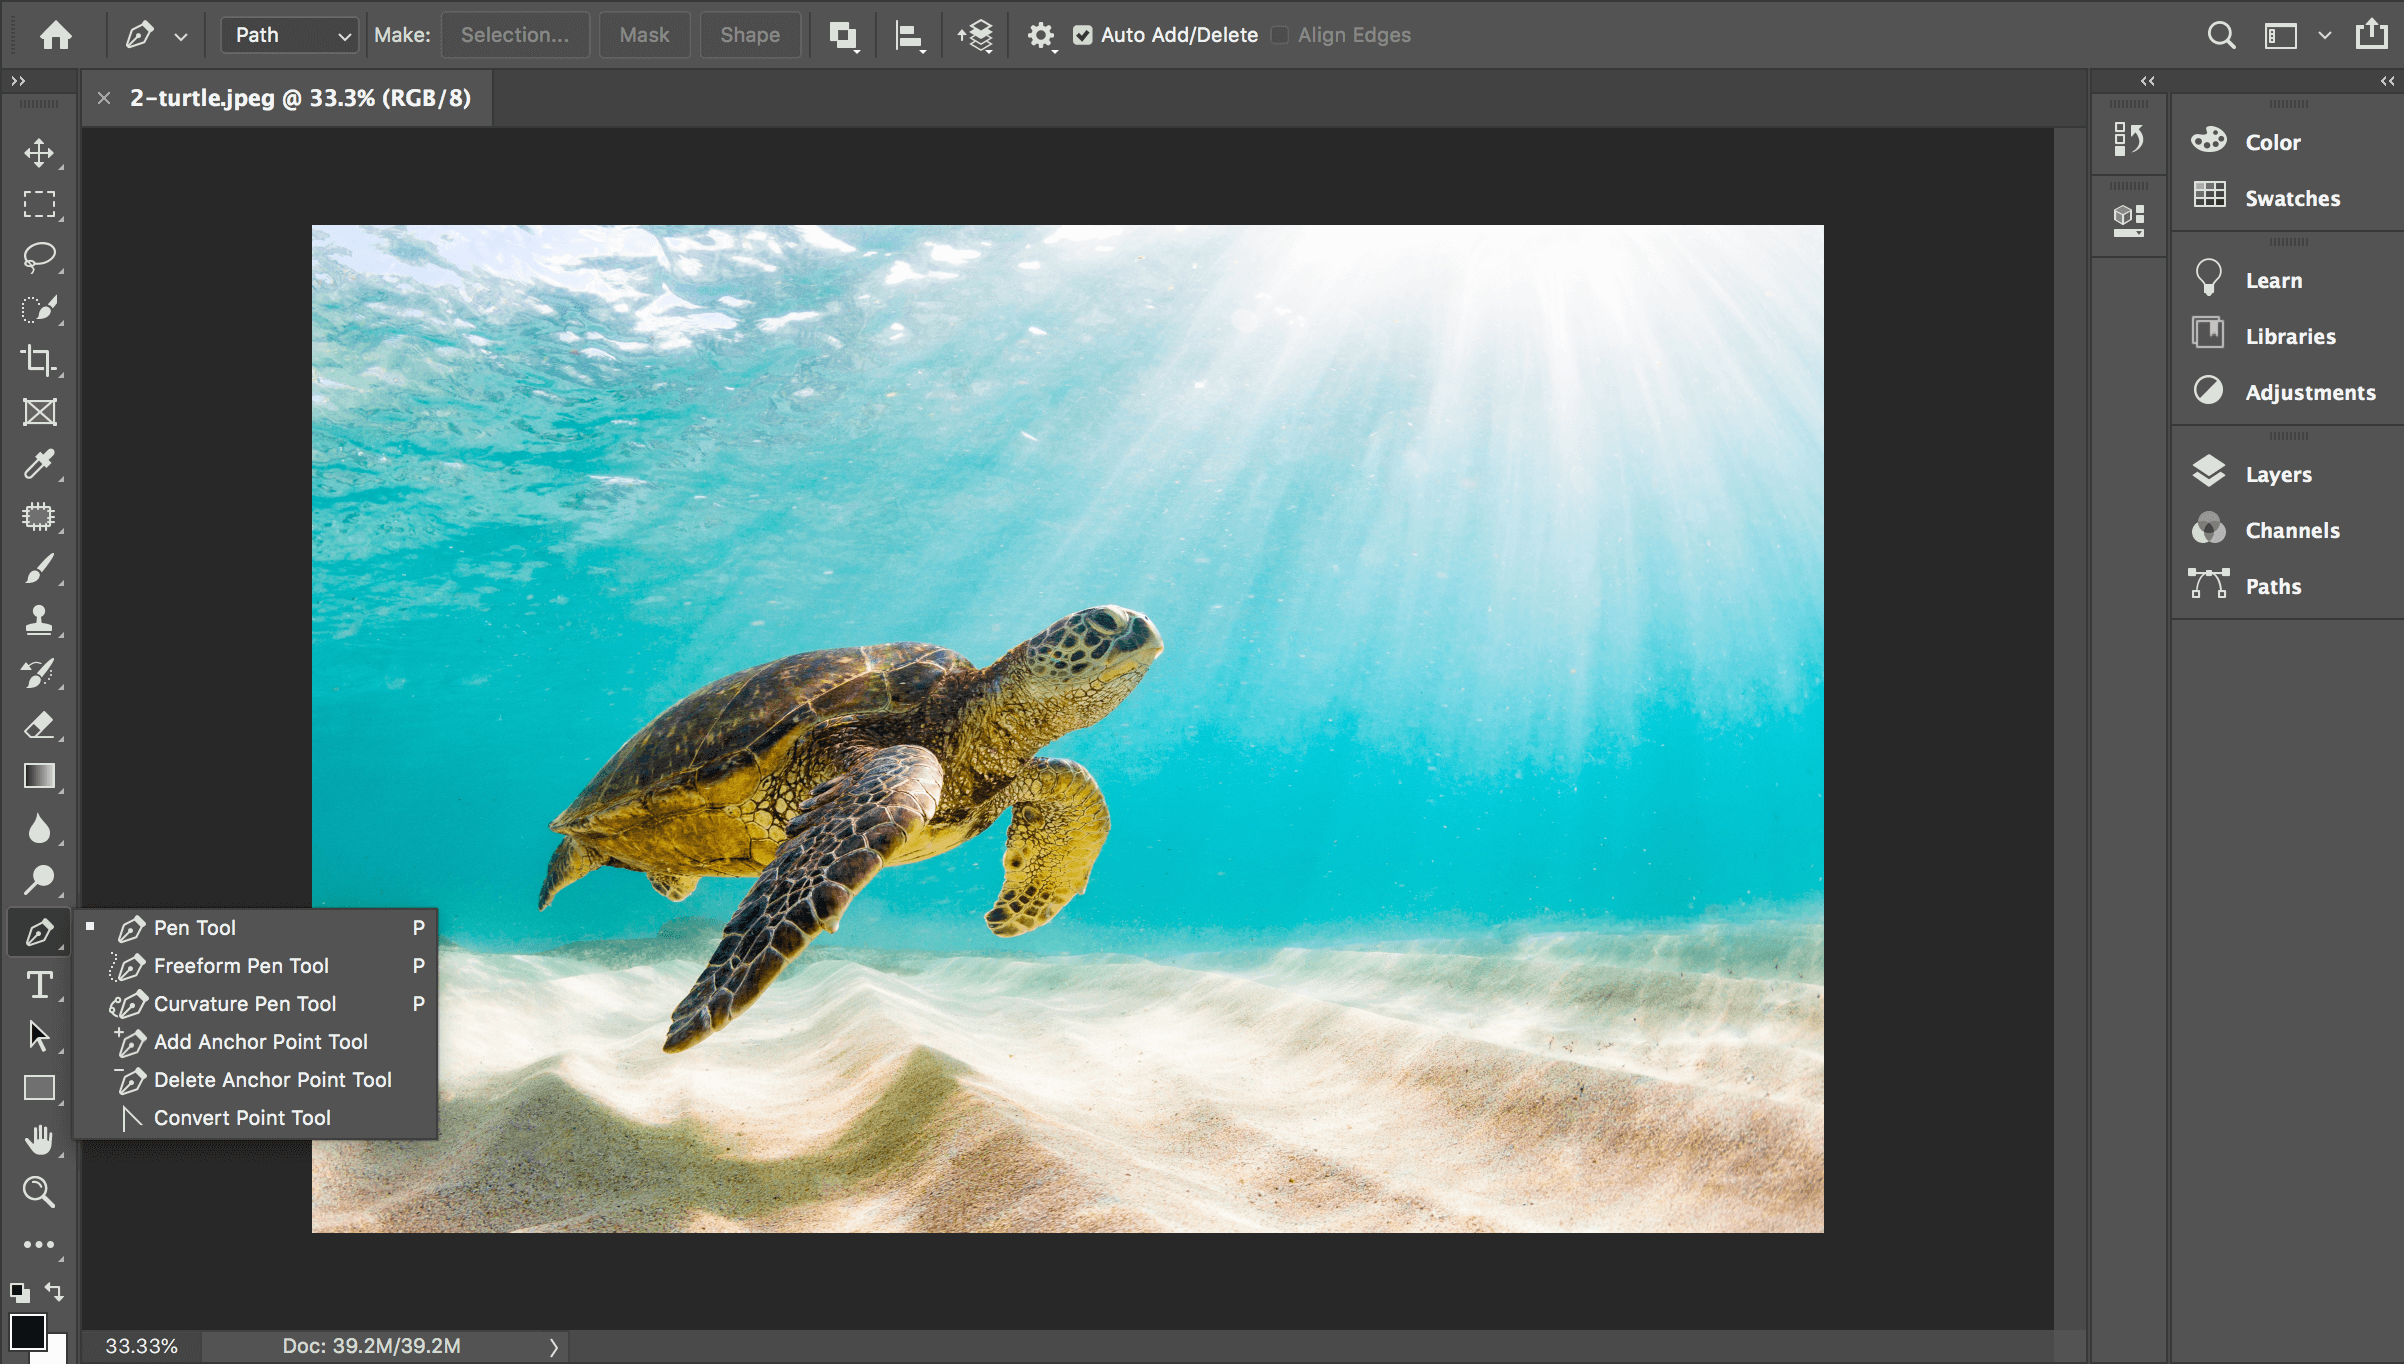
The lines you create are editable and you can get more precise results than with the Magnetic Lasso Tool. However, this one takes a bit more time
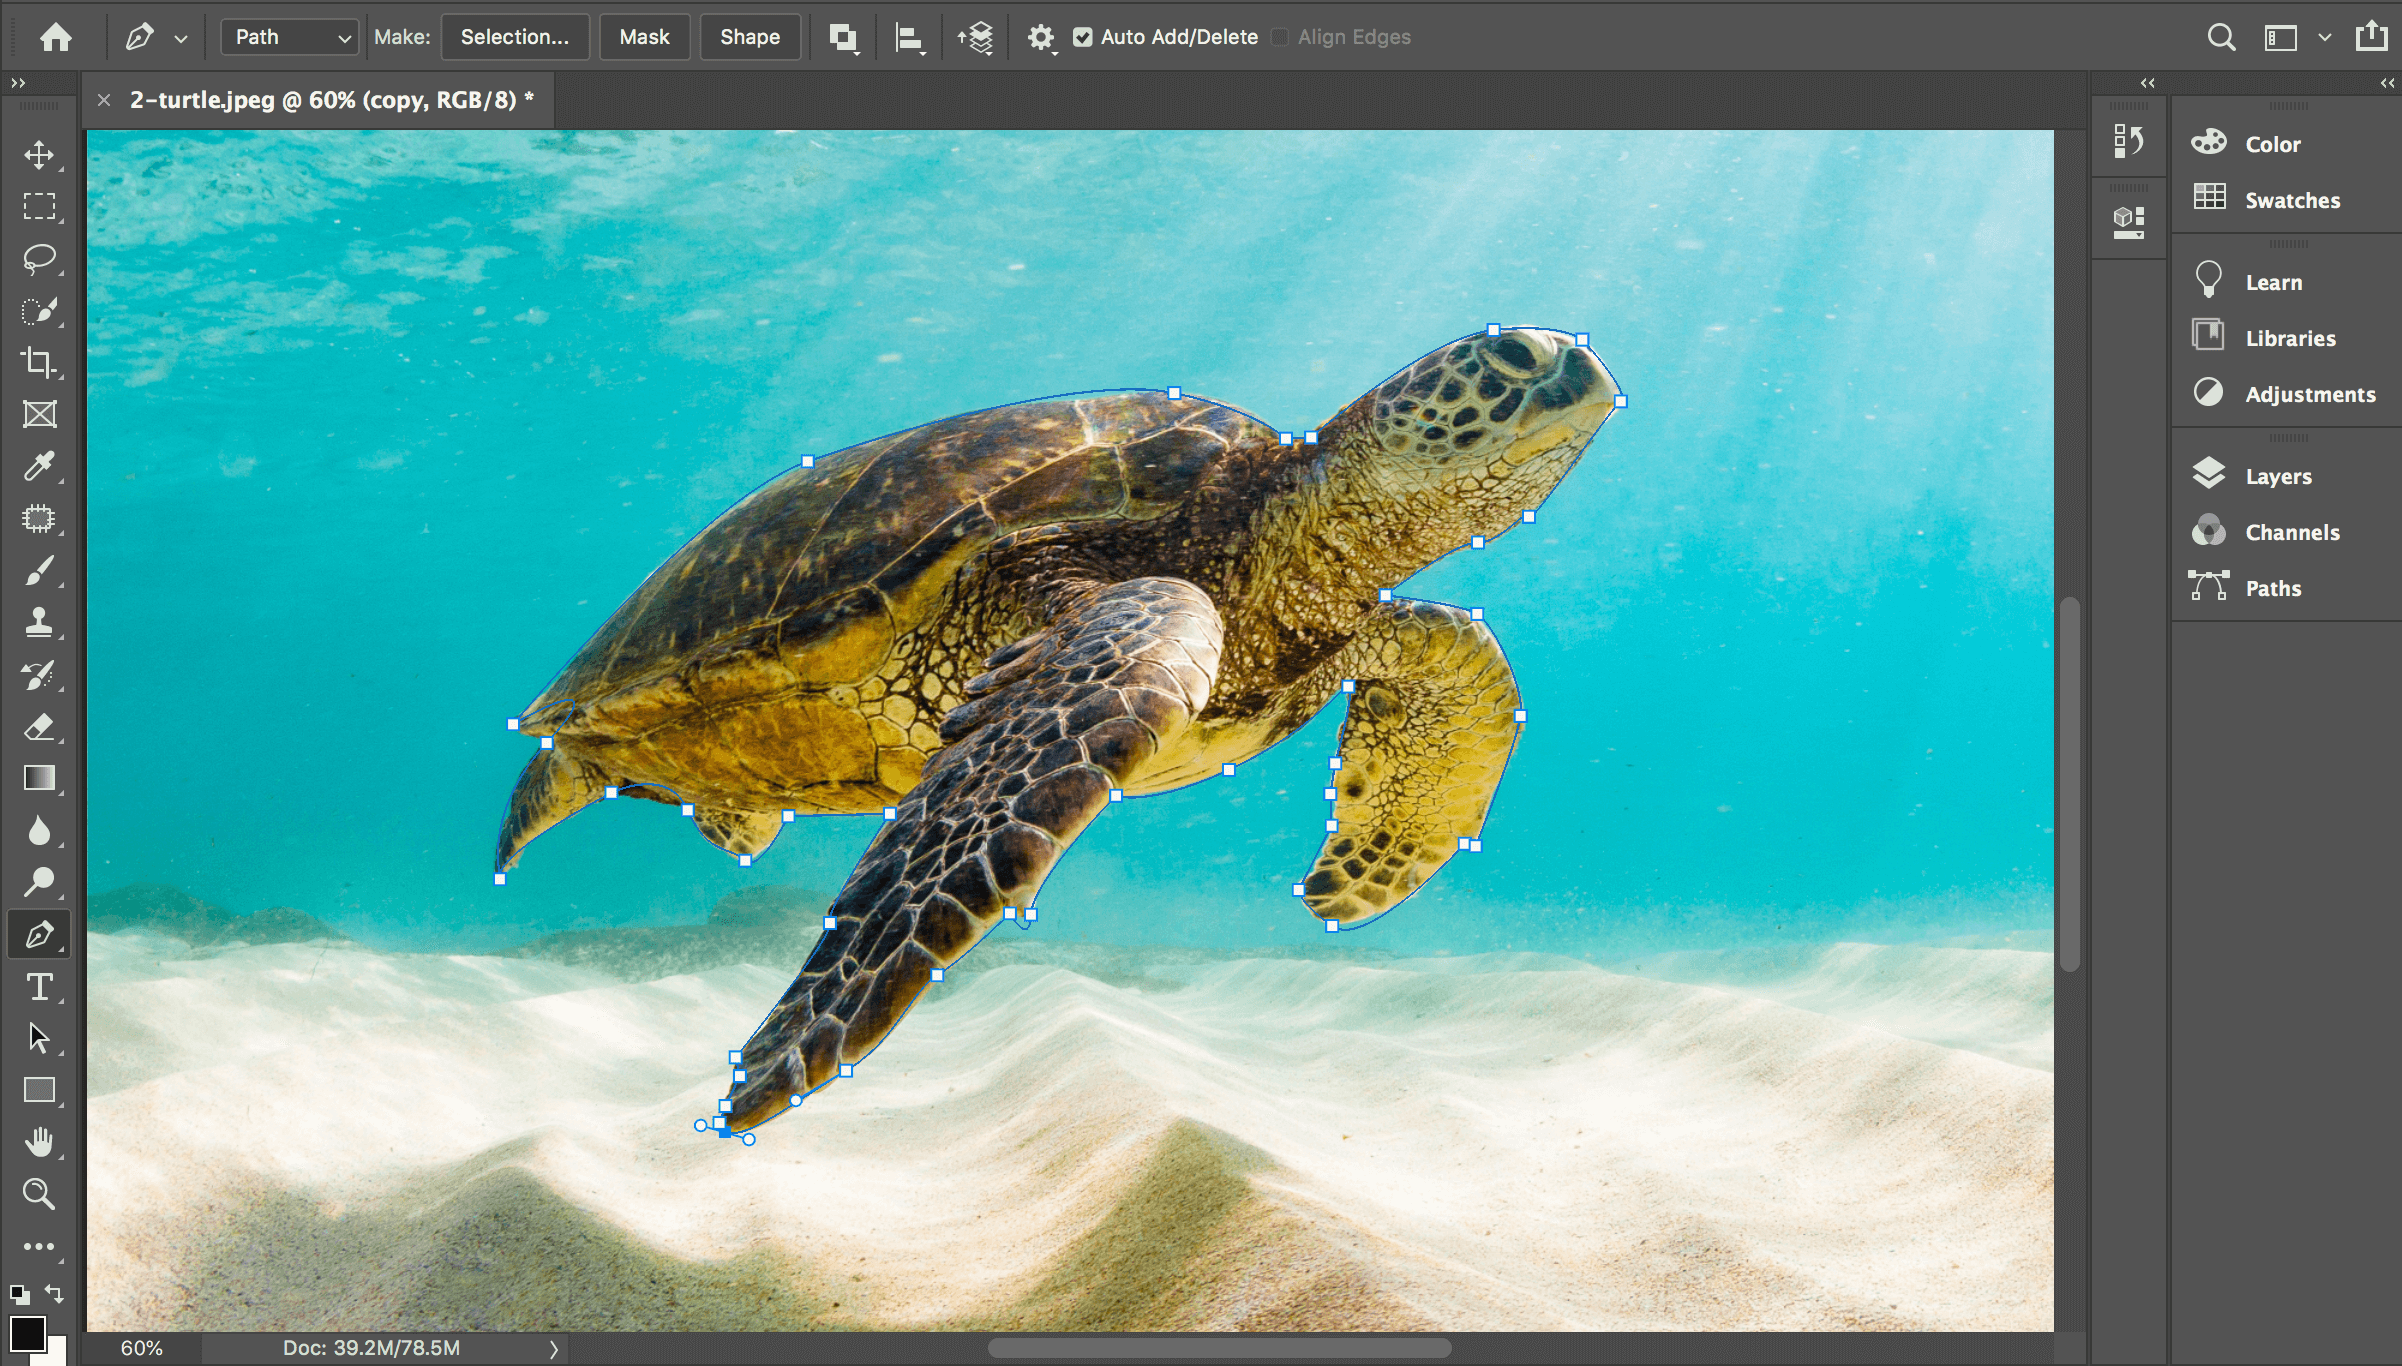
Similar to the Lasso Tool, use the lines to trace around your subject. Hold down with each click and you’ll be able to create a curved shape with the handles that appear.
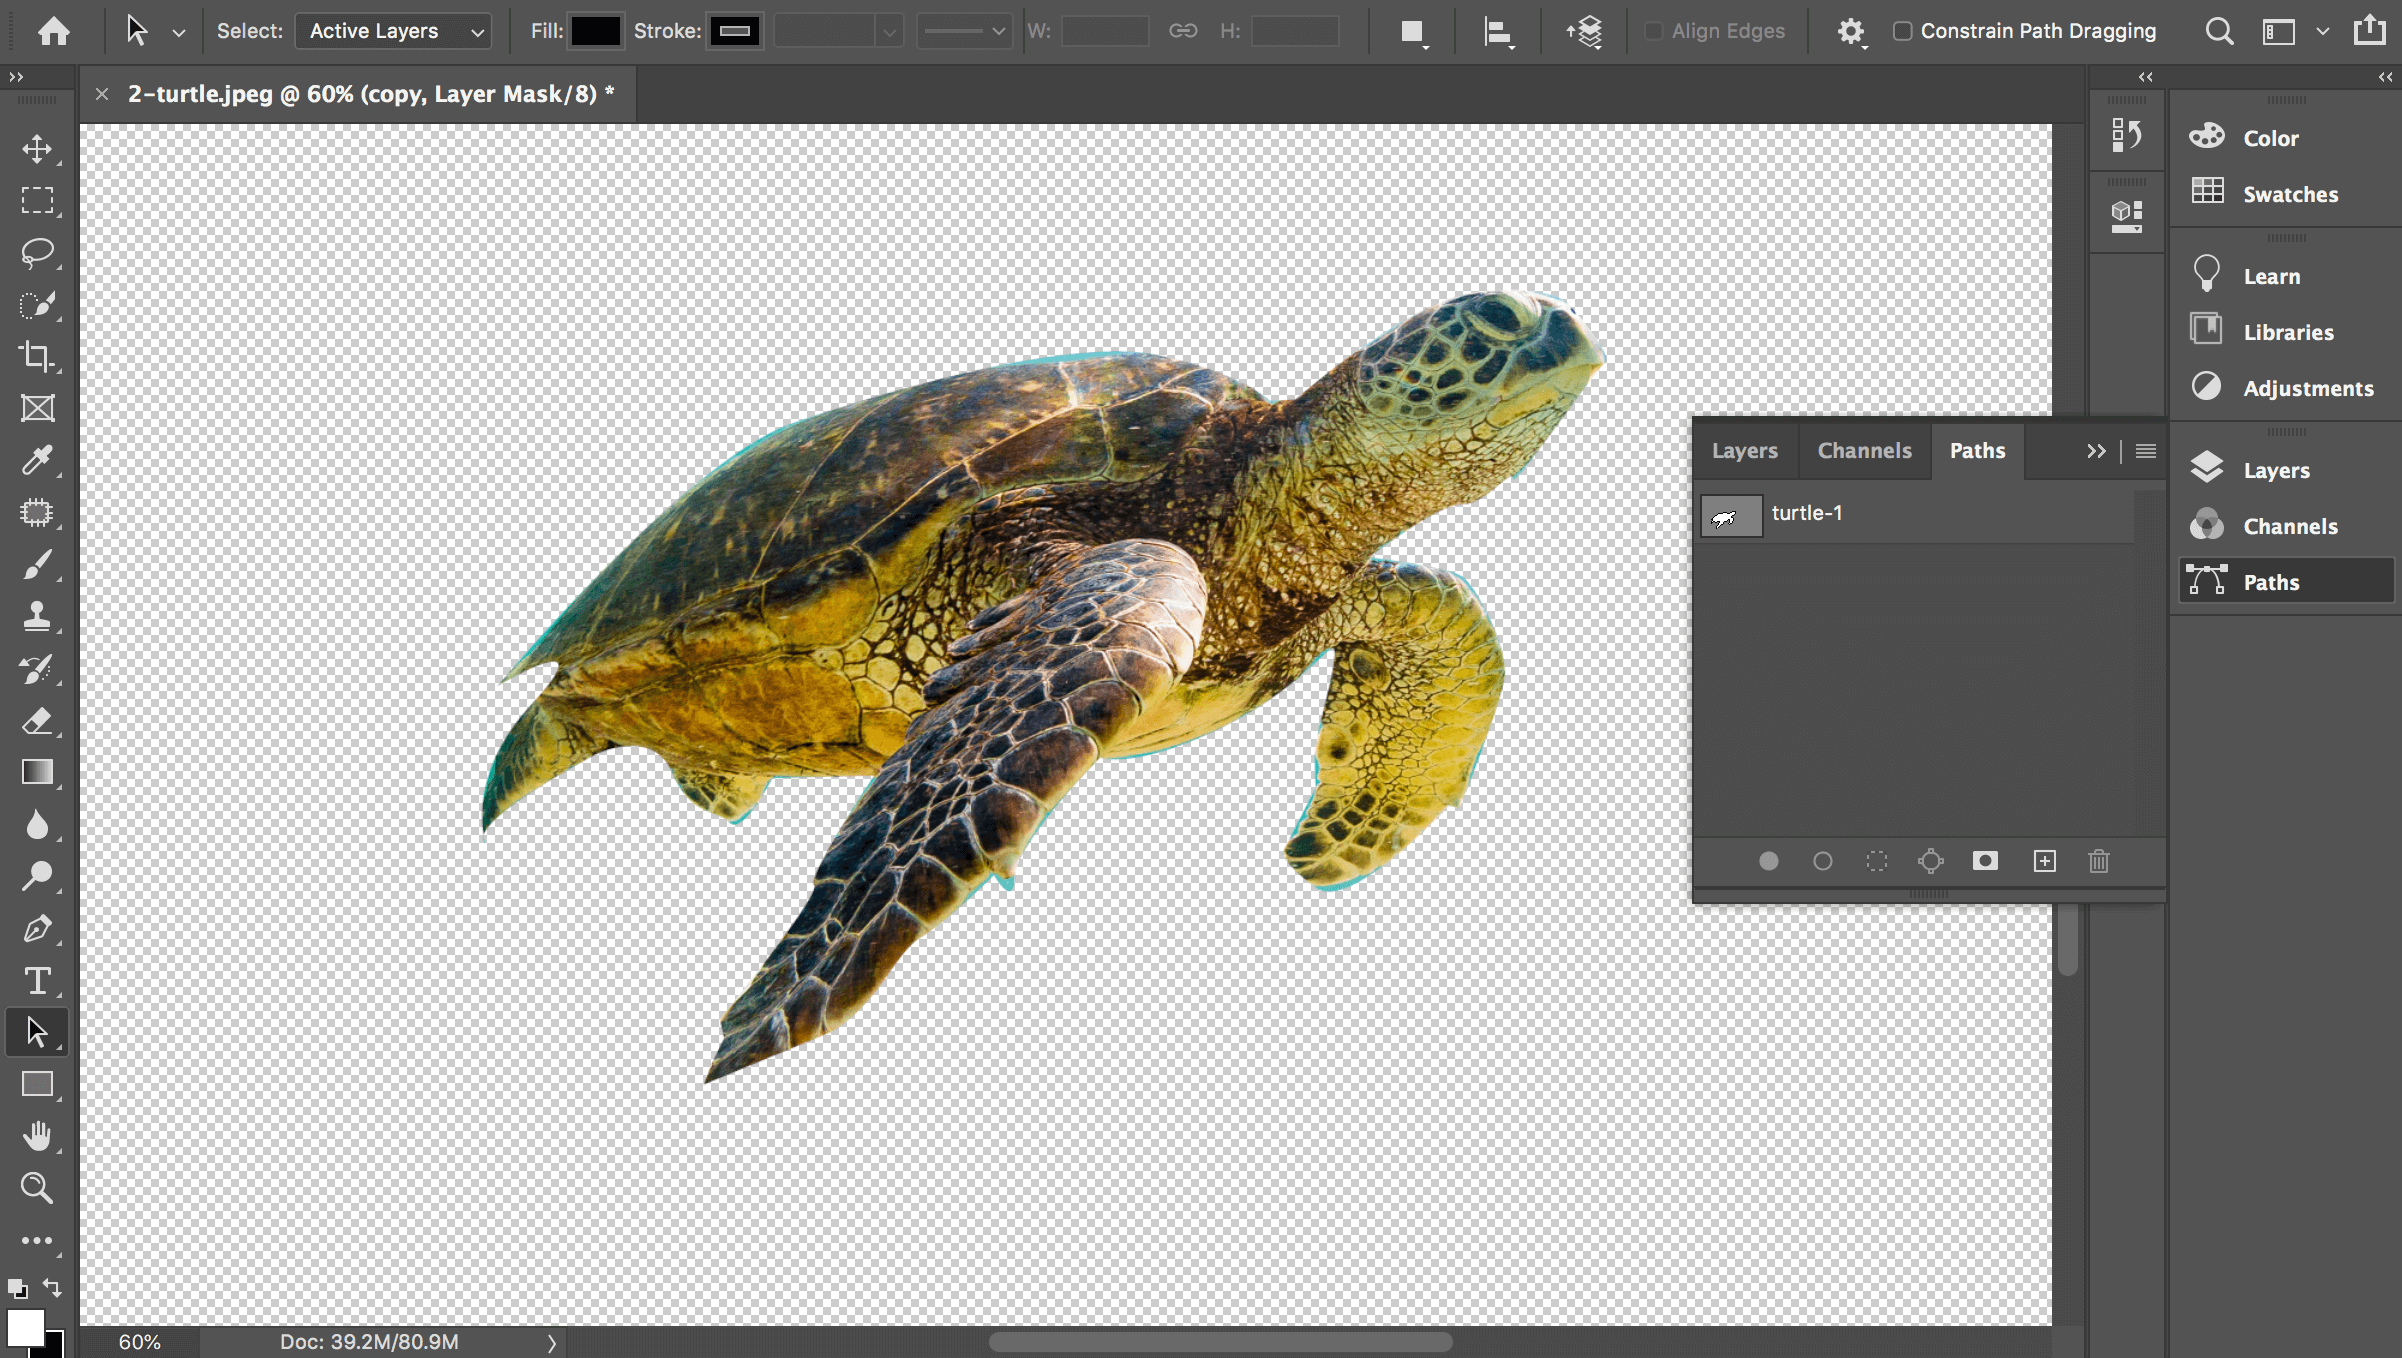
There are several things you can do now, but simply creating a layer mask will isolate your subject to remove the background.
As you can see, there are still some elements of background on this turtle. Thankfully, with the Pen tool, you can still edit the shape once you’re finished and get your lines super-tight and accurate.
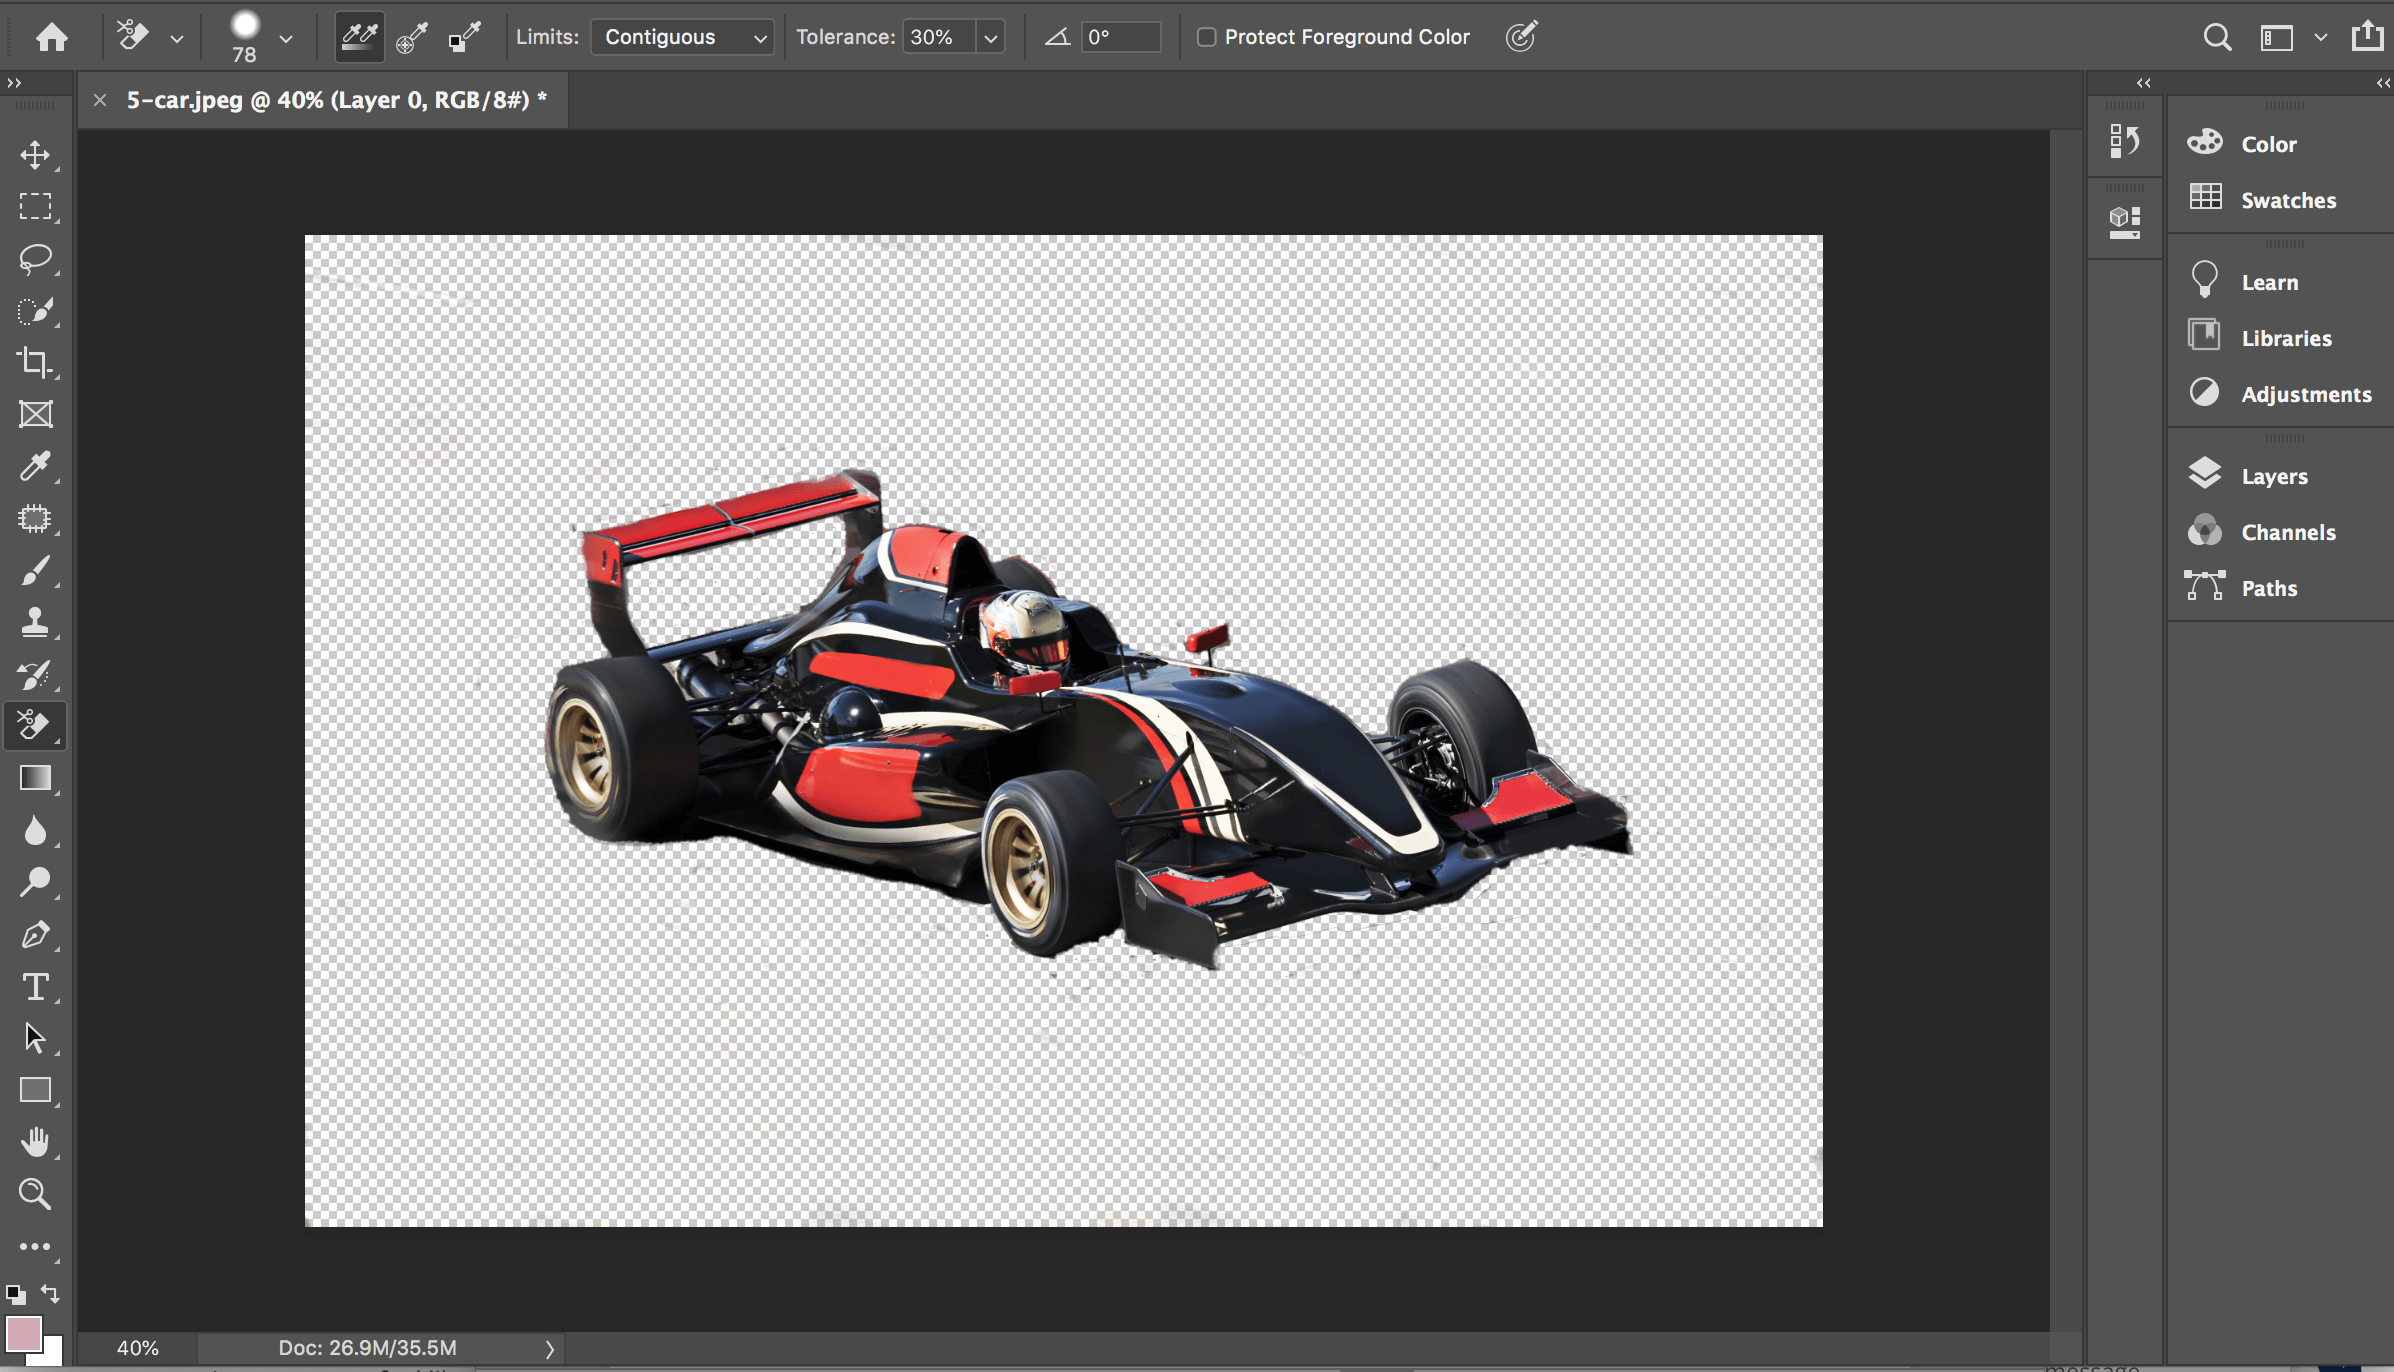
Magic Wand Tool
Next up, let’s take a look at the Magic Wand Tool. This is great for a quick background removal but, unfortunately, it’s pretty limited in its use. And if it seems too good to be true, it normally is!
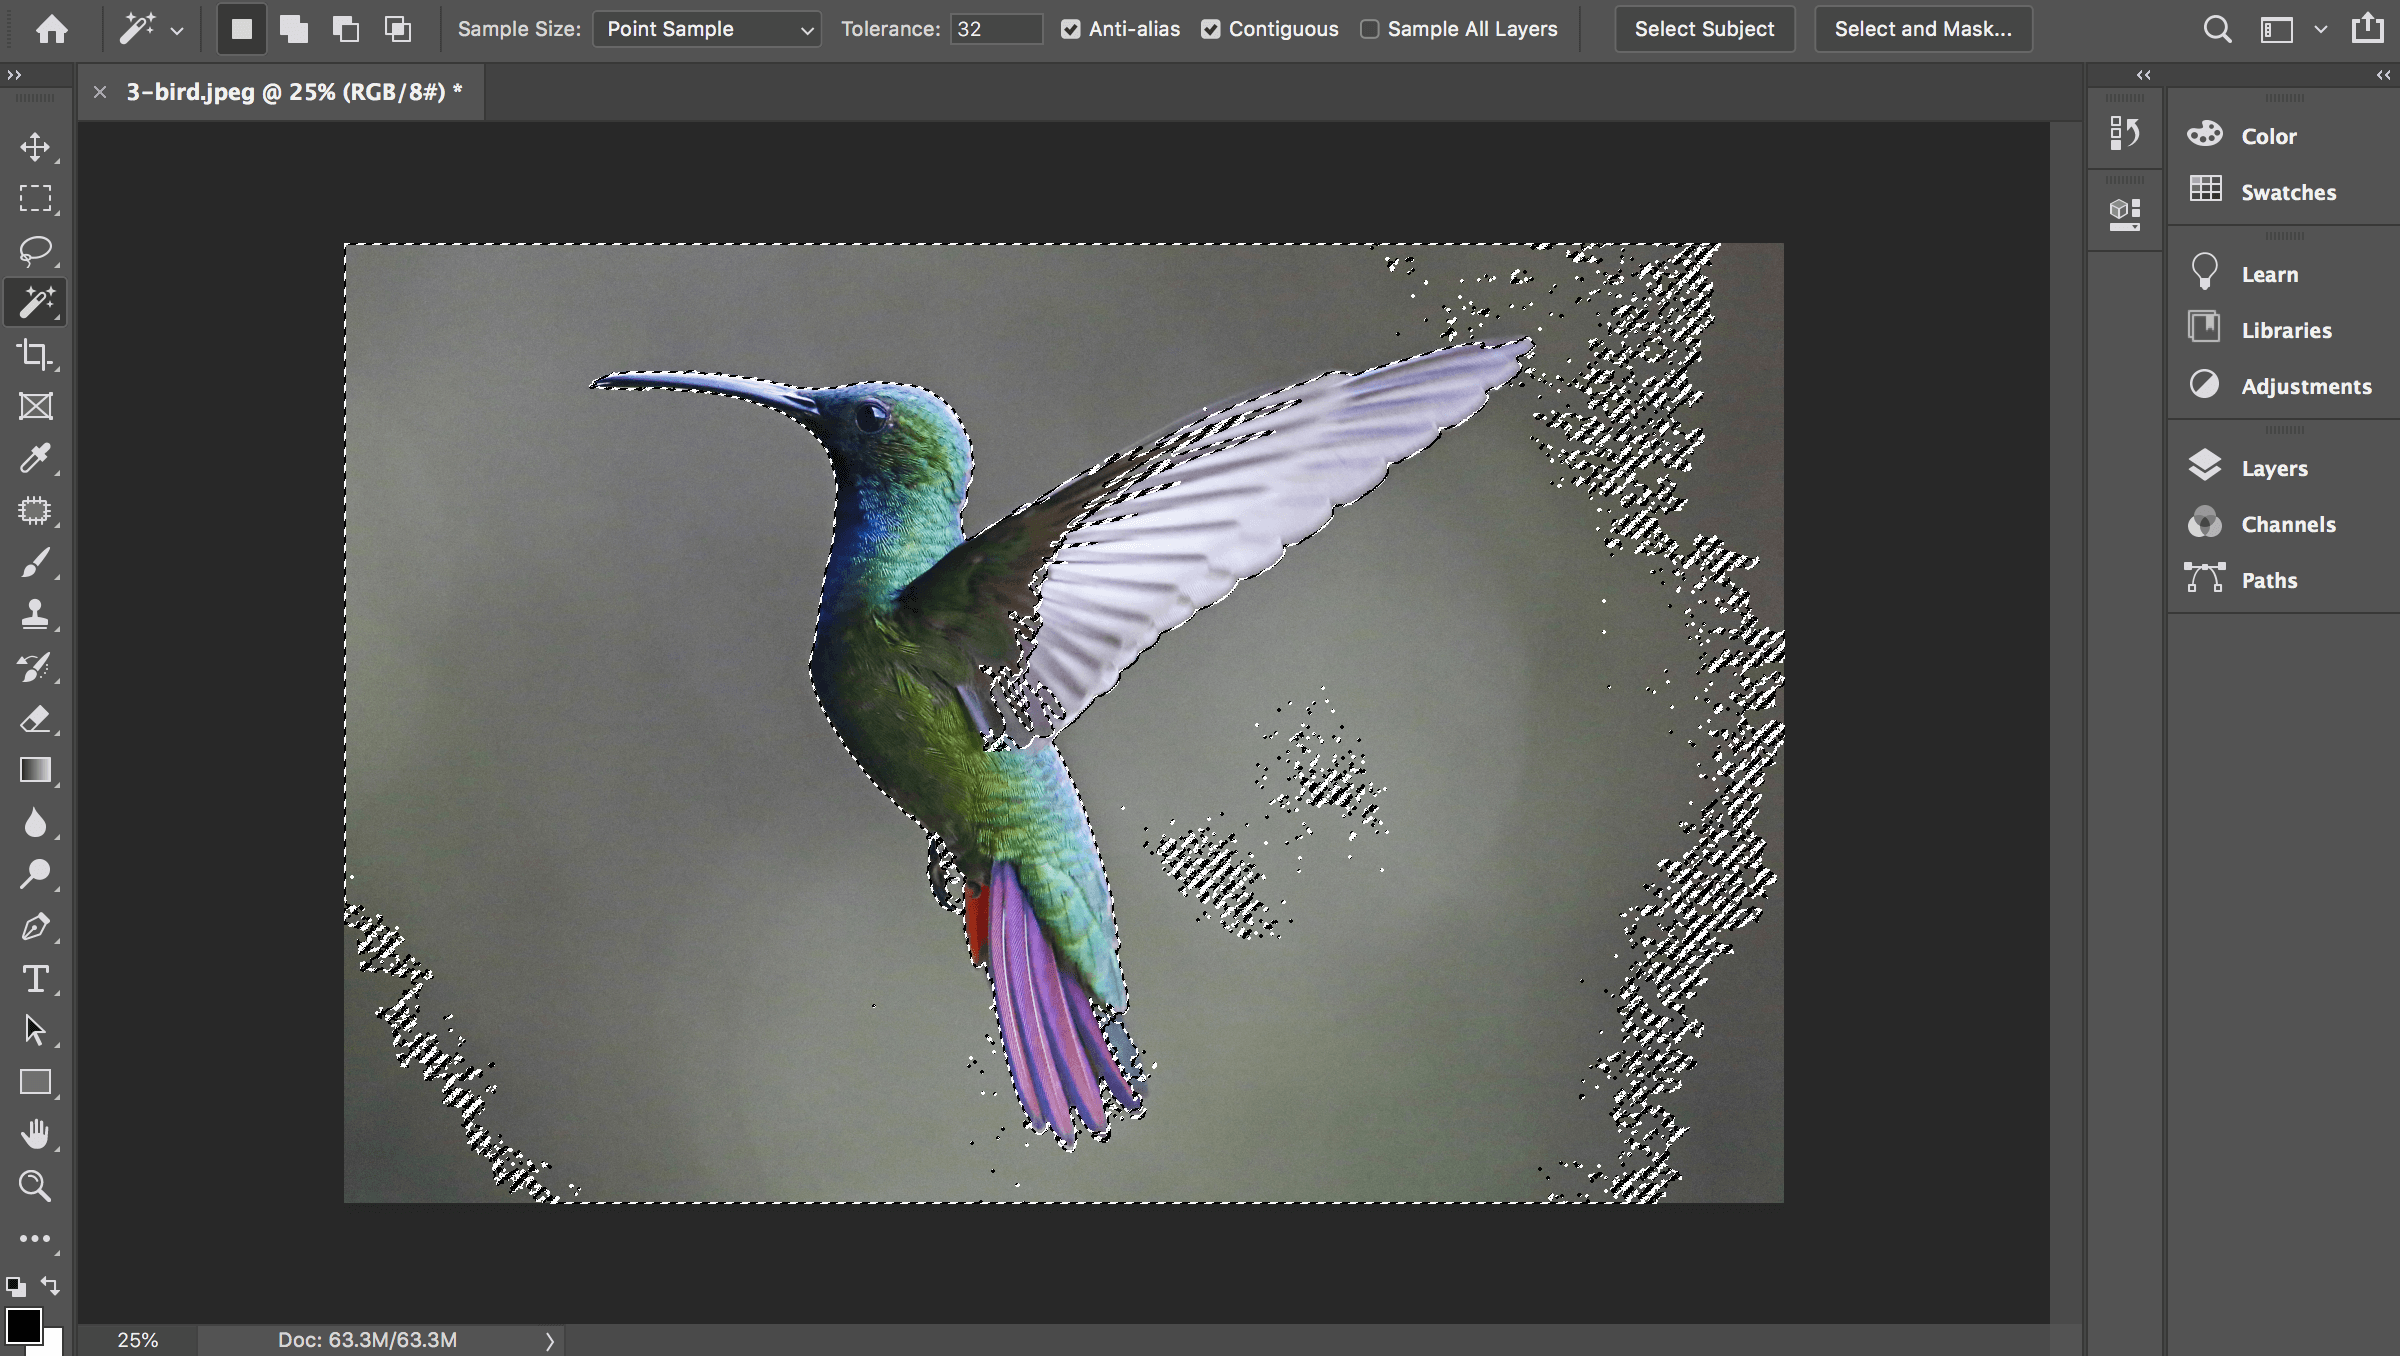
That’s because it’s most effective on a high-res photo taken against a plain background. If that’s the case, this tool works with just a few clicks. Otherwise, it might struggle to cut-out the subject of your picture.
You can adjust the sensitivity of the magic wand with the tolerance setting in the top toolbar. If the Contiguous setting is enabled it will only select areas connected to the part of the image you click, otherwise it will find all areas of the image that match the point sample and tolerance you’ve set.
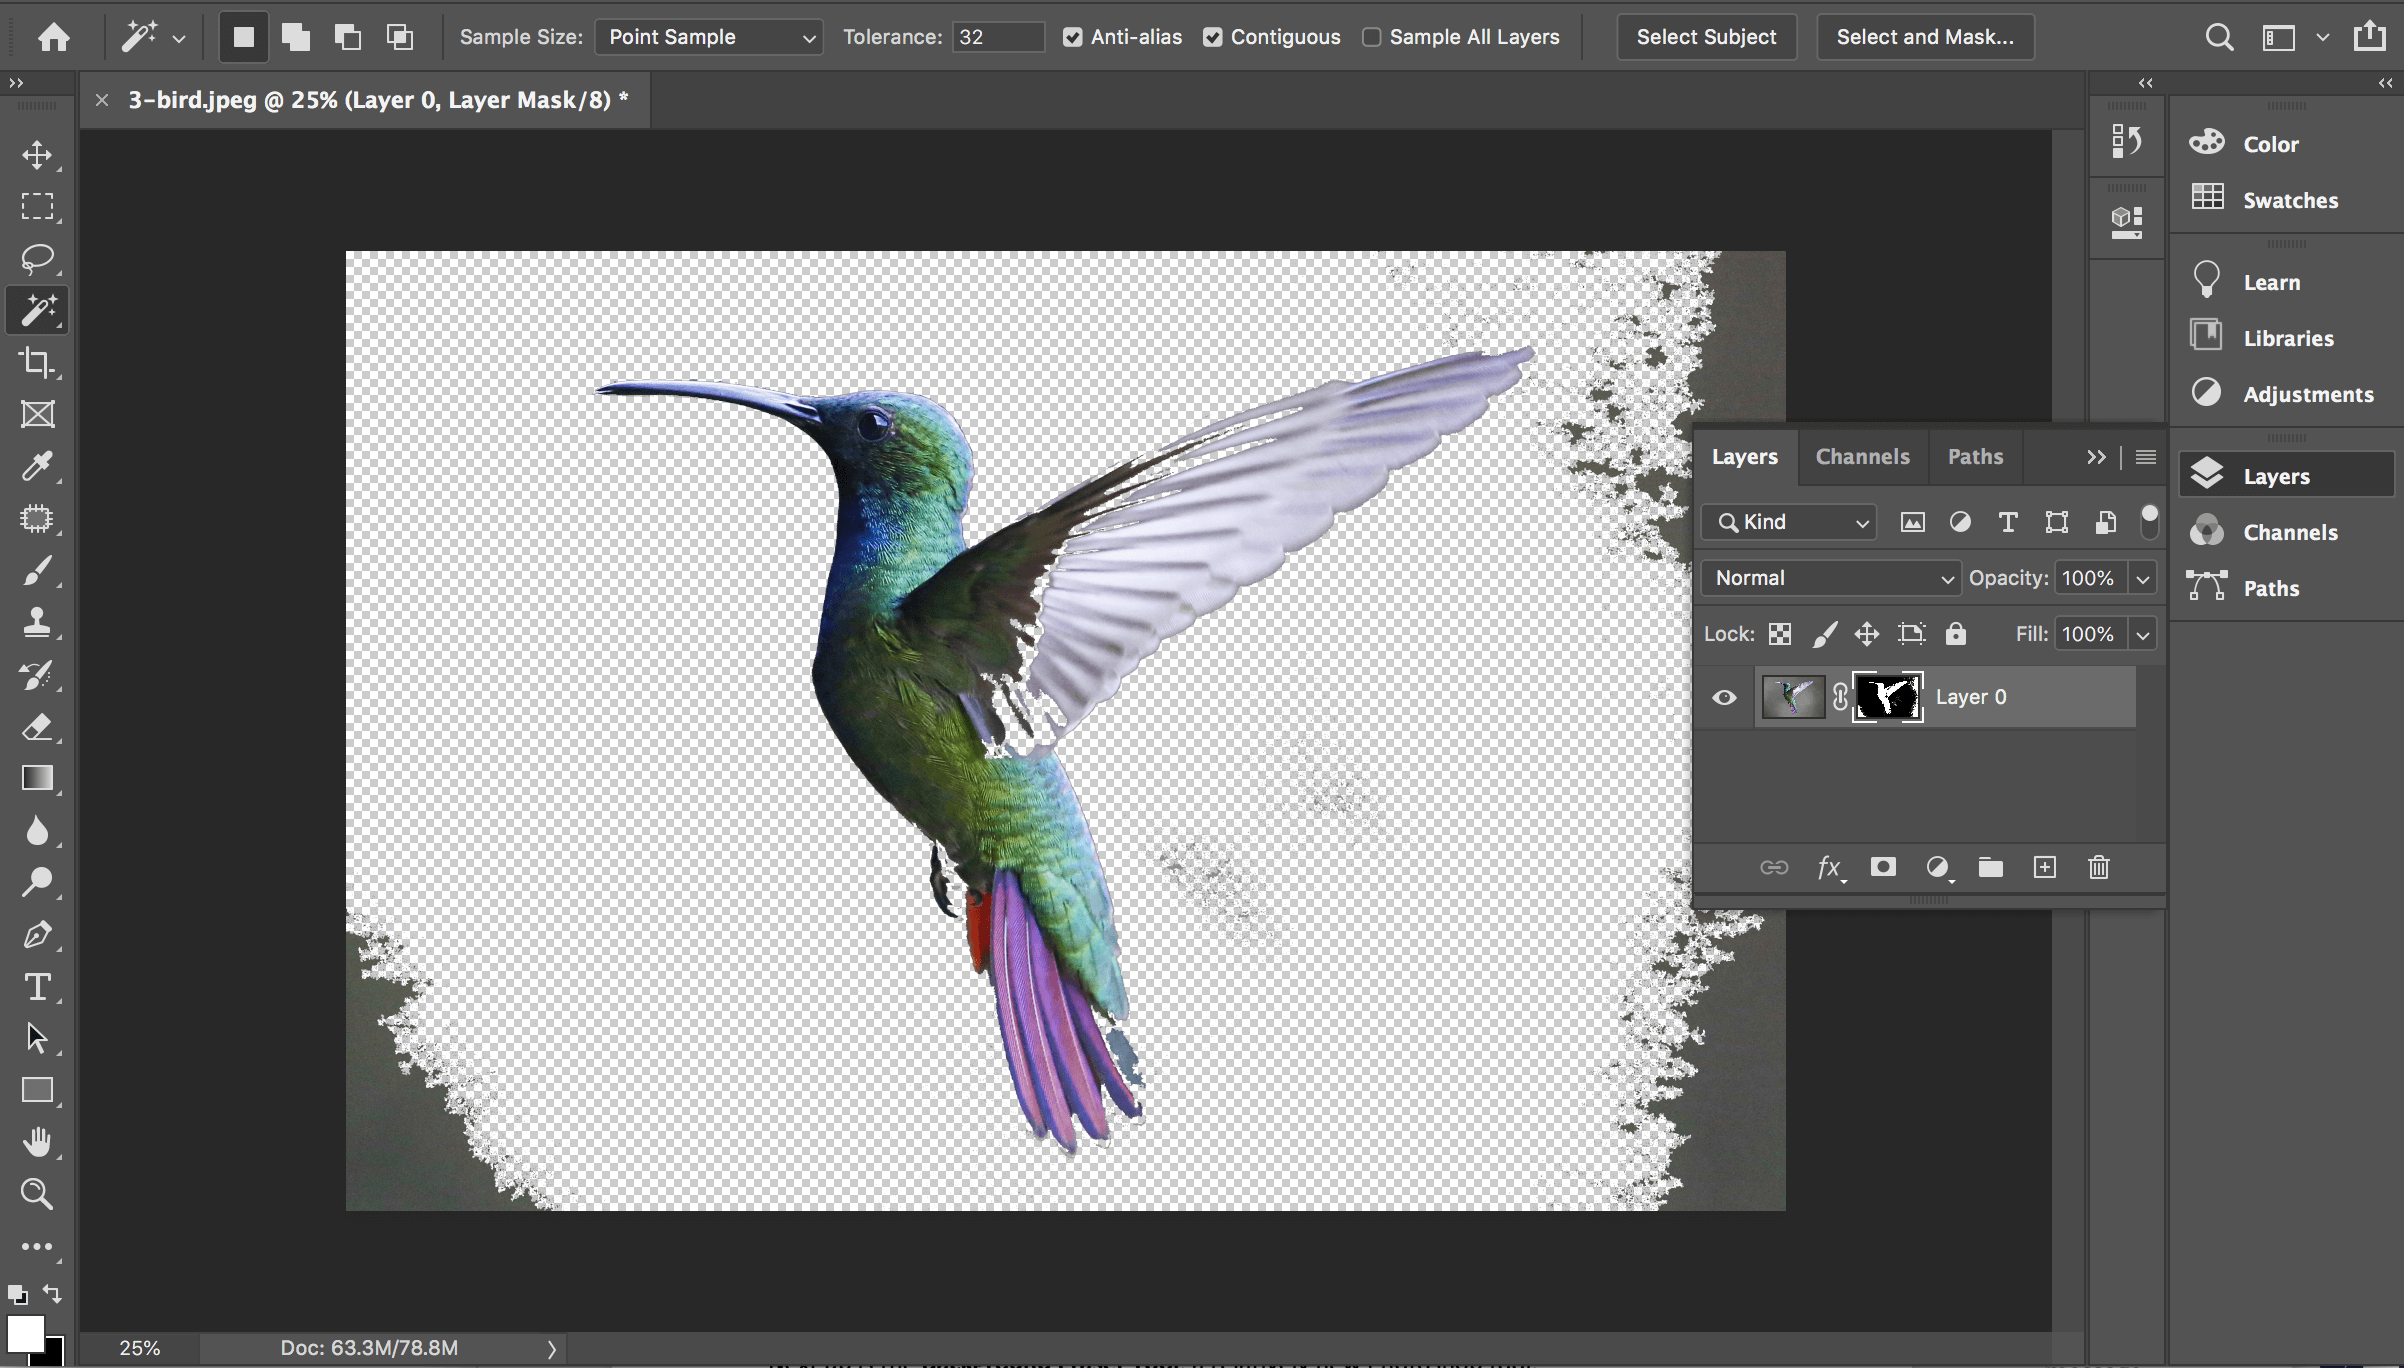
Inverse your selection and add a mask to remove the background. Even with a plain background in the hummingbird above, the Magic Wand Tool still struggles.
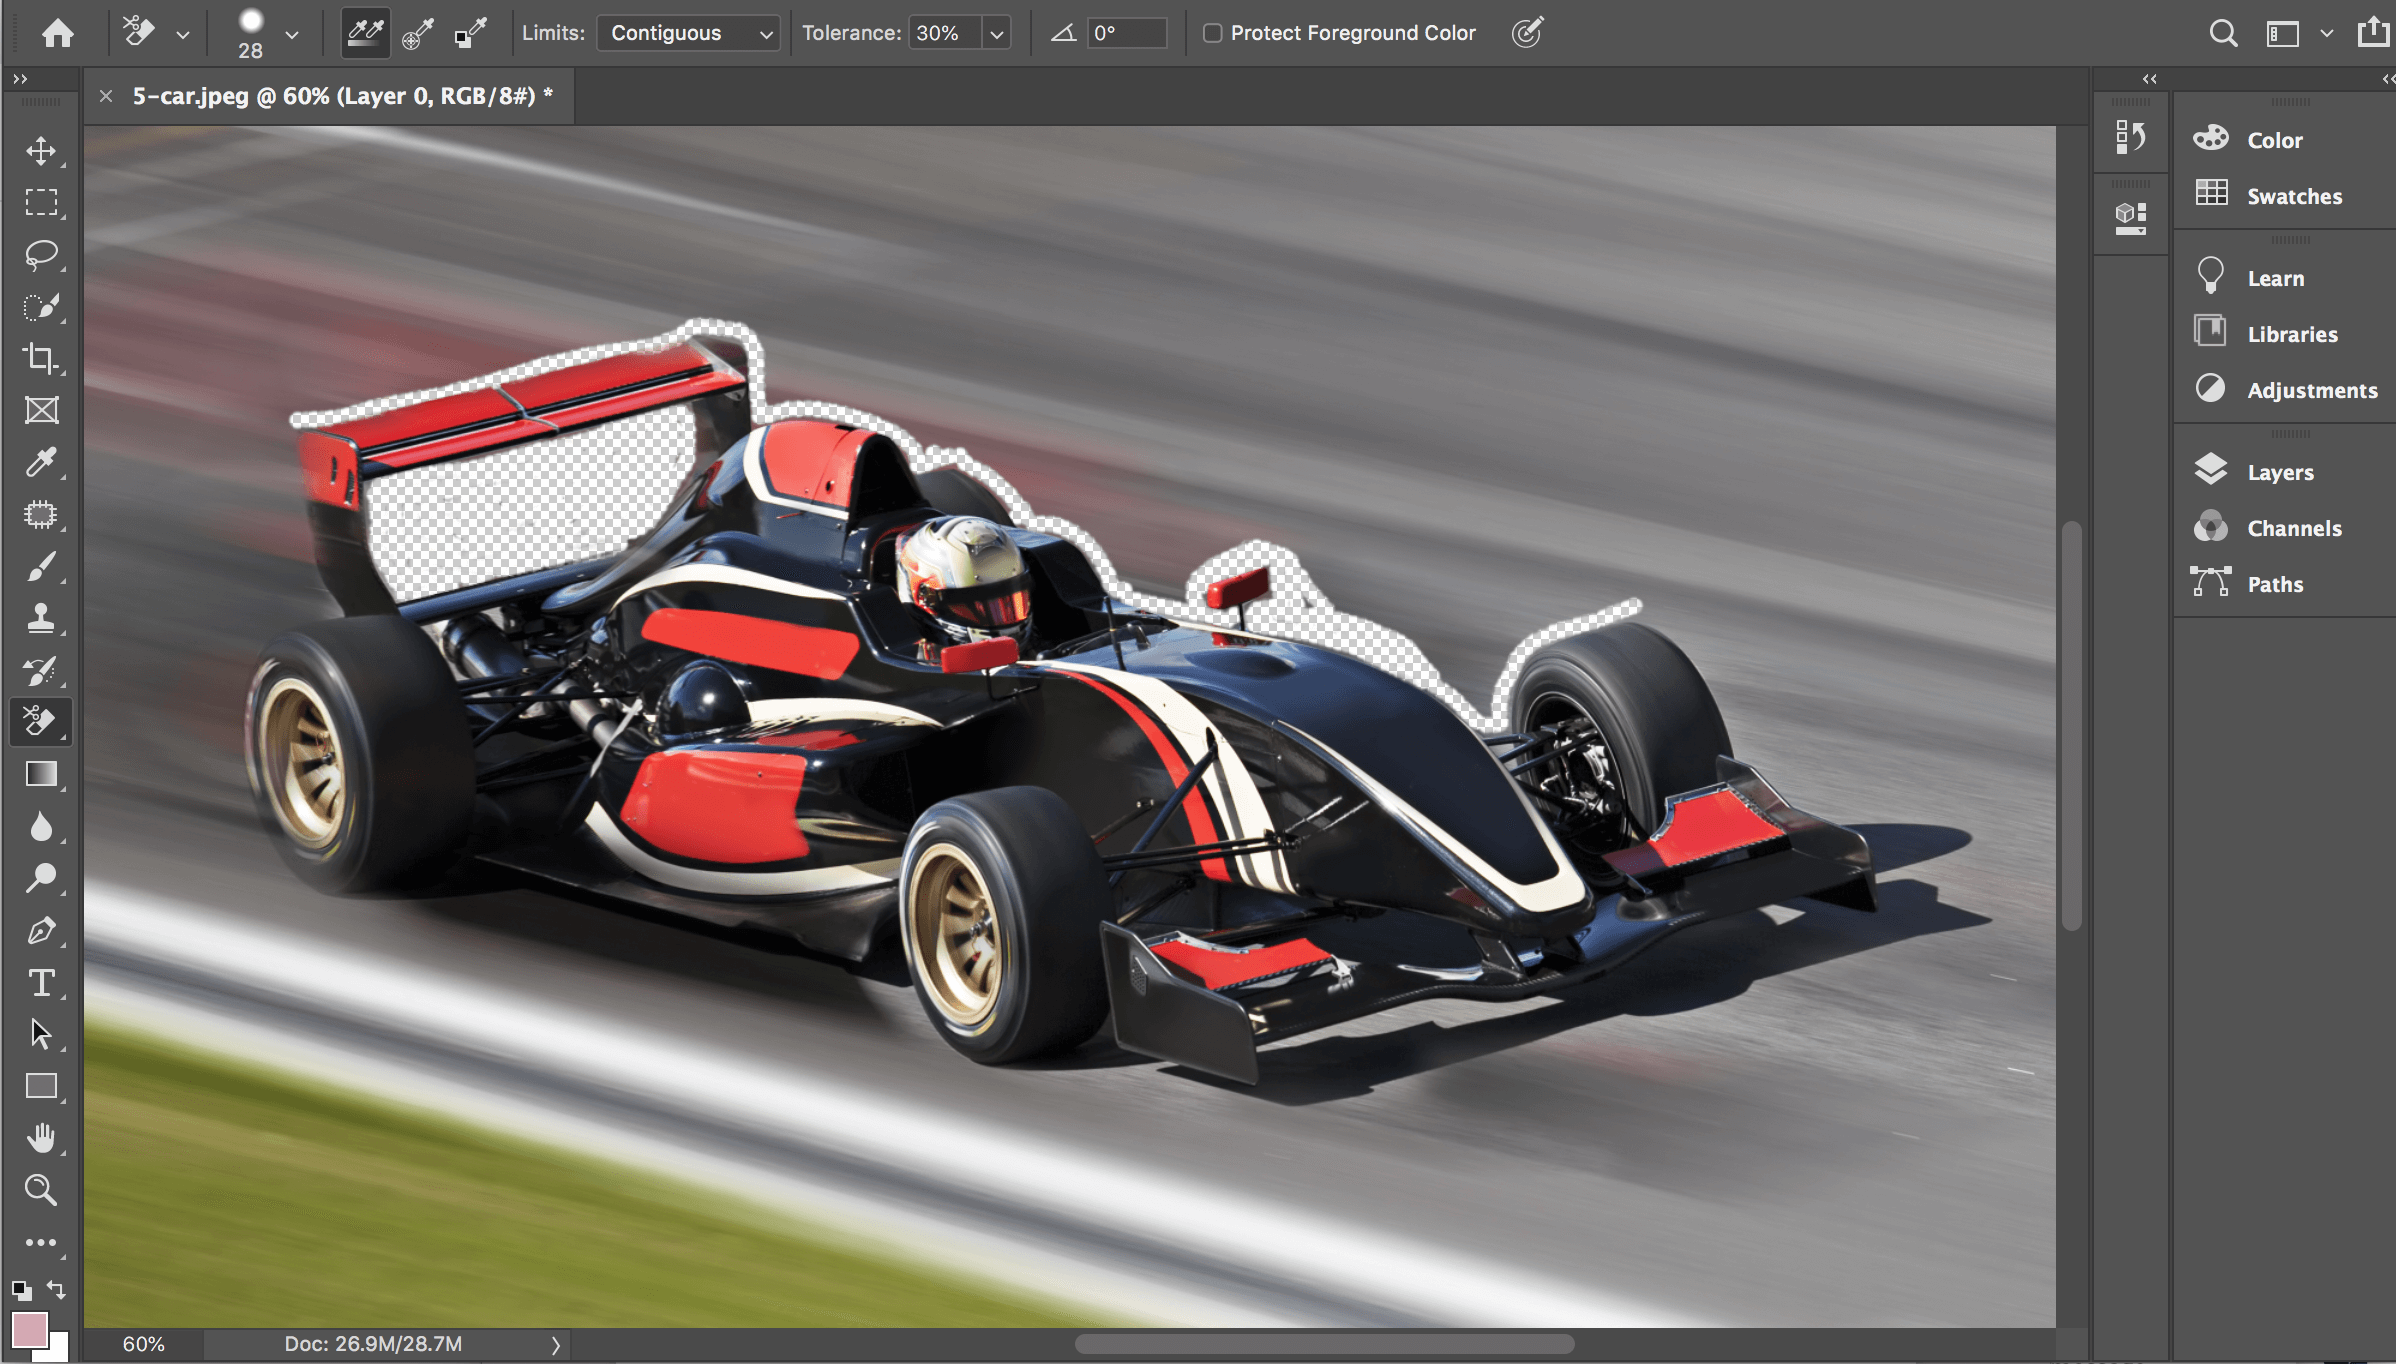
Quick Selection Tool
The Quick Selection Tool is a step up from the Magic Eraser Tool, but it’s still a quick and ‘dirty’ way to remove a background. With a little care, the results are still good and super-fast.
This tool is in the same section as the Magic Wand Tool. Once selected, trace around the edges of your subject. Artificial Intelligence tries to ‘guess’ and select large sections of the background. If it accidentally selects your focus area, just hold ‘alt’ and remove it.
You can refine edges and even auto-enhance the lines. Again, inverse and add a mask to expose your subject area. It might take a few attempts to get this one right.
Background Eraser Tool
Last and certainly not least is the Background Eraser Tool, a relatively new Photoshop feature, and probably the best way to remove a background from any image.
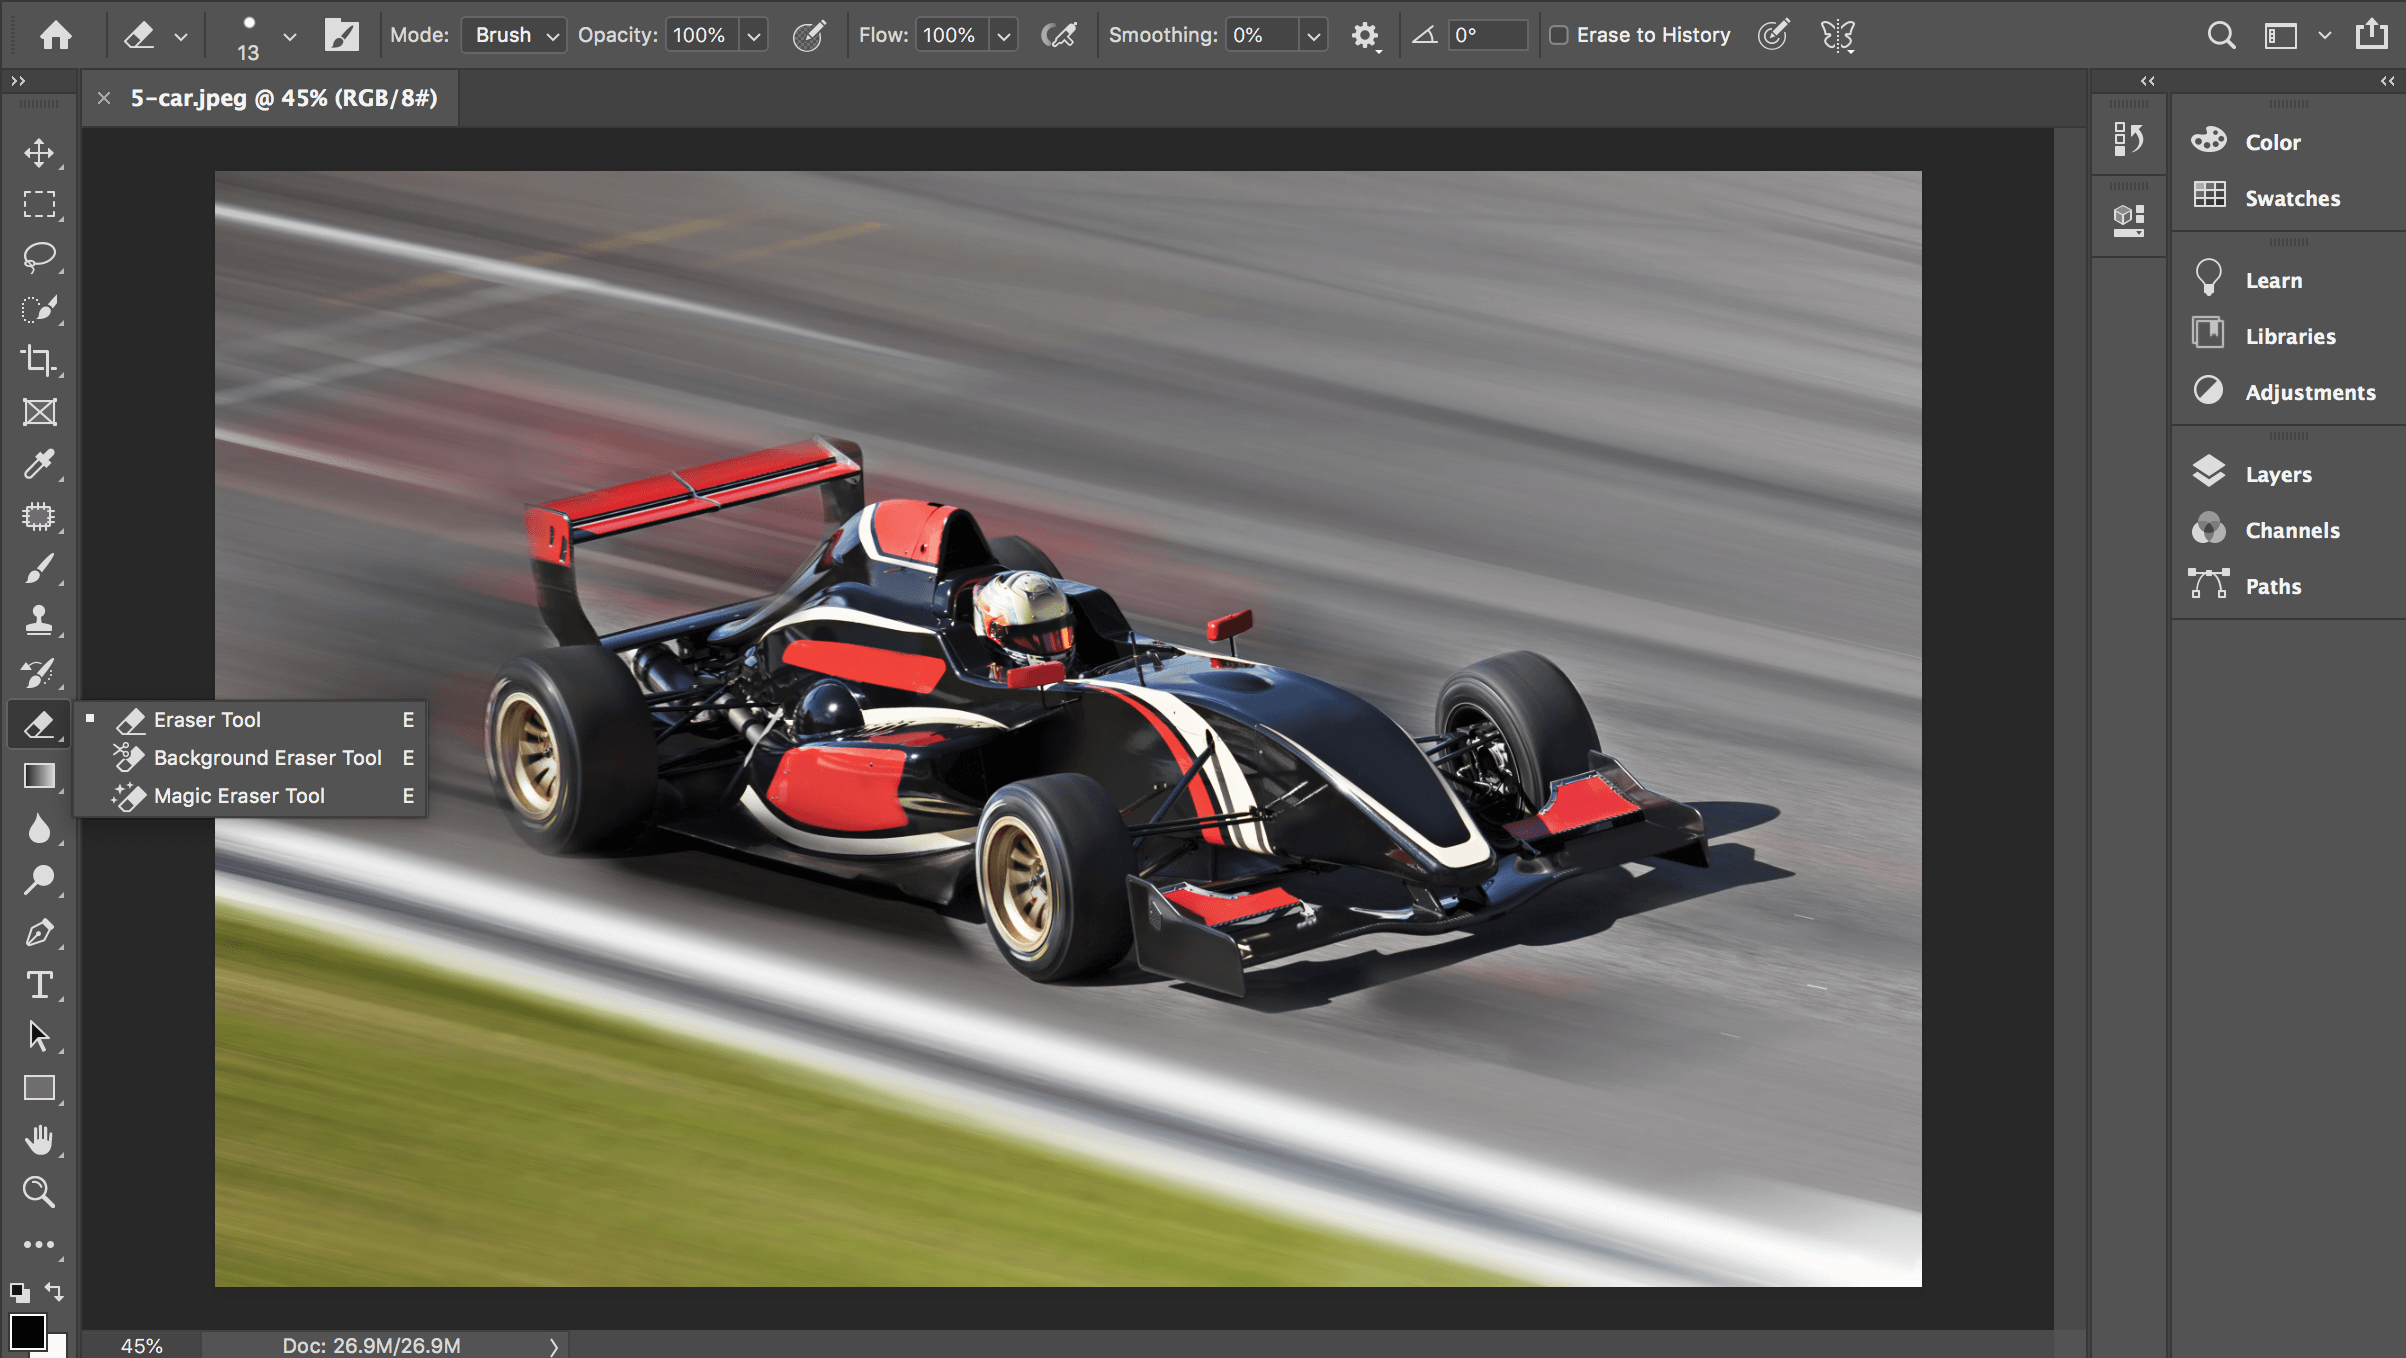
This works best with complex shapes that require background removal in hard-to-reach spaces.
Simply drag the tool around the edges of your shape and AI once again auto-detects your focus area.
All 5 tools have plenty of additional settings and functionality which will help refine your background removal, so why not give them a go.
If you have any questions about isolating a subject for the sticker you have in mind, contact our friendly team using the Contact Page.