Tutorial: Blend multiple images with double exposure
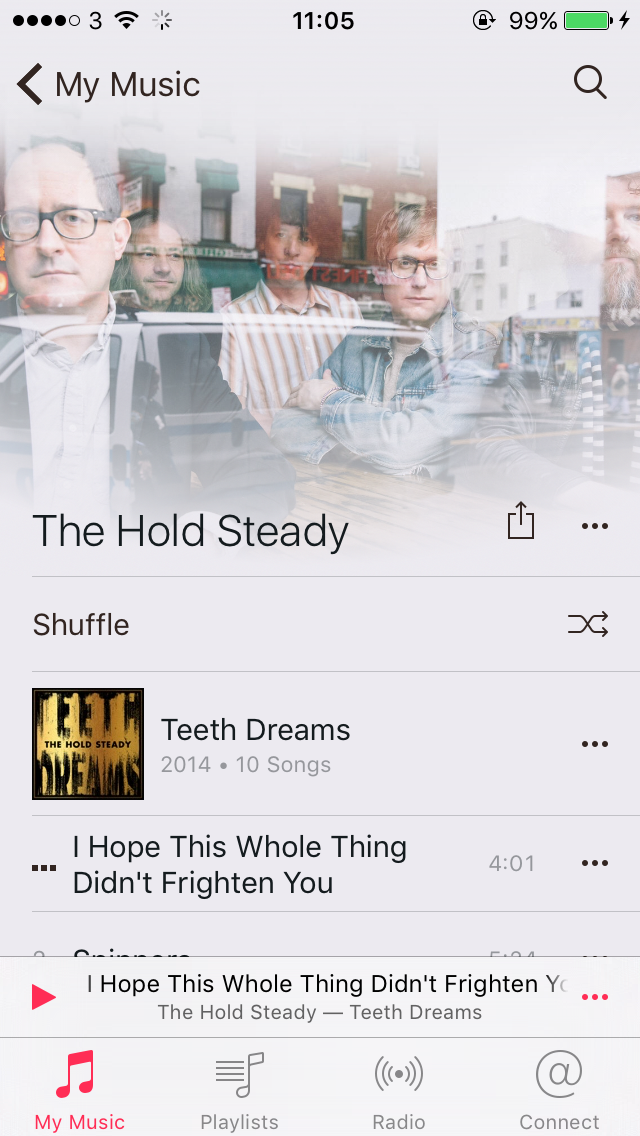
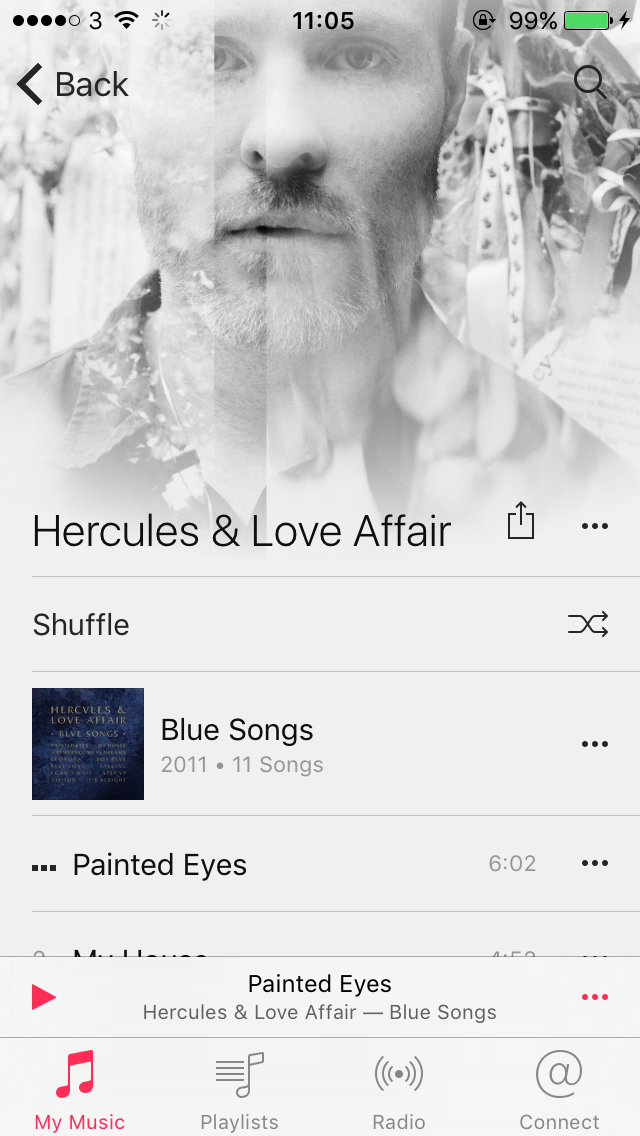
Yes, it might sound like something you’d go to jail for, but in reality double exposure is a neat photoshop technique for blending two or more images together. It’s become super popular for use on album covers in recent years; you’re bound to have some examples in your iTunes library. Take a look now.
Found some? Good. Now it’s time to create your own. There’s a few Photoshop plugins out there that will do the job for you, but it’s quick and easy to do yourself. Here’s one we made earlier, and how to do it:
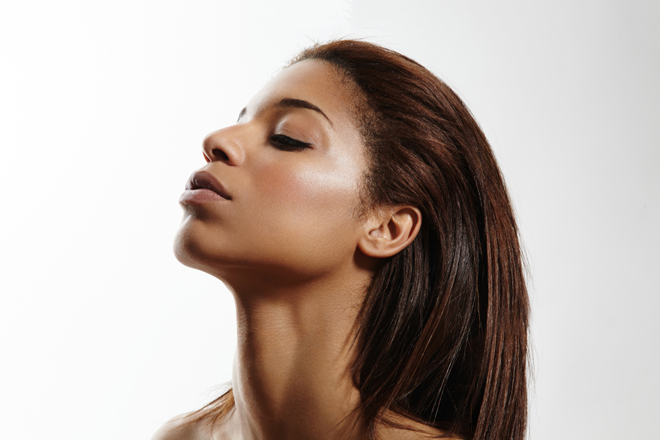
First up you’ll need a nice portrait. This is the time to whip out your selfie-stick. Ideally your portrait should have a neutral background, otherwise you’ll have to erase it manually which, depending on the background, may take you years.
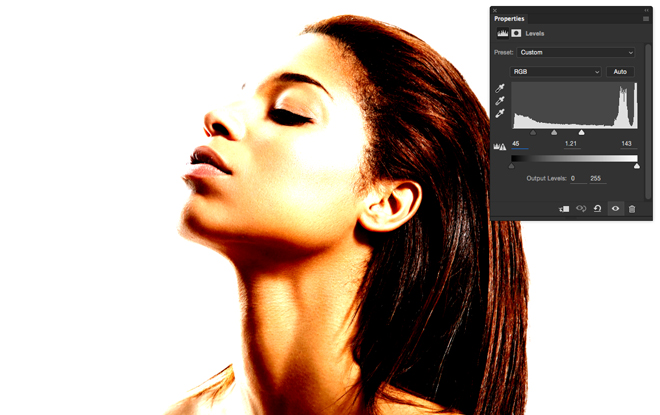
Now we need to increase the contrast dramatically – it doesn’t have to look pretty, just have an incredible amount of contrast (a level adjustment layer will do the job just fine). This will also remove the background.
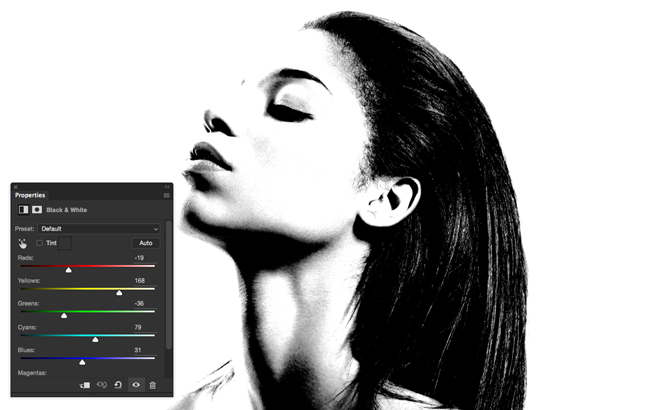
When your picture looks like it laid in a sunbed for 2 days, it’s time to eliminate these awful colours: let’s do so by creating a black and white adjustment layer.
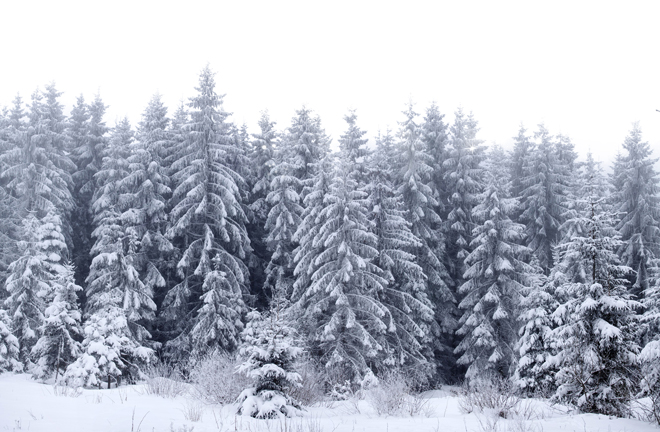
So far so easy – time to spice up a little bit our portrait: let’s introduce our second picture, a nice wintery landscape:
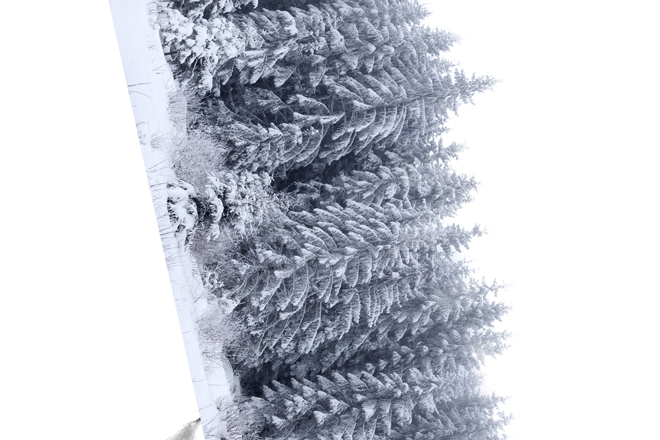
Place the second picture on top of the portrait picture, and rotate it to the orientation you desire. In our example, we wanted the tip of the trees to morph into hair.
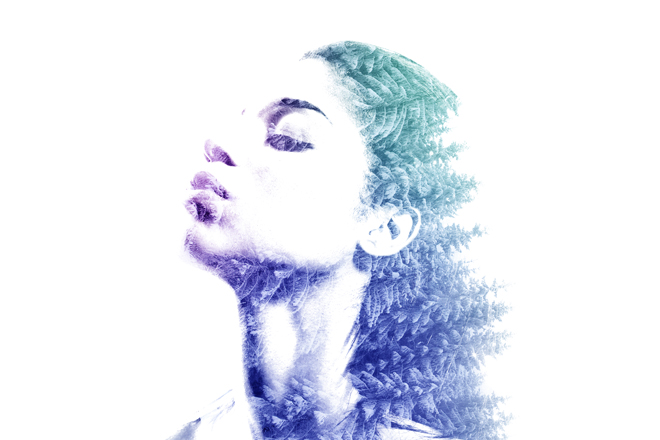
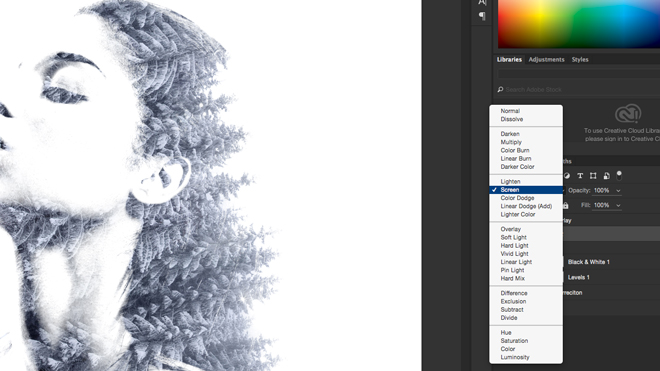
I know it looks a little bit weird, but here is where the magic happens: change the blending mode of the topmost picture to screen to generate the double exposure effect:
Cold! Let’s add a splash of colour to warm up the composition. Add a new empty layer and create some big soft colour dots with the brush tool to create an image more or less like this:

Change the blending mode of the colourful layer to soft light to merge all these hues into our double exposure picture.
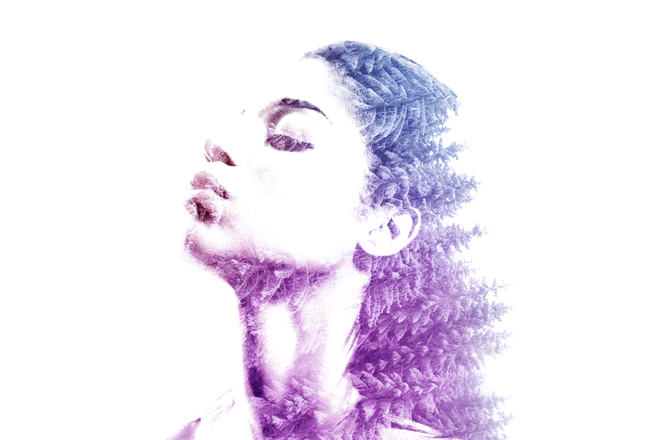
We could have stopped here, but to finish it off we decided to add an additional hue/saturation layer and clip it on top of the colour layer to adjust the overall blend and have a slightly subtler blend of colours:

That’s it: the whole process shouldn’t take you longer than 5 minutes, but it all depends from the quality of the original pictures. Here are a few advices that you should follow when choosing your subjects for a double exposure composition:
- use portraits with a neutral background
- use a second picture which contain some strong contrast between subject(s) and background (like trees/sky, branches/sky, buildings/sky…).
Happy exposing!