How to use Diginate stickers as DIY cut vinyl graphics
September 9 in Design
Cut vinyl graphics are everywhere – you’ve probably seen them on vehicles, shop signs, advertising boards and countless other places.
The principle is simple. Your design is computer cut onto self adhesive vinyl and the excess unwanted parts of the sticker are removed. The graphic is then transferred using tape onto the application surface.
Cut vinyl decals can be produced on plain coloured vinyl, or can utilise printing to combine different colours and designs into one graphic.
In this blog we’ll show you how to create your own DIY cut vinyl graphics using Diginate custom shape stickers in any material, and a roll of masking tape.
Here’s the Diginate logo:
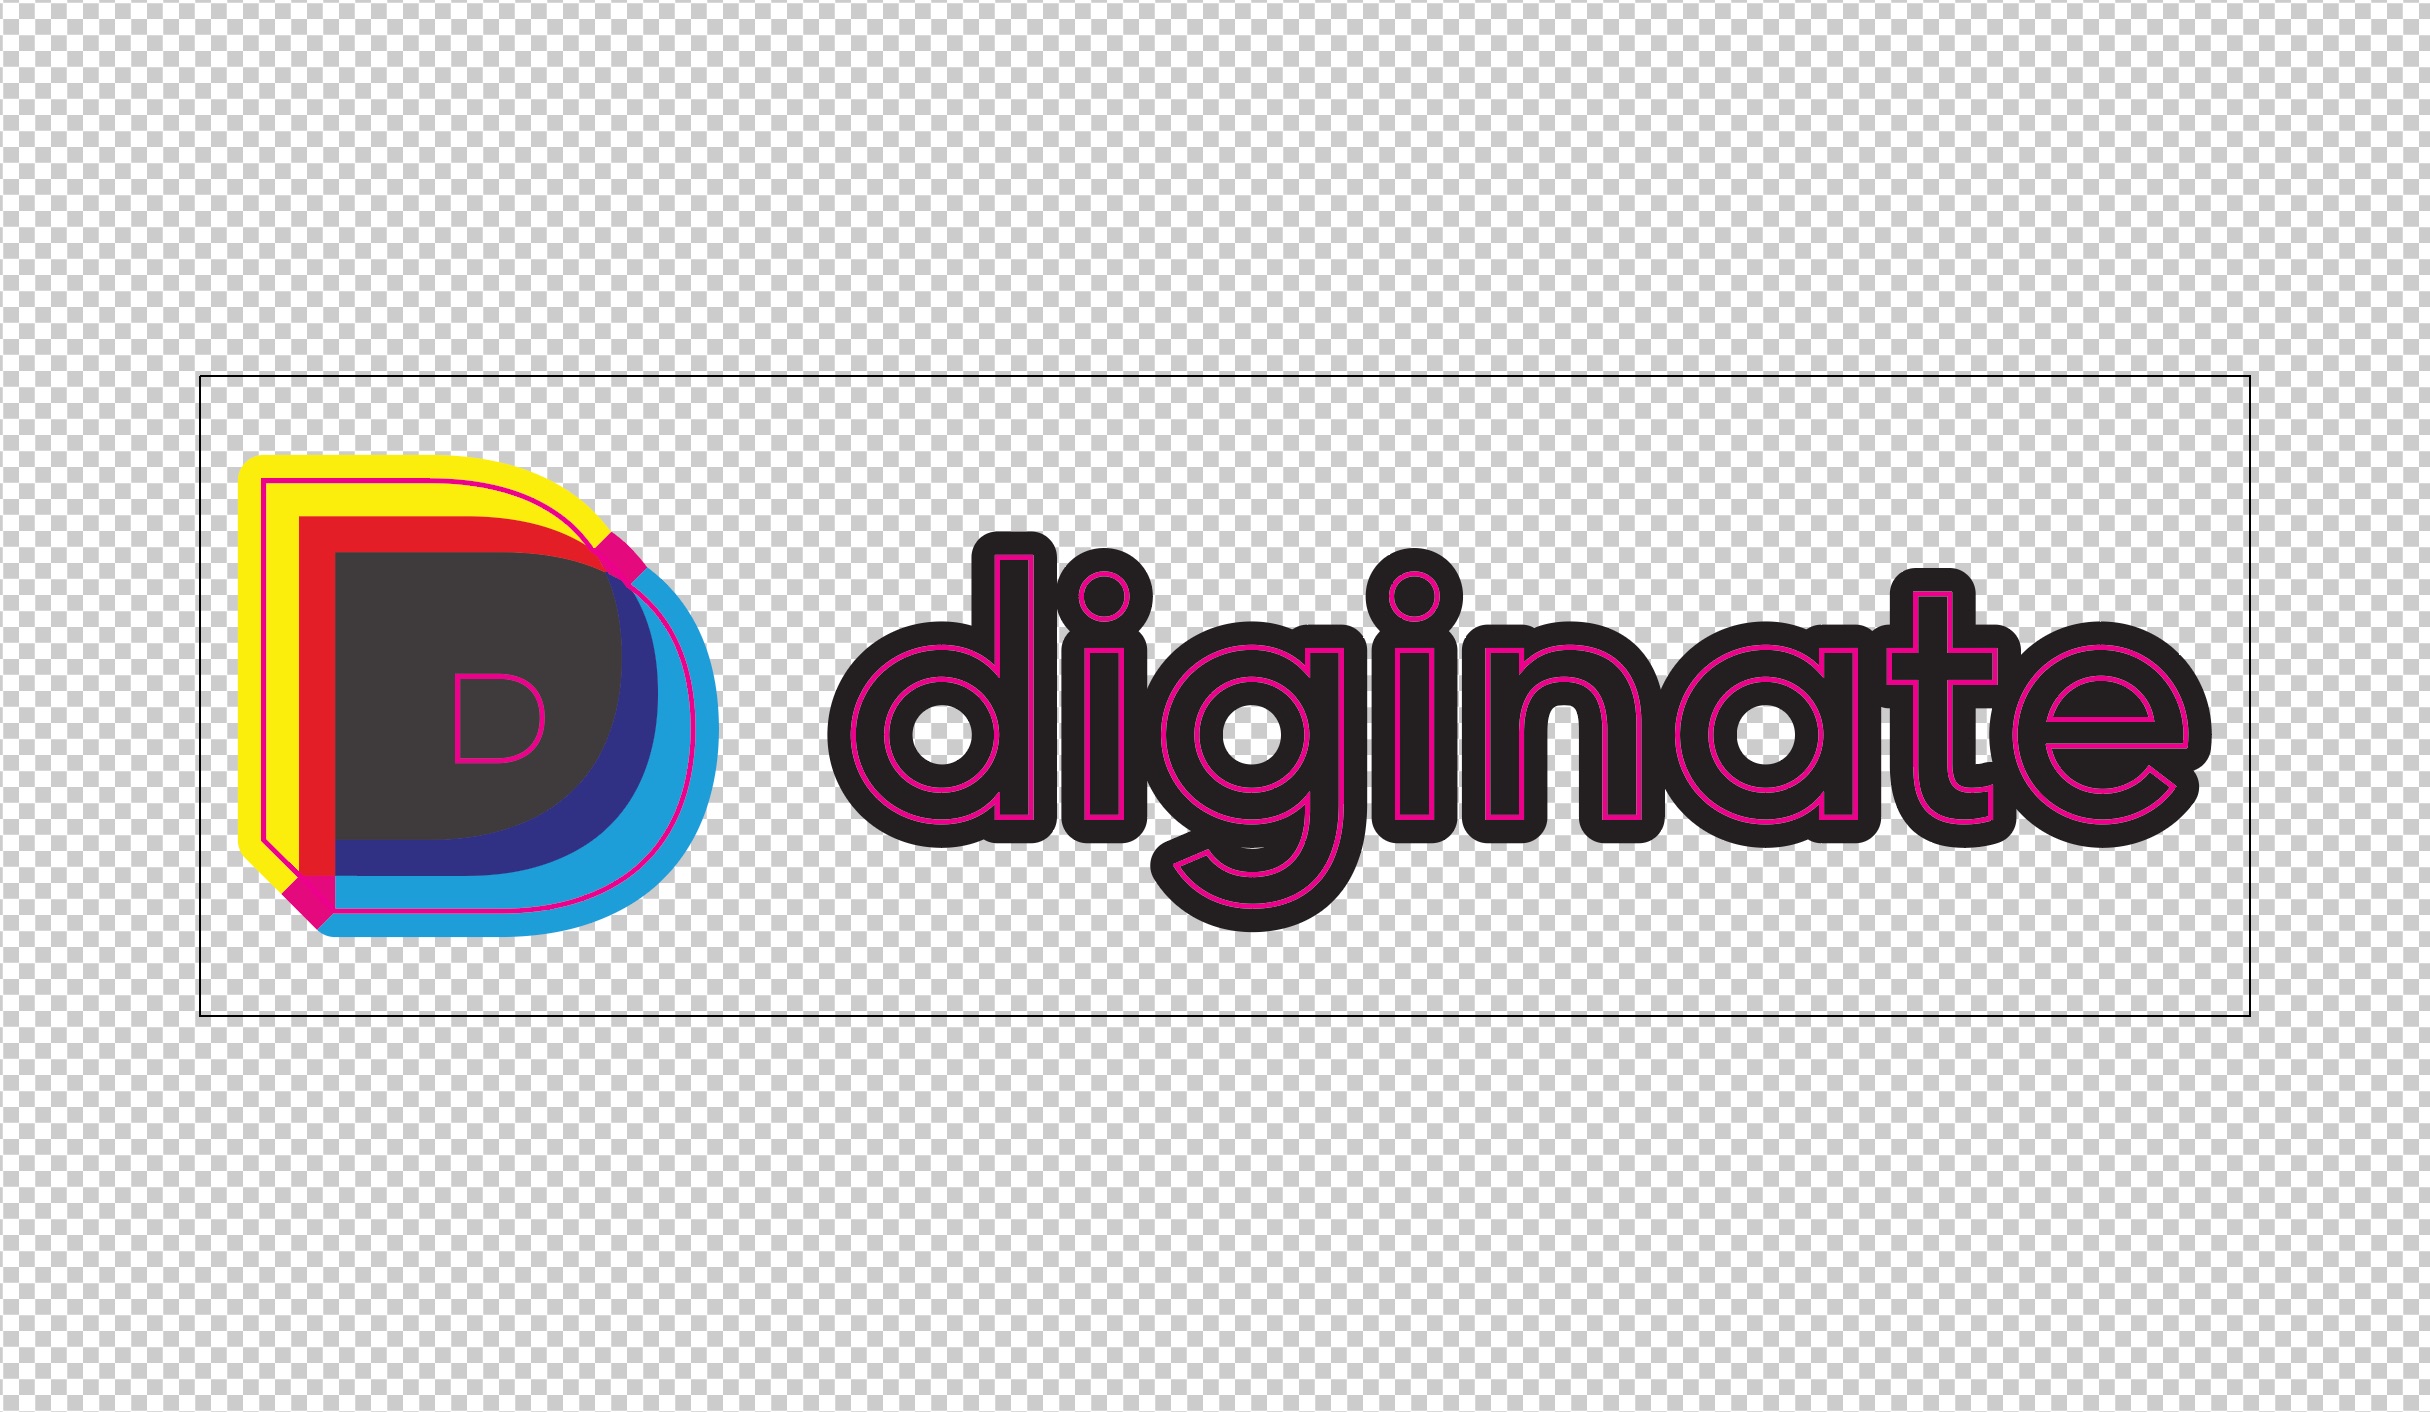
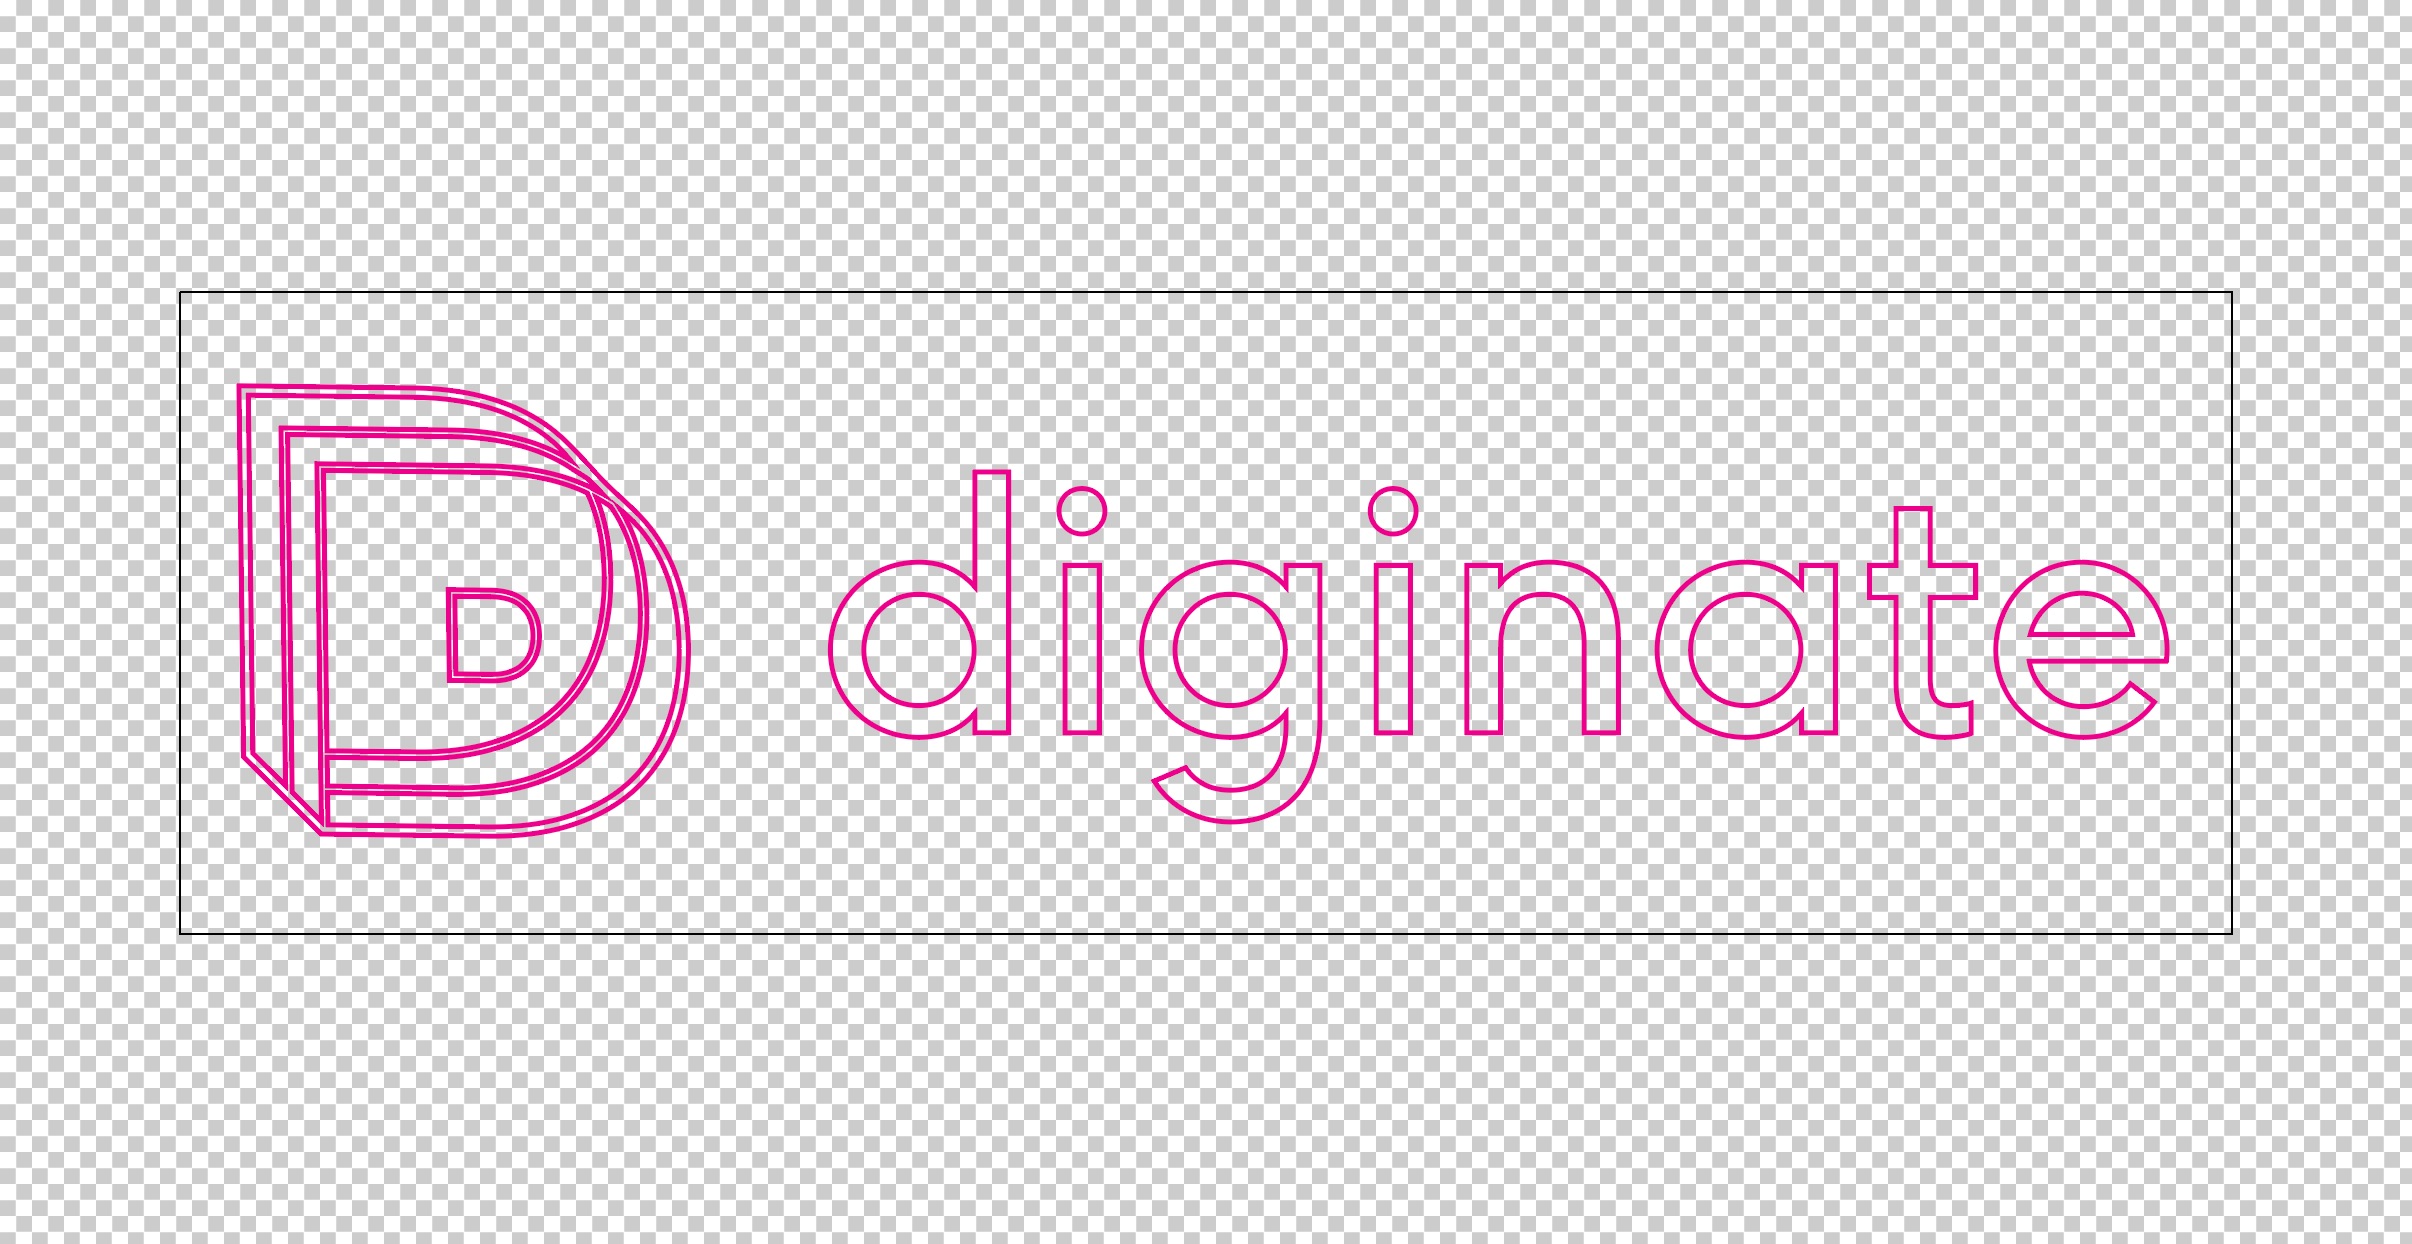
It uses a range of primary colours, plus black. I’ve set it up with a cut path in magenta to the finished shape of the logo and text – this will be our finished graphic. I’ve added bleed so that we don’t get any slithers of white on the edges after cutting.
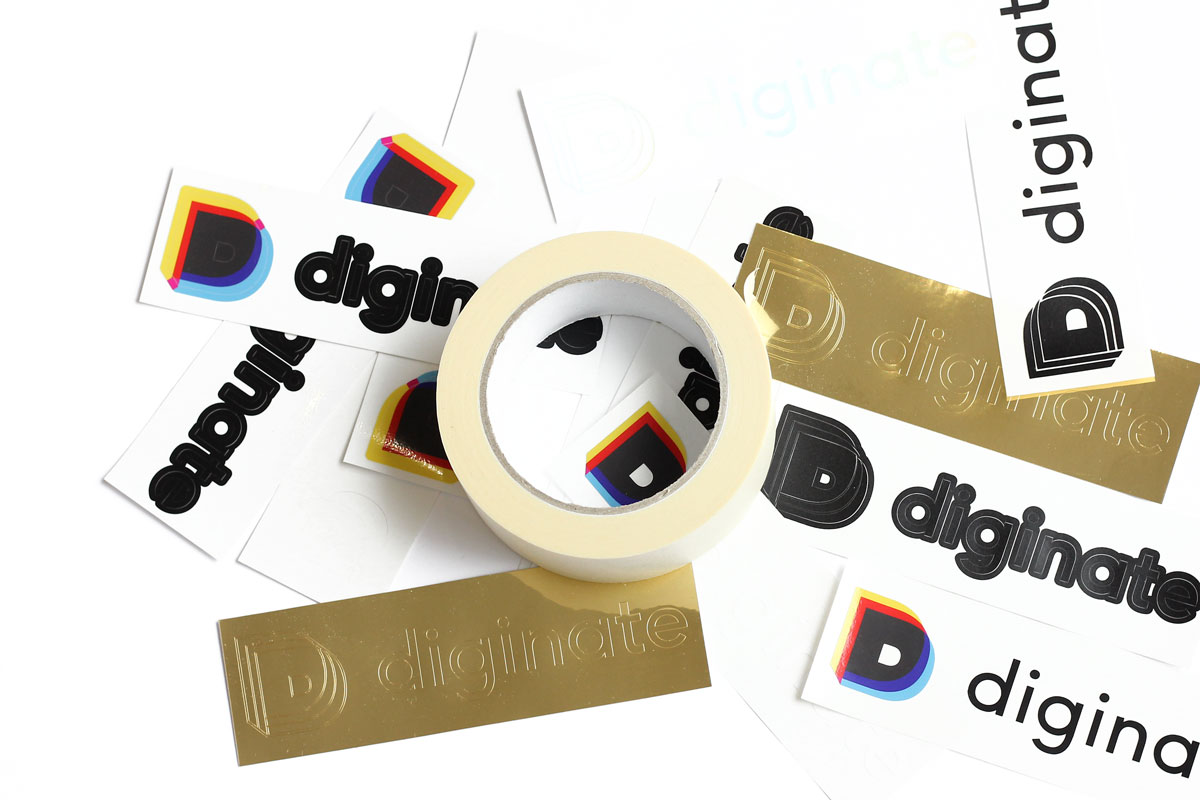
I’ve ordered this as a custom shape vinyl sticker, supplied as individuals on a square backing. Here’s the finished stickers, with a shiny gloss finish:
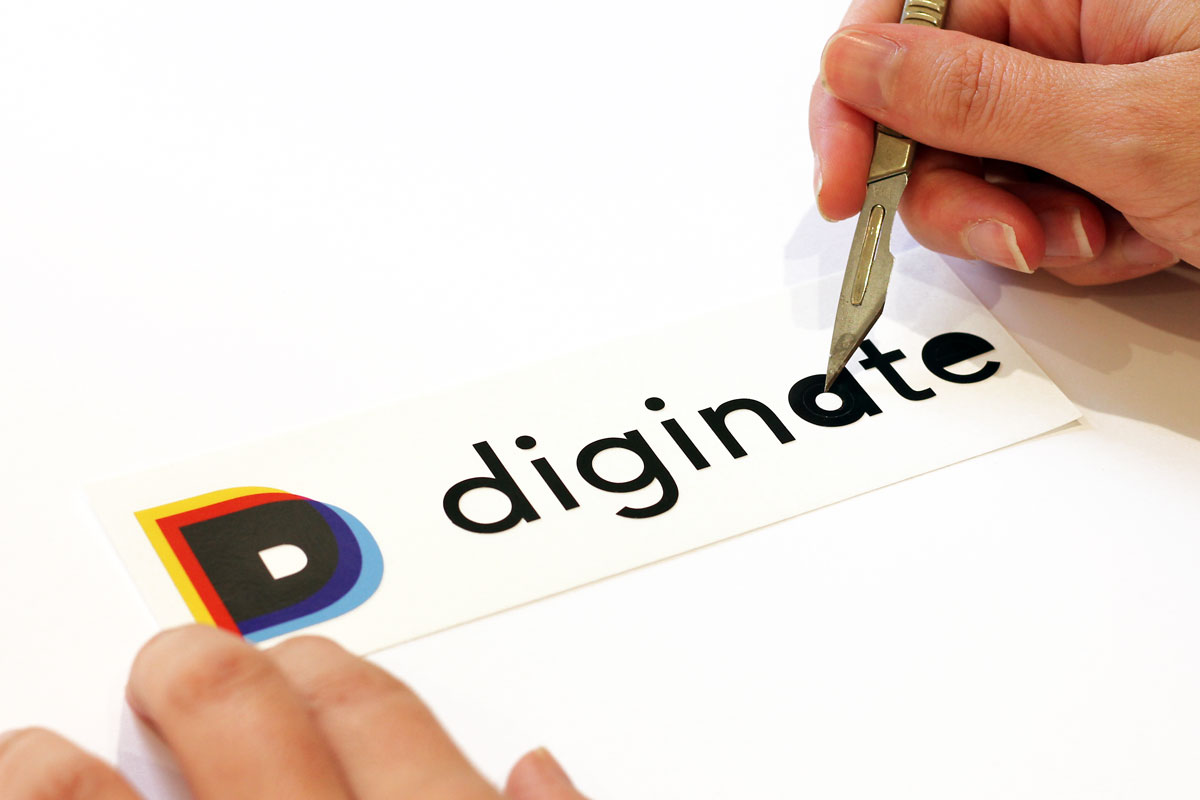
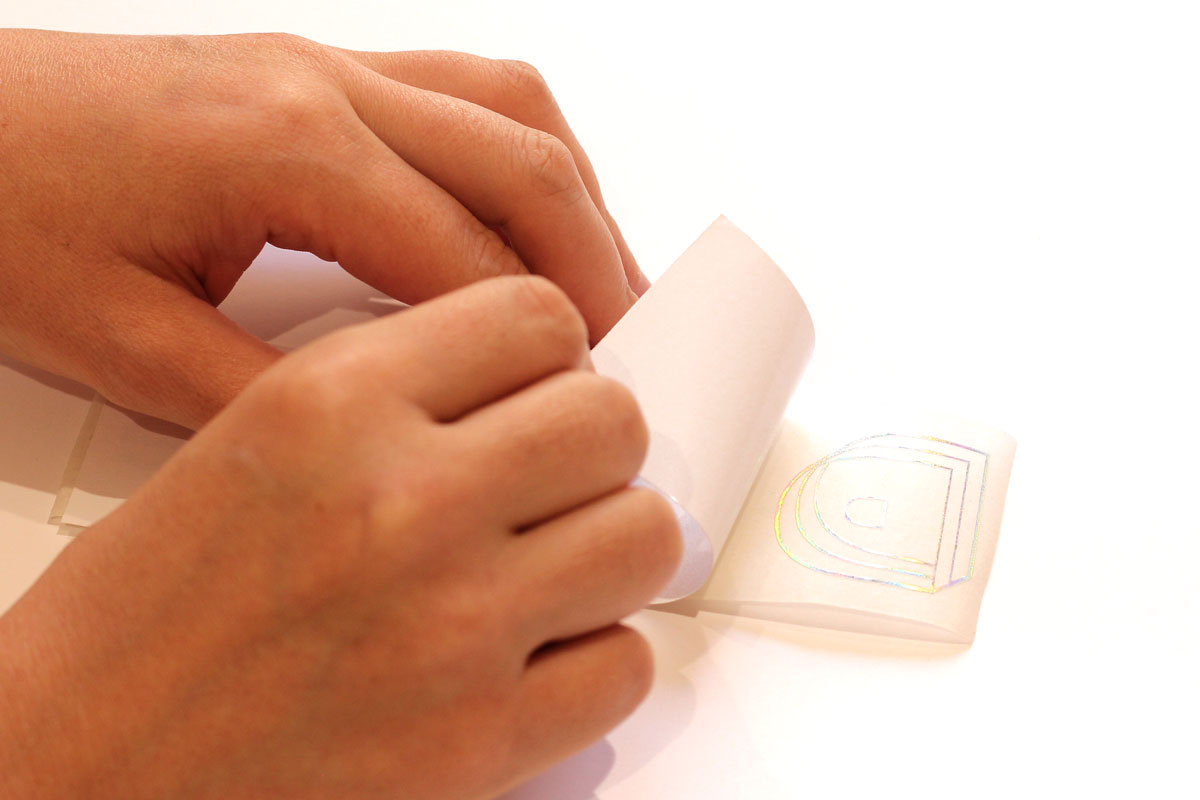
To convert into a cut vinyl decal we’ll first remove the excess around the edge of the sticker. Do this carefully, paying special attention to fine details like the dots of the ‘i’s.
Next, remove any other unwanted parts of the stickers – in this case the internal parts of the lettering and the ‘D’ logo. A scalpel or X-Acto knife is useful for this.
Once you’ve removed all the unwanted parts of the design it’s ready to tape and apply.
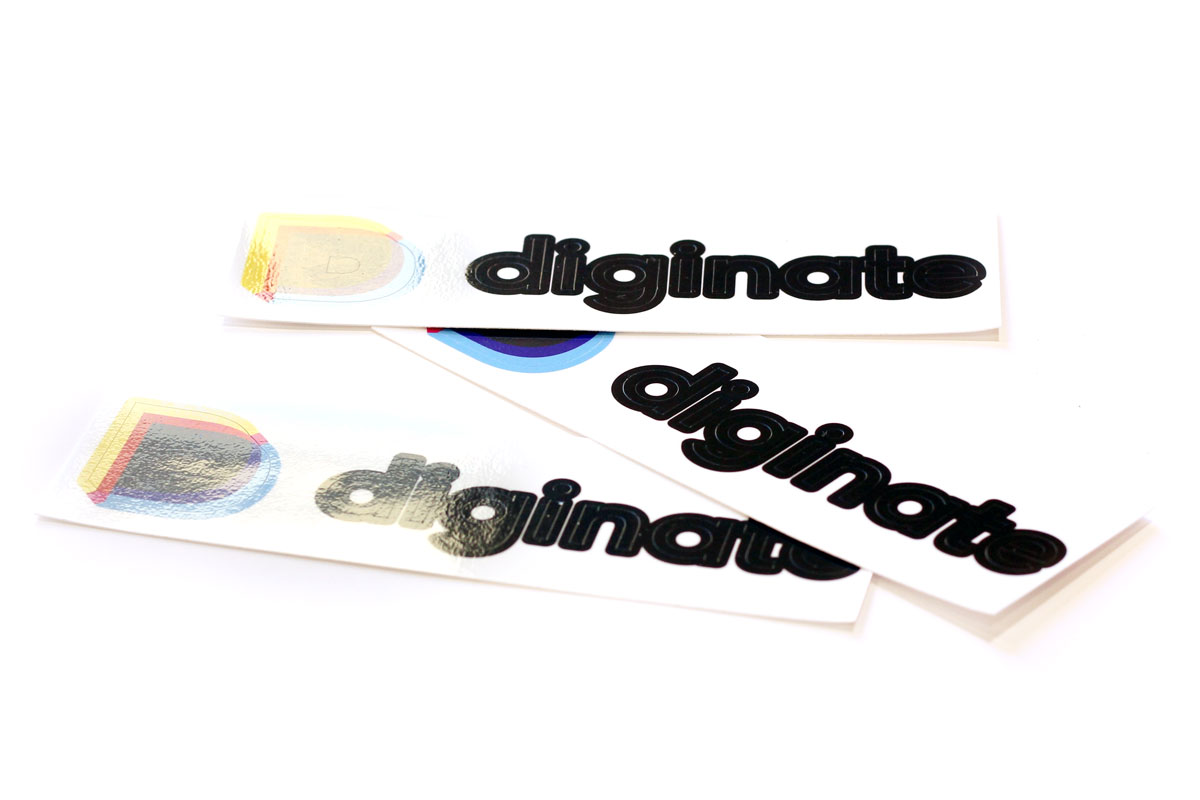
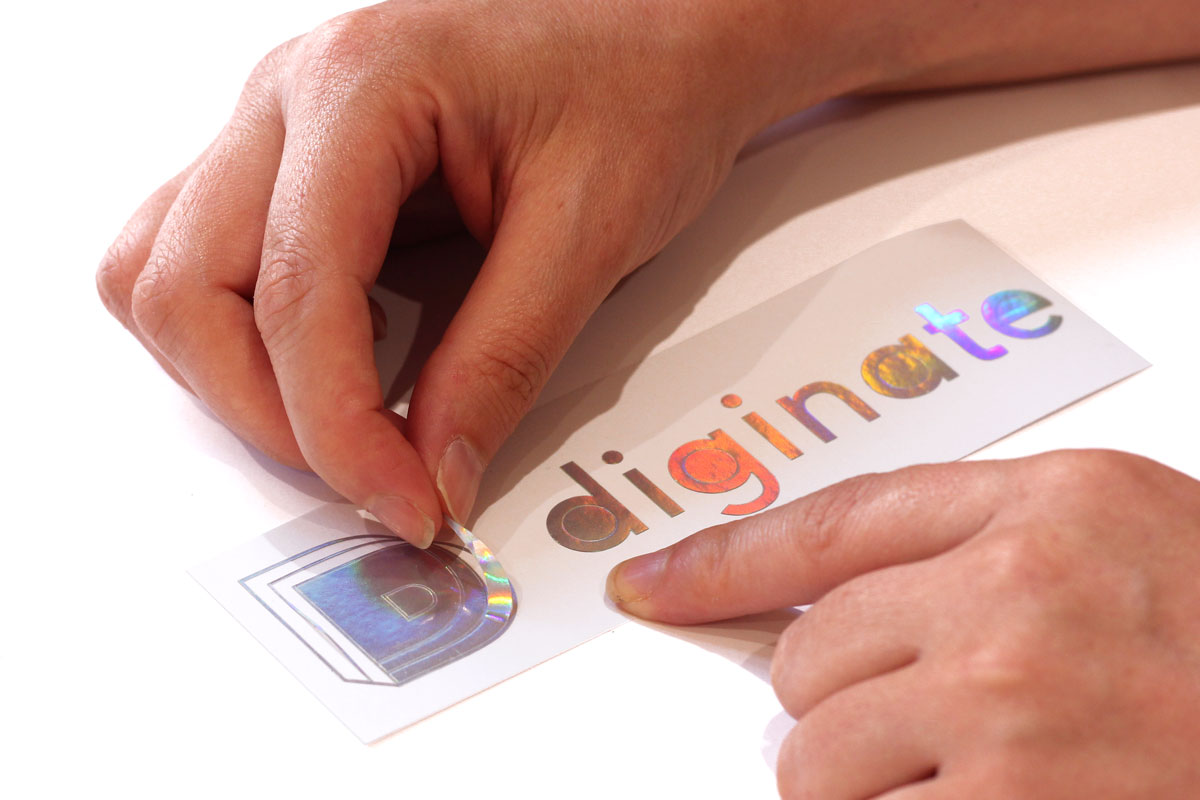
We’ll show you how to do that using this snazzy holographic number. Here’s the artwork file – it only has a cut path as we don’t want any printed elements on this one, just the holographic material:
Again, remove all the bits of the sticker you don’t want.
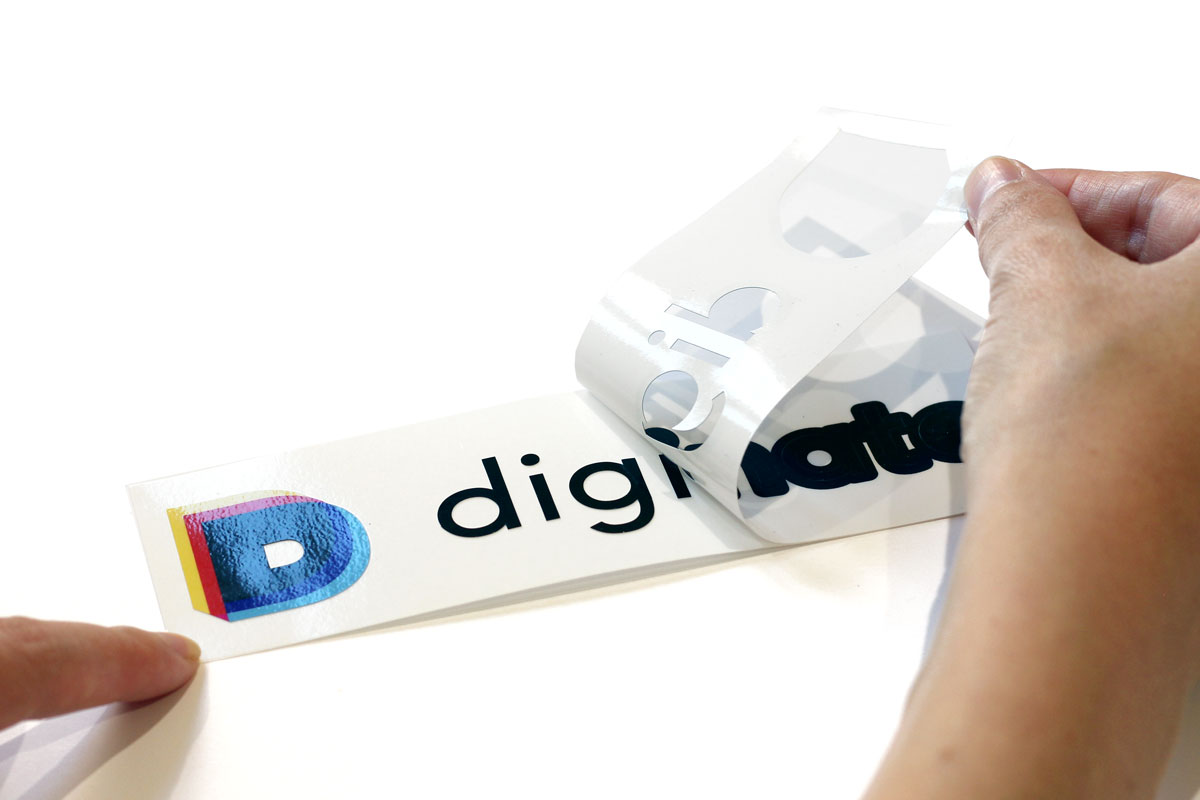
Once all the excess has been removed apply a strip of normal masking tape across the sticker and give it a good rub, to make sure the remaining parts of the sticker adhere to the tape.
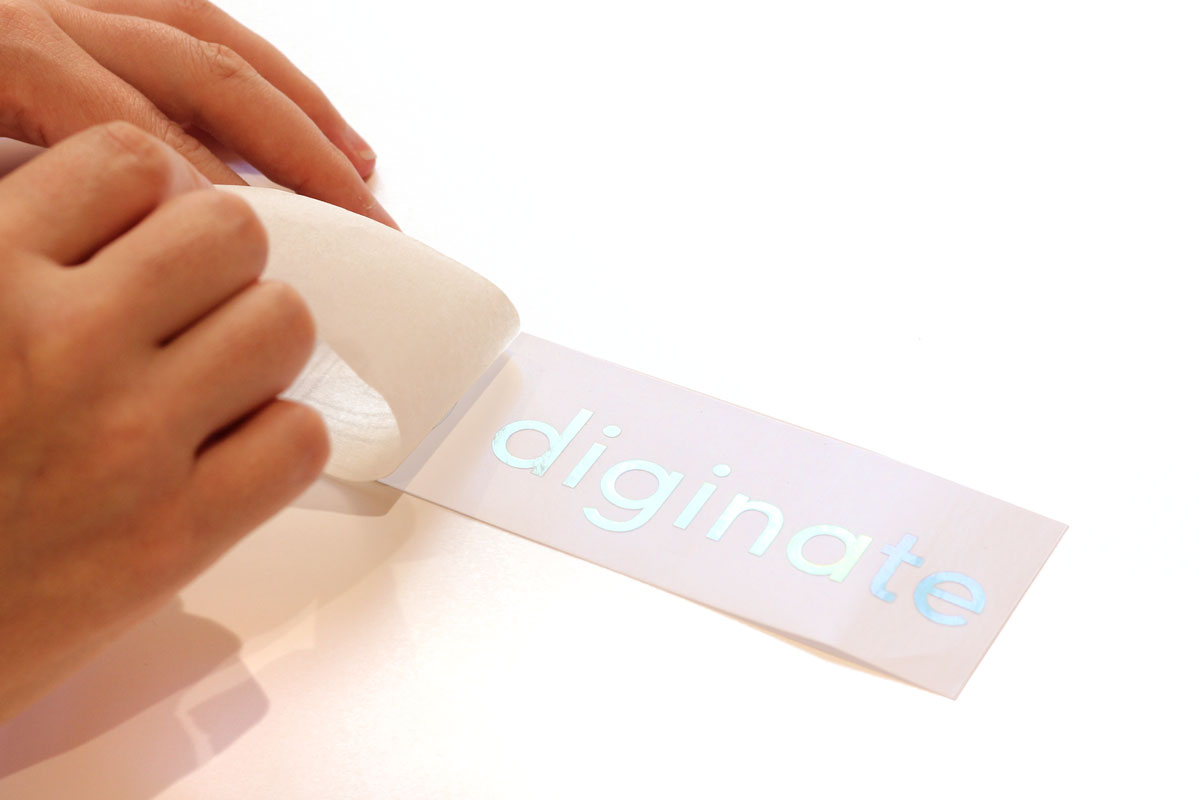
Now you can flip the sticker upside down and carefully remove the backing paper. If any parts of the design stay attached to the backing rather than the masking tape give it a good press down and try again.
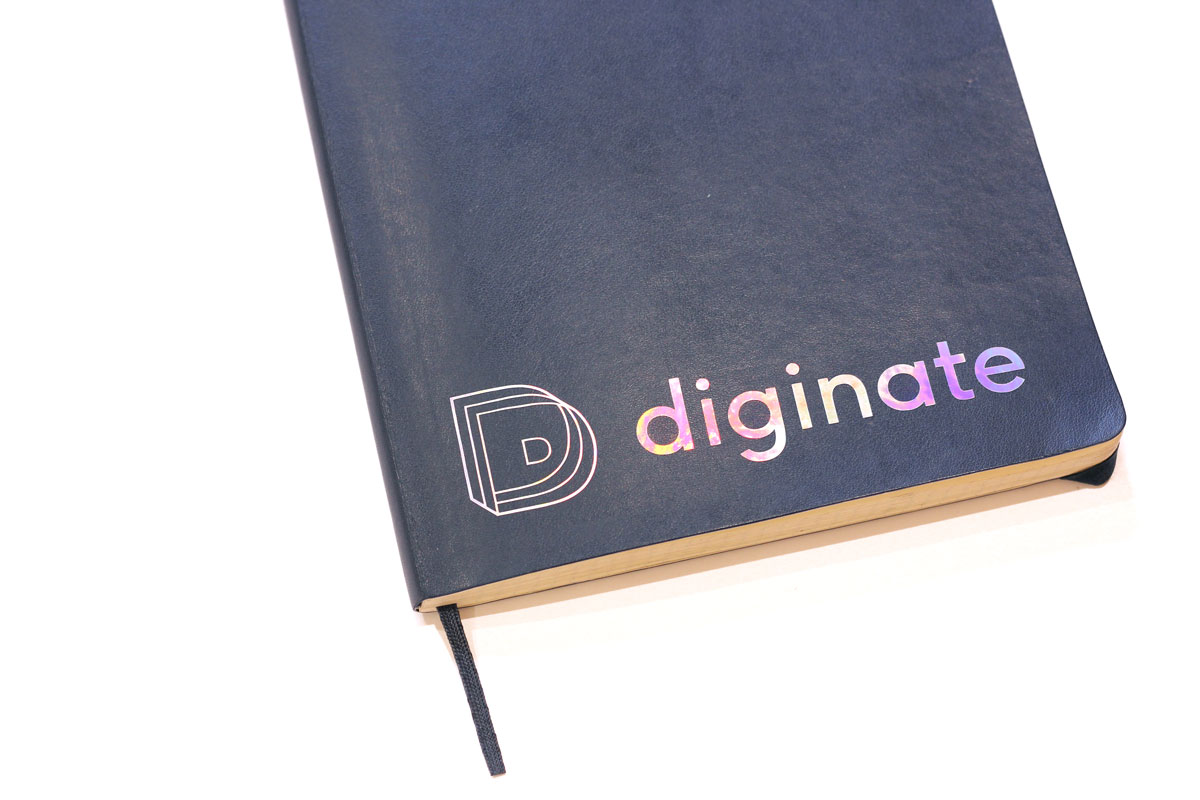
Once the entire graphic is held in place on the masking tape you can apply it to the application surface. In my case, this notebook:
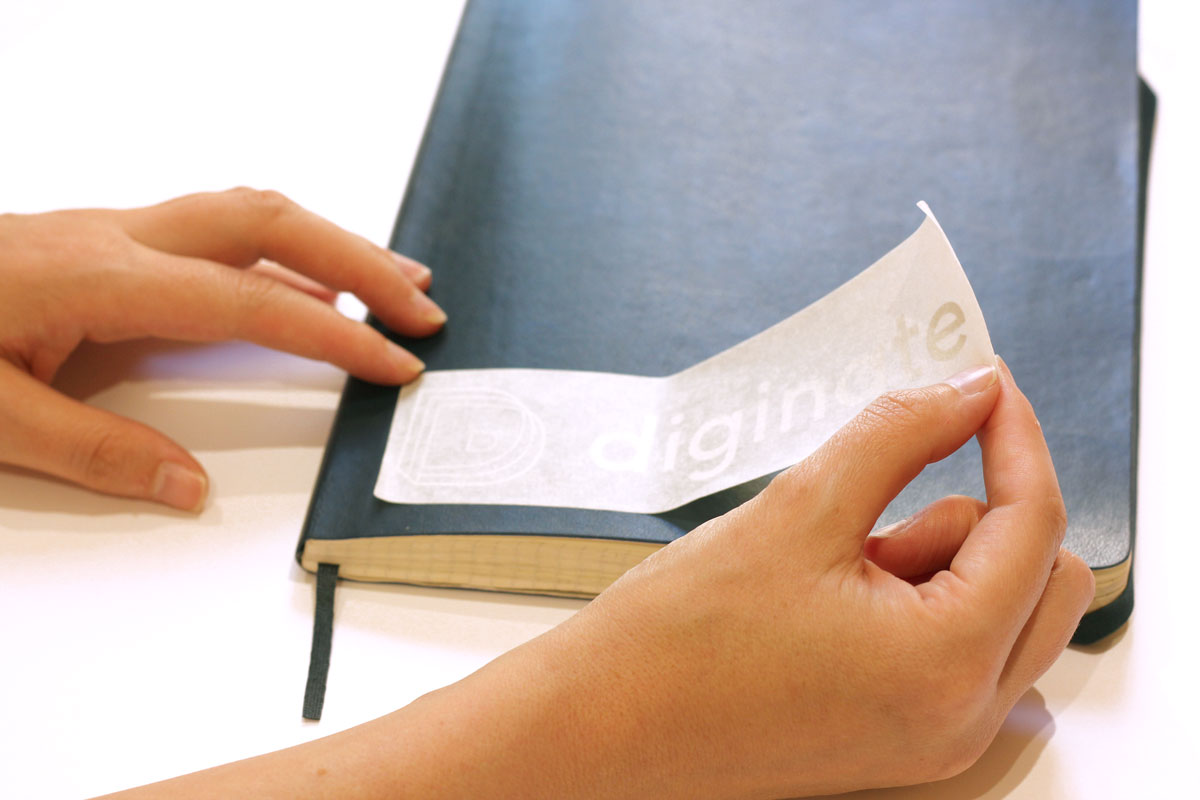
Smooth the masking tape onto the surface and give it a rub to make sure the graphic is transferred properly.

Now, the satisfying bit. Peel back the tape, leaving the graphic in place. Clean!
You can make cut vinyl graphics with any of our self adhesive materials. Just avoid our cling stickers!

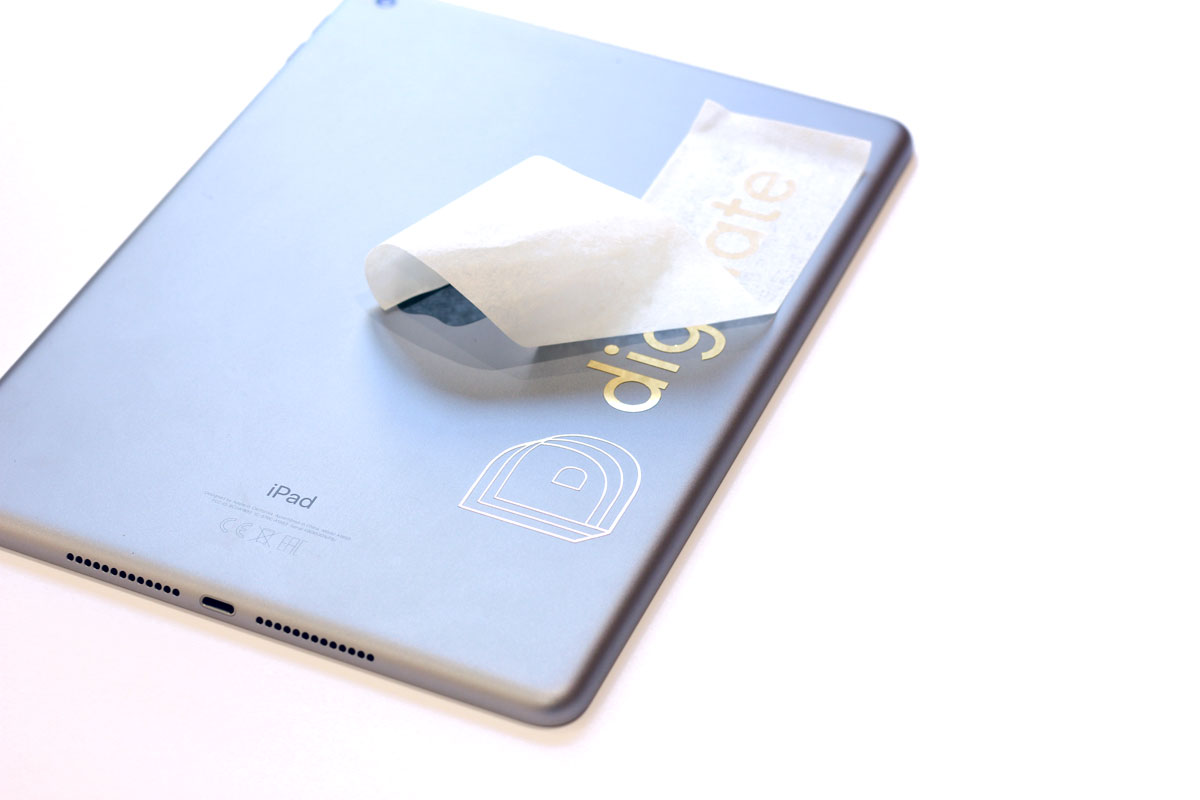
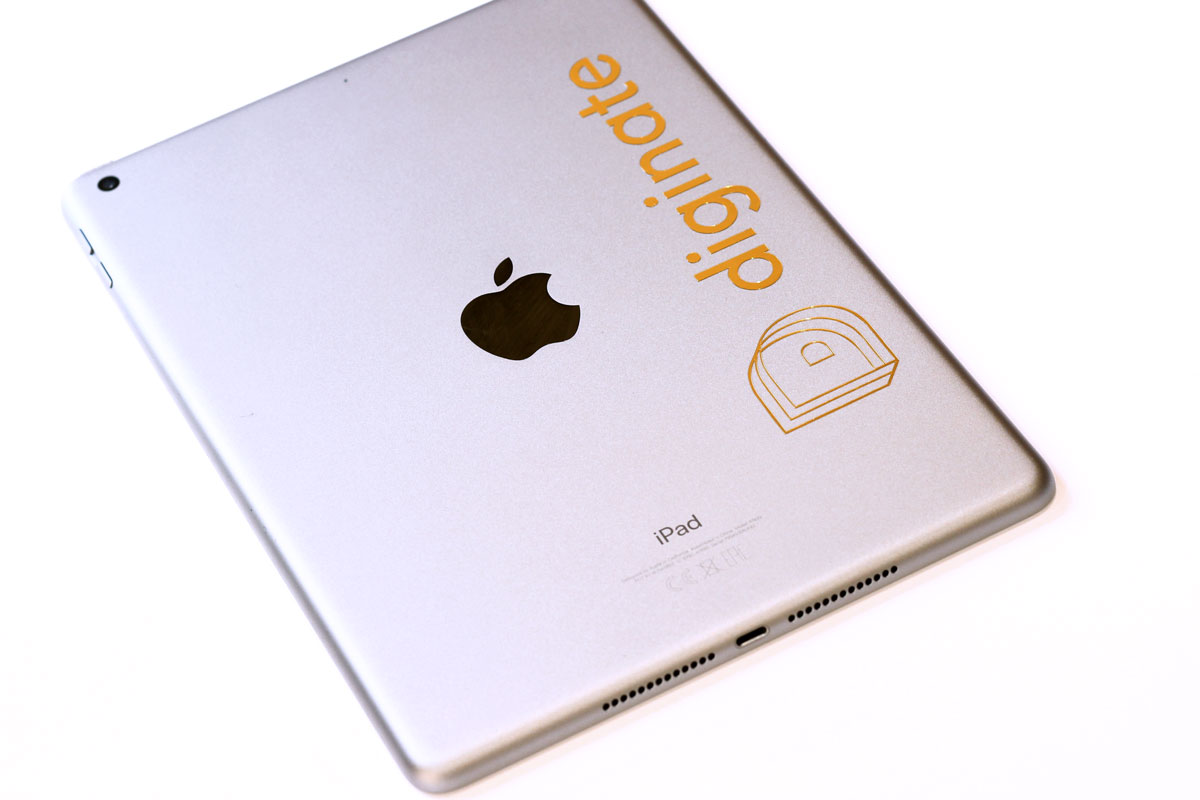
Here’s a smart gold logo going onto the back of an iPad!
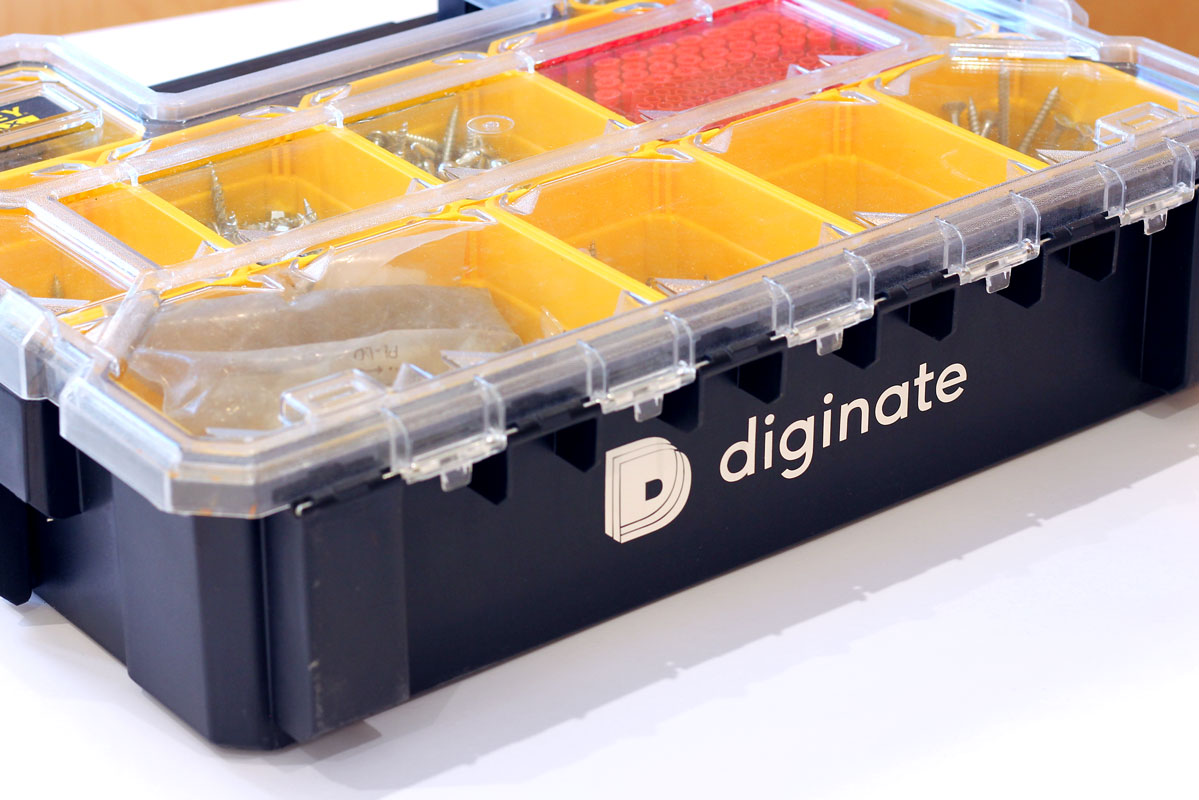
For dark surfaces white graphics work well. Here’s a white Diginate logo on a black tool box:
Cut vinyl decals are great for cars, bike frames and loads more. Why not give it a go?